How to draw a ninja turtle - a free ninja turtle drawing guide
Draw a Ninja Turtle step-by-step: sketch body, mask, shell, and pose. Practice proportions, line work, and simple shading to finish.

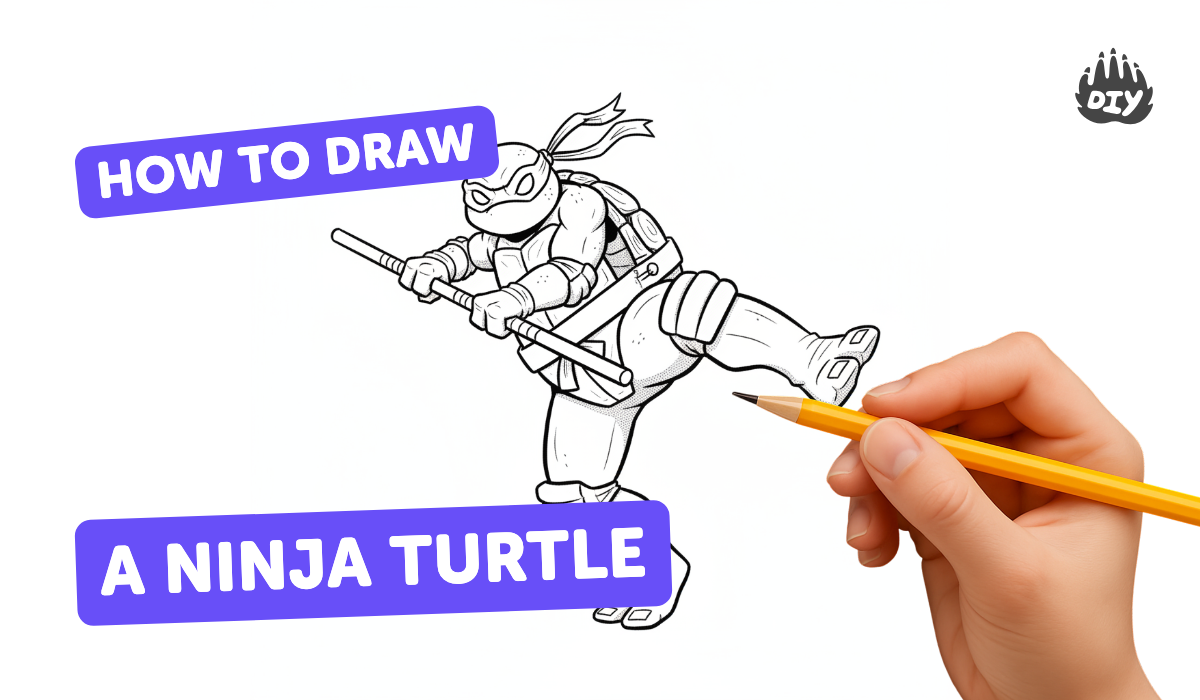
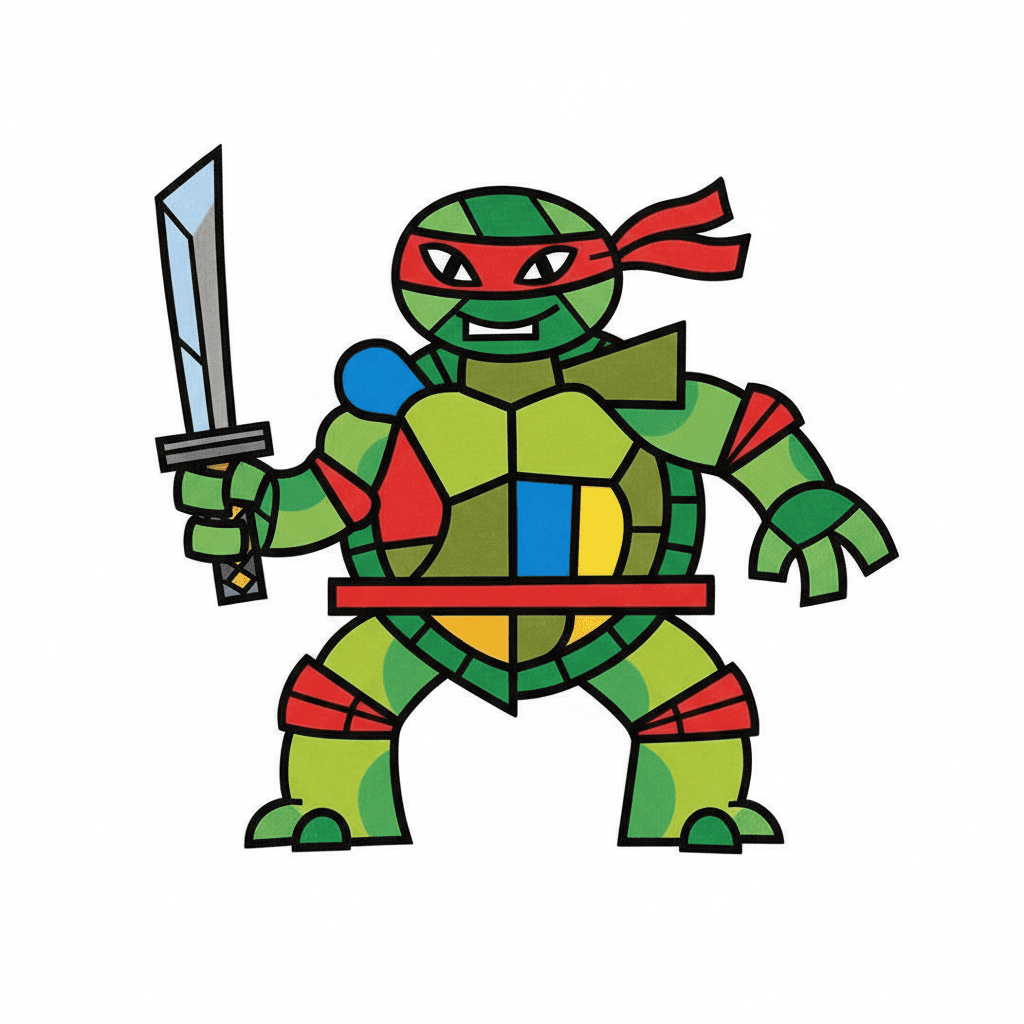
Step-by-step guide to draw a Ninja Turtle
"Drawing a Ninja Turtle - Easy Tutorial for Kids!" #ninjaturtles #cartoondrawing #DrawNinjaTurtle
Step 1
Decide on a fun pose and lightly draw a simple stick figure to show where the head torso arms and legs will go.
Step 2
Draw a rounded oval for the head at the top of the stick figure so the size matches the body.
Step 3
Sketch a large oval or dome shape around the torso stick line to make the turtle shell.
Step 4
Add thicker rounded cylinders over the arm and leg stick lines to make the limbs.
Step 5
Draw a horizontal band across the head for the mask and add two short tail ends of the band behind the head.
Step 6
Draw two oval eyes inside the mask and a simple mouth to give your ninja turtle an expression.
Step 7
Add three-fingered rounded hands and chunky feet at the ends of the limb shapes.
Step 8
Draw the chest plate lines on the front and a rim and hexagon or patch pattern on the shell back.
Step 9
Erase extra stick lines and overlapping sketch marks so the turtle looks clean and clear.
Step 10
Carefully trace your final outline with a black pen or marker and let the ink dry.
Step 11
Lightly add simple shading under the shell rim under the arms and on one side of the limbs to show depth.
Step 12
Colour the mask shell and skin using your colouring materials and keep shading darker where needed.
Step 13
Add small highlights with your eraser or a light pencil stroke and sign your name on the drawing.
Step 14
Take a photo or upload your finished ninja turtle and share your creation on DIY.org
Help!?
What can we use if we don't have a black pen or marker to trace the final outline?
For the 'Carefully trace your final outline with a black pen or marker' step, substitute a dark graphite pencil, a fine-tip permanent marker, or a dark crayon and let it dry before shading.
My turtle looks lopsided or the limbs are the wrong size—how can I fix it?
If proportions are off, lightly redraw the initial stick figure to reposition the head and torso, then remake the shell as a large oval around the torso line and add thicker rounded cylinders for the arms and legs before erasing extra sketch lines.
How can I adapt this activity for younger kids or older kids?
For younger children, pre-draw the stick figure, head oval, and shell dome for them to trace and colour with thick colouring materials, while older kids can add the hexagon shell pattern, detailed shading under the shell rim and limbs, sharper ink tracing, and highlights with an eraser.
How can we personalize or extend the drawing beyond the basic steps?
Personalize the pose and mask colour, give your ninja turtle weapons or a background scene, add more shell texture or extra hexagon patches, deepen the shading under the shell rim and arms for volume, then sign your name and upload the photo to DIY.org.
Watch videos on how to draw a Ninja Turtle
Cute Ninja Turtle Drawing for Kids | Easy Step-by-Step Tutorial"
4 Videos

Cute Ninja Turtle Drawing for Kids | Easy Step-by-Step Tutorial"
How to Draw Teenage Mutant Ninja Turtles | Easy Drawing for Kids | Part 1
How to Draw Ninja Turtle Donatello for Kids | Easy Step-by-Step Tutorial
How to Draw Cute Ninja Turtles Easy | Part 1
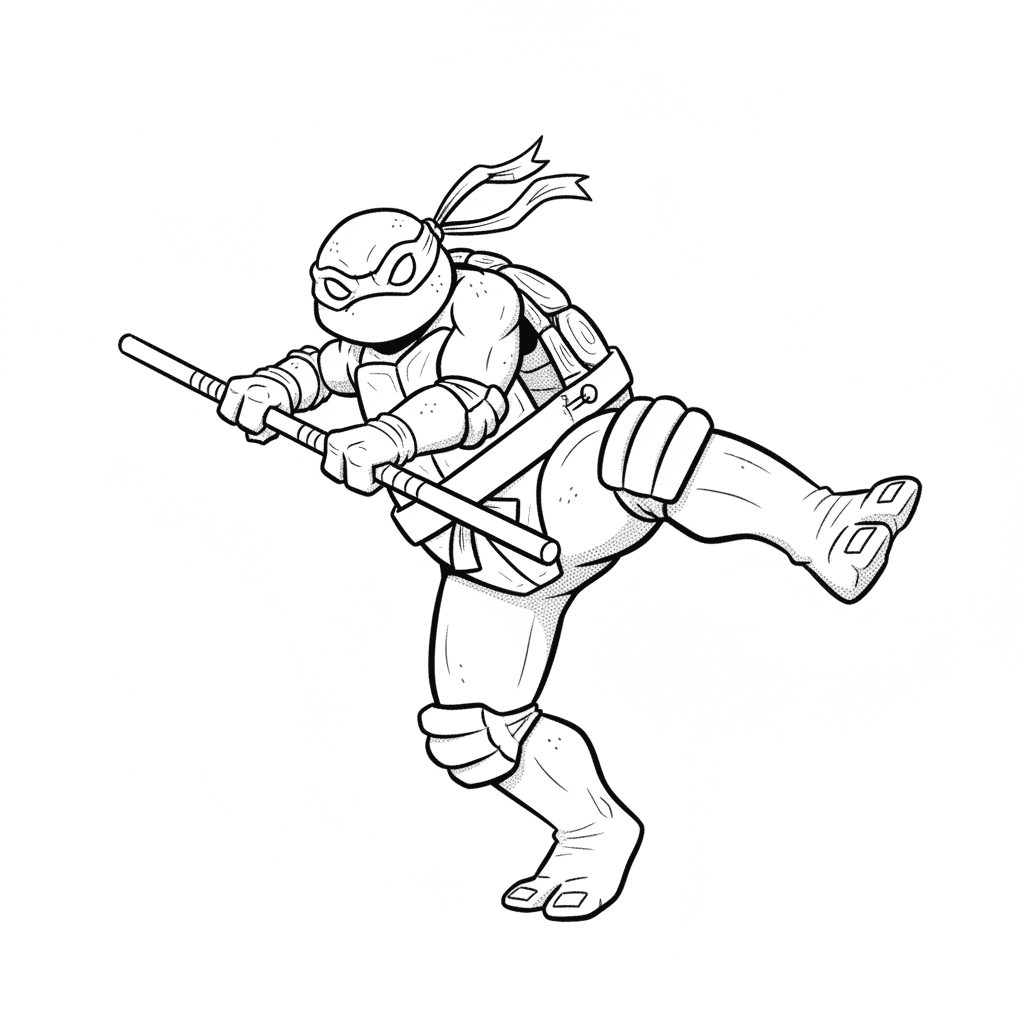
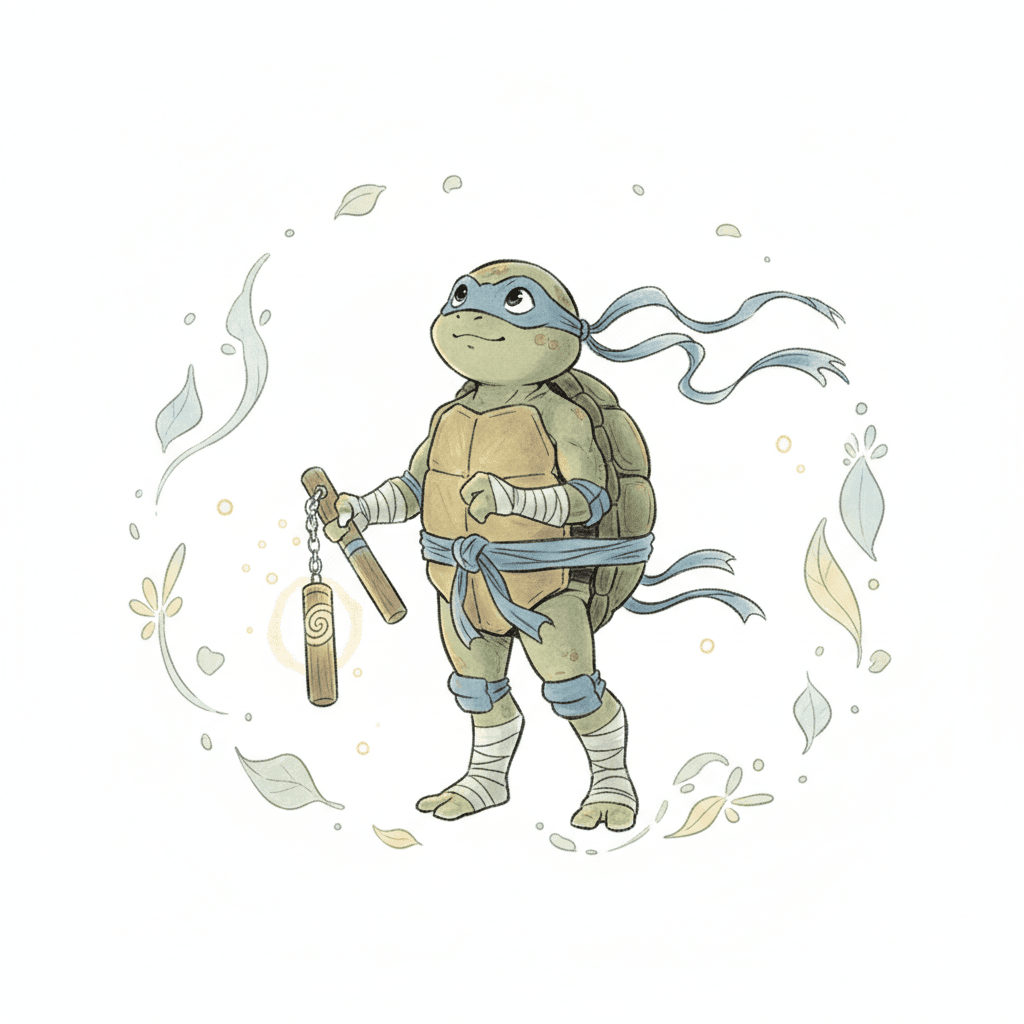
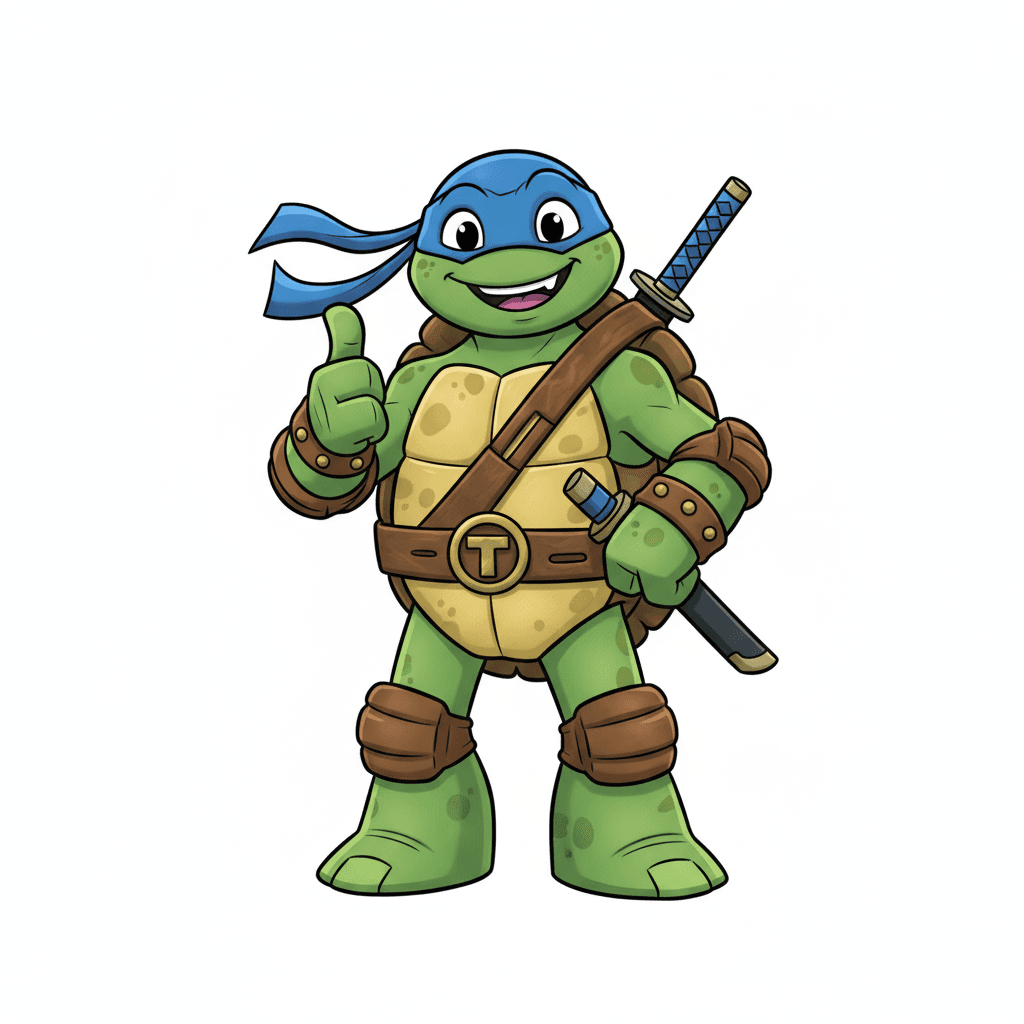
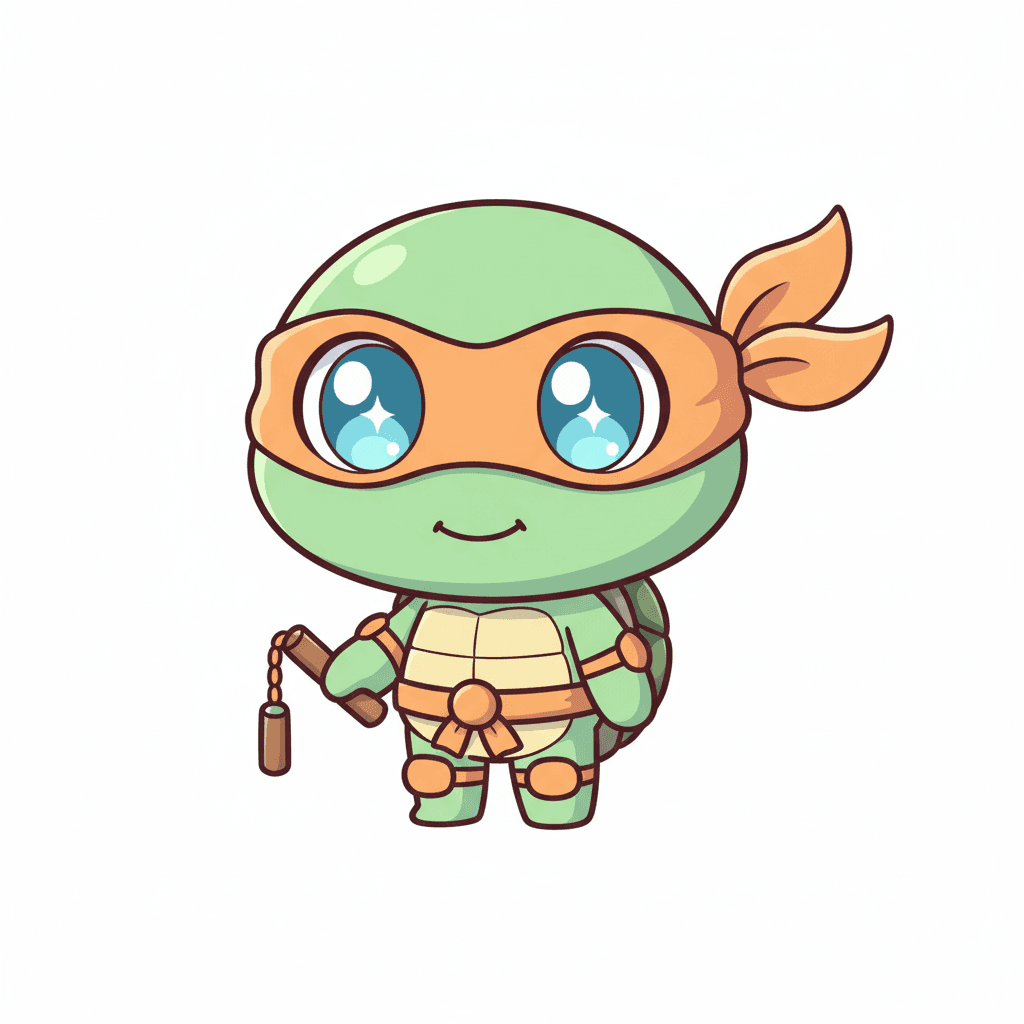
Photos of Ninja Turtle drawing examples

Facts about cartoon character drawing
🐢 Teenage Mutant Ninja Turtles began as a black-and-white comic in 1984 created by Kevin Eastman and Peter Laird.
🎨 The four turtles are named after famous Renaissance artists: Leonardo, Michelangelo, Donatello, and Raphael.
🧑🎨 In the original comics all the turtles wore red masks — the different colored masks first appeared in the 1987 cartoon to help viewers tell them apart.
✏️ Artists often start figure drawing with simple shapes (circles, ovals, rectangles) to map proportions before adding details.
🌗 Simple shading techniques like cross-hatching or a soft shadow under the shell can make a flat drawing look three-dimensional.
How do you draw a ninja turtle step-by-step?
What materials do I need to draw a ninja turtle?
What ages is this drawing activity suitable for?
What are some easy variations to try when drawing a ninja turtle?
