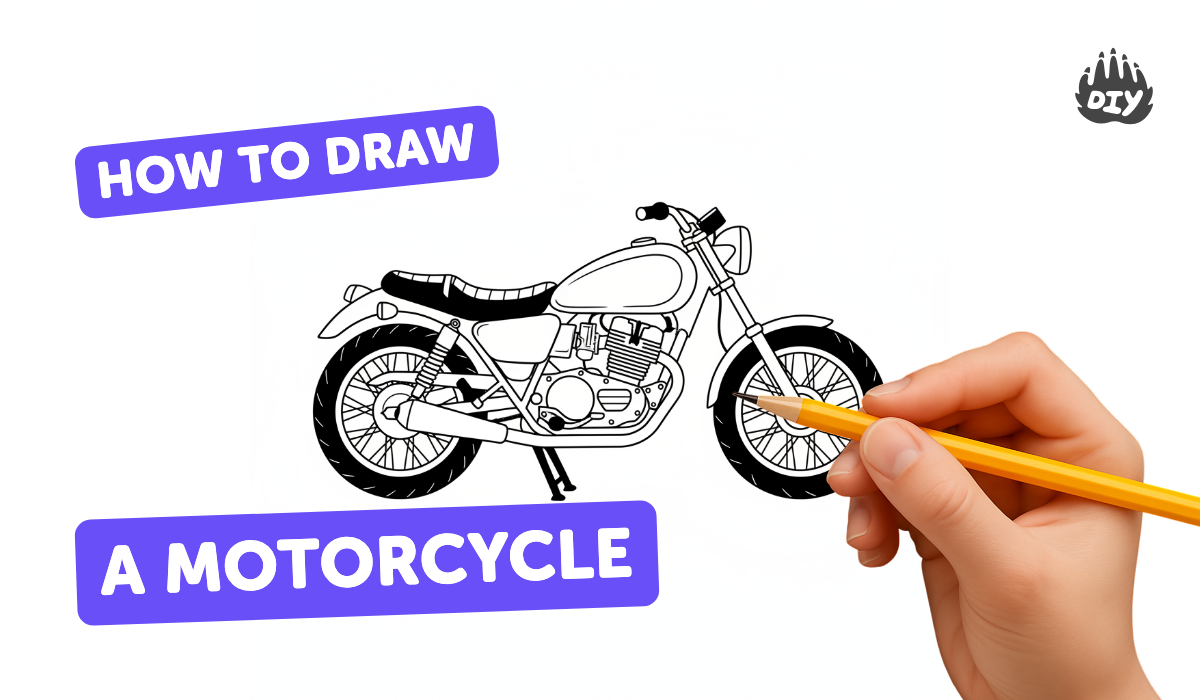
How to draw a motorcycle - a free motorcycle drawing guide
Learn step-by-step how to draw a motorcycle using simple shapes, pencil, eraser, and color, carefully practicing proportions, perspective, and shading.

Drawing Apps
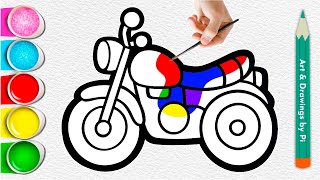
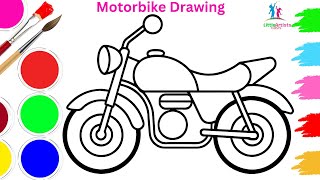
Photos of motorcycle drawing examples


Step-by-step guide to how to draw a motorcycle
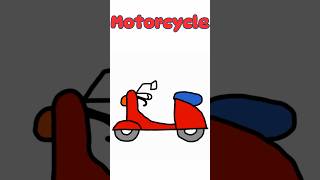
How to Draw a Motorcycle for Kids 🏍️ Easy & Fun Step-by-Step Tutorial! 🏍️🎨
Step 1
Place your paper landscape on a flat surface so you have lots of room to draw.
Step 2
Use a light pencil to draw a faint horizontal ground line near the bottom of the paper.
Step 3
Draw two large circles on the ground line to make the wheels and space them about two wheel diameters apart.
Step 4
Draw smaller circles inside each wheel to show the rims.
Step 5
Draw a straight line connecting the centers of the wheels to mark the axle.
Step 6
Above the axle draw a tilted oval between the wheels to form the motorcycle body and fuel tank.
Step 7
Draw a small rectangle behind the oval to mark the seat area.
Step 8
Draw a narrow rectangle in front of the oval to mark the head tube where the front connects.
Step 9
Draw two parallel lines from the front wheel up to the head tube to form the front fork.
Step 10
Draw a simple handlebar line across the top of the head tube for the controls.
Step 11
Draw a small circle near the front for the headlight.
Step 12
Sketch simple engine shapes and a curved exhaust pipe under the body to add mechanical detail.
Step 13
Add shading with your pencil on curved surfaces and under the bike to show light and depth.
Step 14
Colour your motorcycle using your colouring materials to make it bold and fun.
Step 15
Share your finished creation on DIY.org
Help!?
What can we use if we don't have a light pencil or colouring materials?
Use a well-sharpened regular pencil or charcoal for the faint ground line and construction lines, and replace colouring materials with crayons, markers, colored pencils, or watercolor paints to colour your motorcycle.
My wheels aren't round or lined up—how do I fix them?
Trace round objects (like coins or bottle caps) to draw the two large circles on the ground line, then adjust until the centers line up before drawing the straight axle connecting the centers and spacing them about two wheel diameters apart.
How can I adapt this activity for different ages?
For younger children simplify by tracing pre-cut circles for the wheels and coloring inside bold lines, while older kids can add shaded curved surfaces, more detailed engine shapes and a curved exhaust pipe, or try perspective on the tilted oval fuel tank.
How can we extend or personalize the motorcycle drawing?
Personalize it by altering the tilted oval fuel tank and seat rectangle into different bike styles, adding custom colours and decals when you colour, drawing a background scene, or photographing and sharing your finished creation on DIY.org.
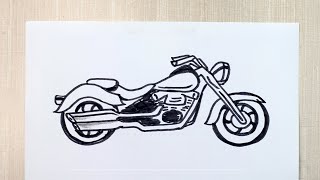
Watch videos on how to draw a motorcycle
How to Draw a Motorcycle🎨- | Easy Drawing | Step-by-Step
4 Videos
How to Draw a Motorcycle🎨- | Easy Drawing | Step-by-Step
"How to Draw a Motorcycle - Step-by-Step Tutorial for Beginners" Bike drawing
Easy Motorbike Drawing with step by step | Simple Motorbike drawing for beginners
How to Draw a Cool Motorcycle I Bike
Facts about drawing and sketching for kids
🏍️ The first gasoline-powered motorcycle, the "Reitwagen", was built in Germany in 1885 by Gottlieb Daimler and Wilhelm Maybach.
✏️ Many artists begin drawings with simple shapes—circles, rectangles, and triangles—to block out accurate motorcycle proportions before adding details.
🔵 In perspective drawing a perfect circle appears as an ellipse when tilted, which is key to drawing realistic motorcycle wheels.
🎨 Shading uses highlights and shadows to turn flat sketches into 3D-looking bikes—just a few value steps can make a big difference.
🕒 Short, focused practice sessions (15–30 minutes) and repeating the same step-by-step method help kids improve drawing skills faster.
How do I teach my child to draw a motorcycle step by step?
What materials do I need to draw a motorcycle with my child?
What ages is learning to draw a motorcycle suitable for?
What are the benefits of teaching kids to draw a motorcycle?


