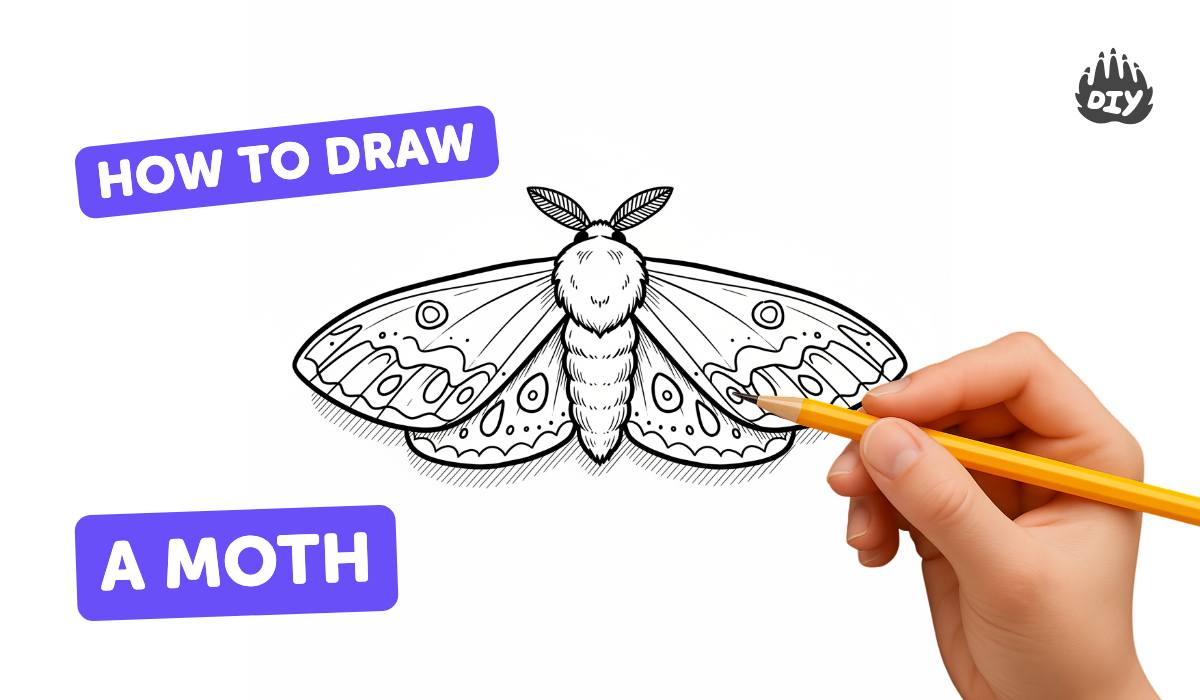
How to draw a moth - a free moth drawing guide
Draw a detailed moth using simple shapes, add wing patterns, antennae, and shading; practice observation, proportion, and fine motor skills.

Drawing Apps
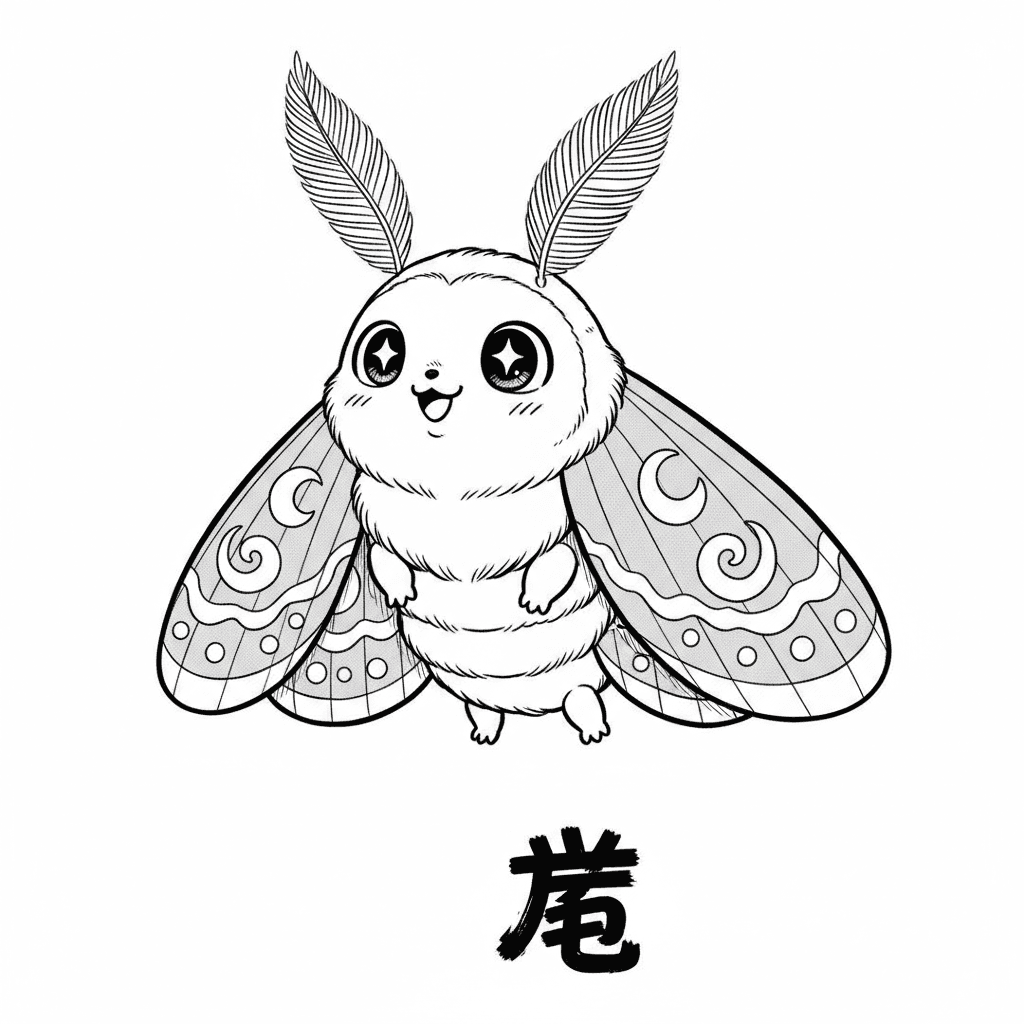
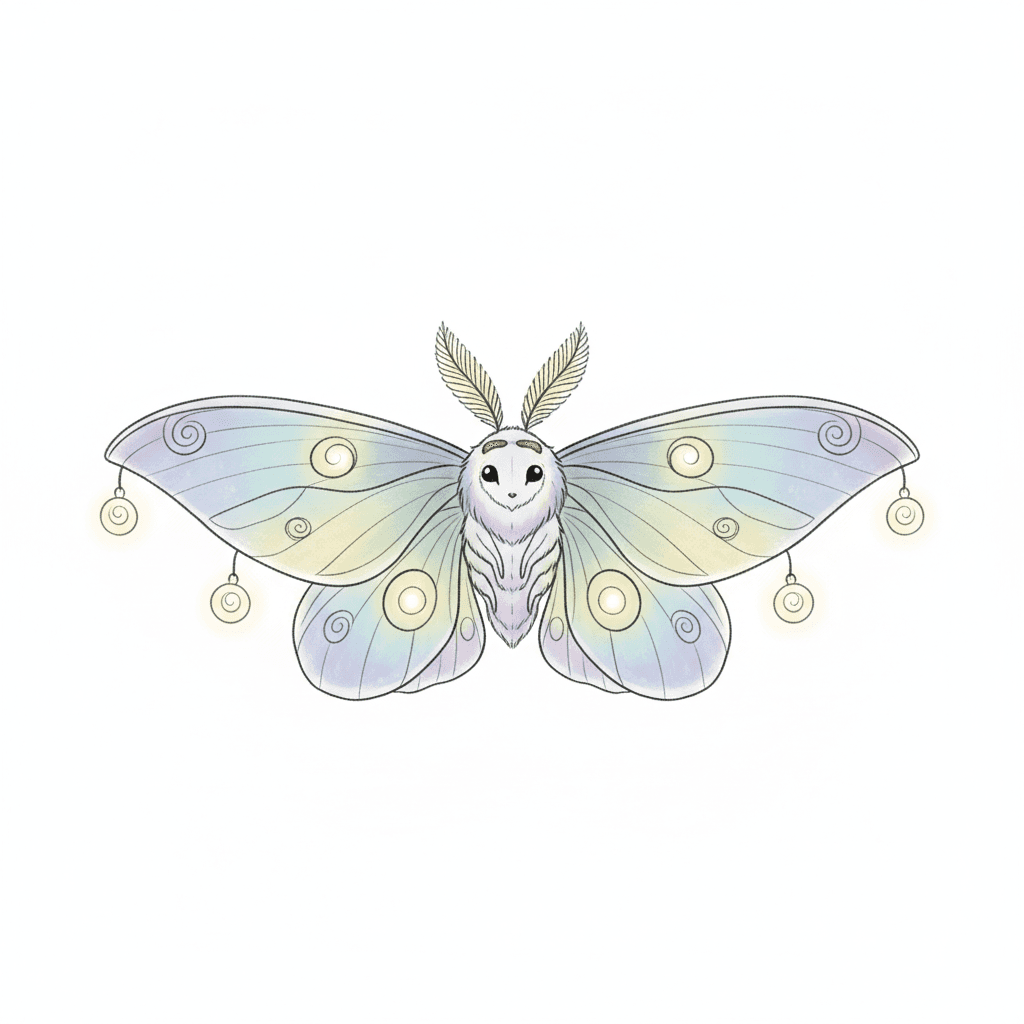
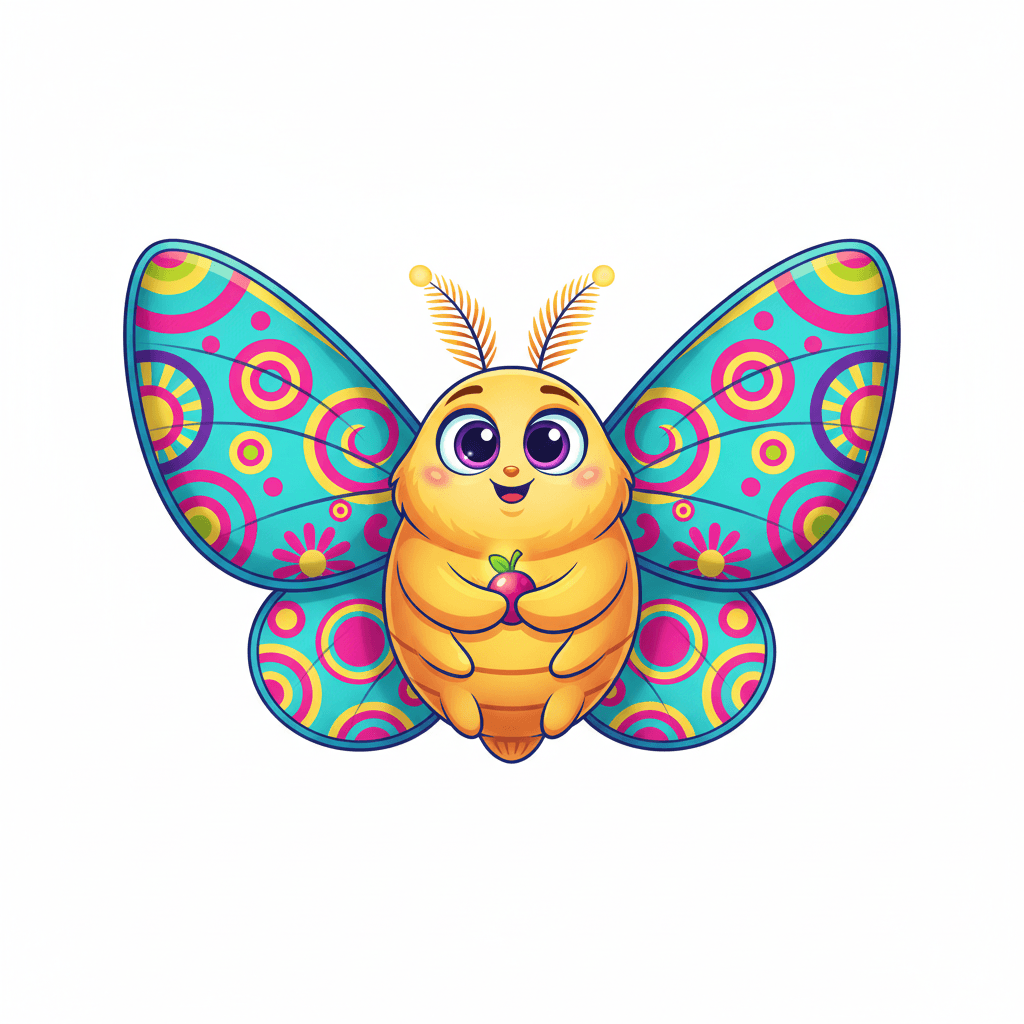
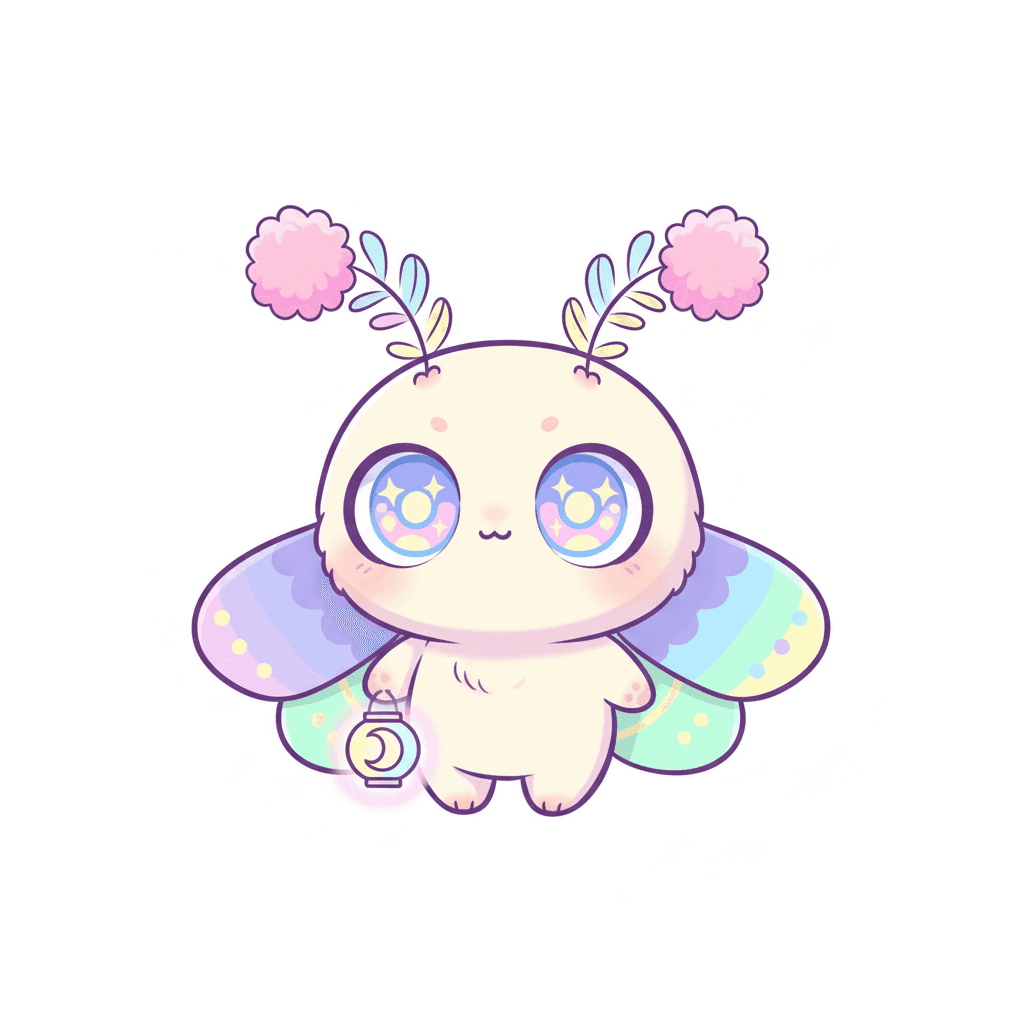
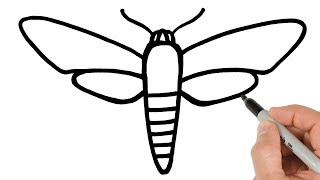
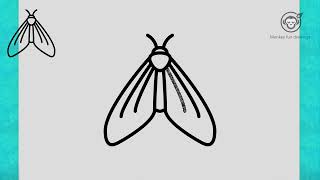
Photos of detailed moth drawings
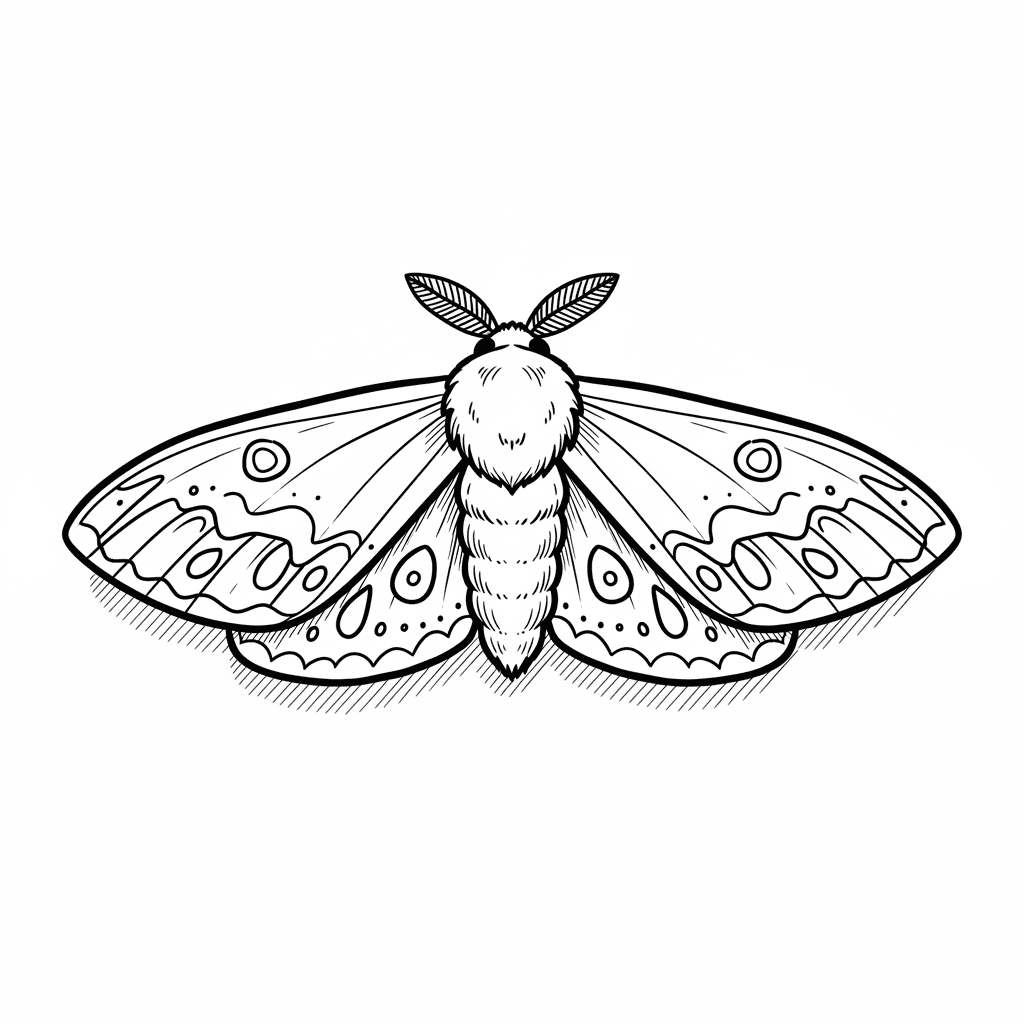
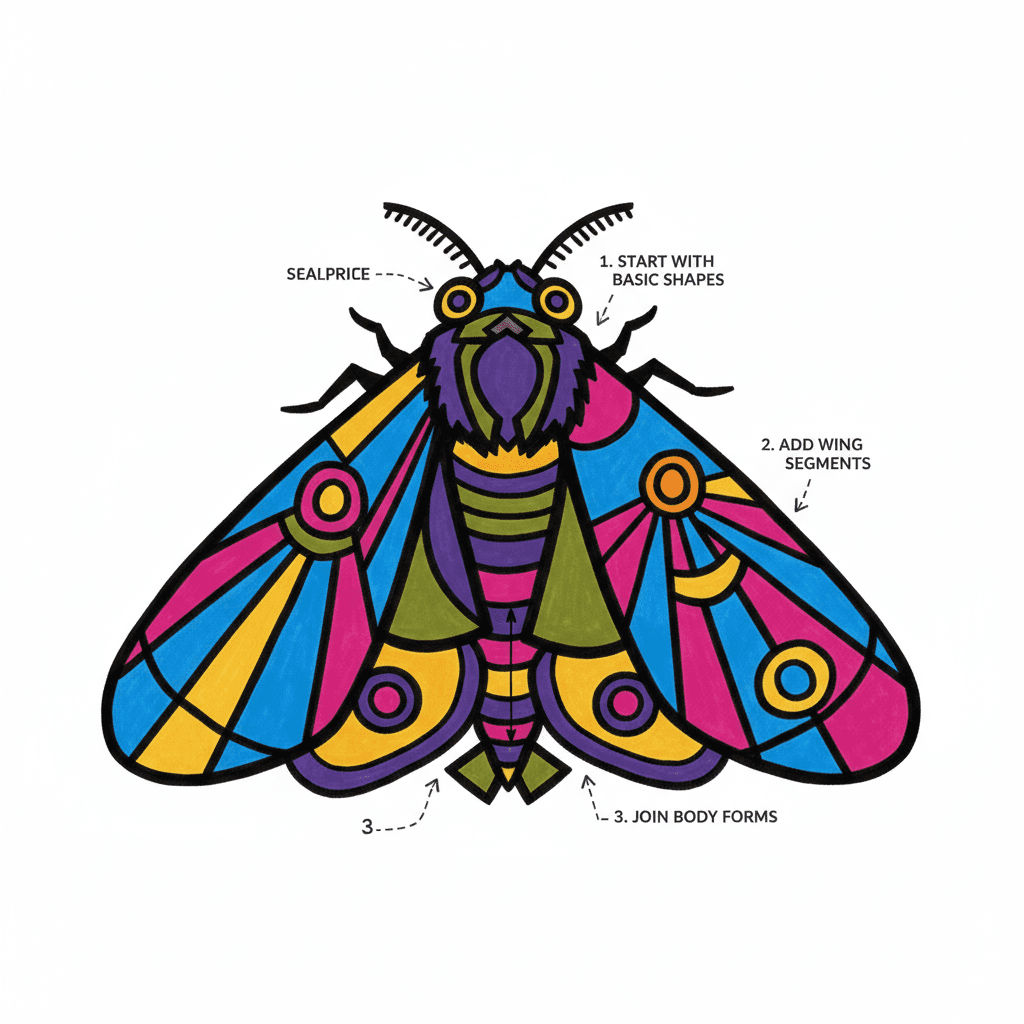
Step-by-step guide to draw a detailed moth
How To Draw A Moth
Step 1
Choose a moth picture or a real moth to look at closely for reference.
Step 2
Spend one or two minutes observing the moth and notice the head body and wing shapes.
Step 3
Lightly draw a small oval for the head and a longer oval under it for the body down the center of your paper.
Step 4
Draw a faint straight center line along the body to help place the wings evenly.
Step 5
Sketch the top pair of wings as large rounded triangles or teardrops on each side using the center line for placement.
Step 6
Sketch the bottom pair of wings as smaller rounded shapes below the top wings on each side.
Step 7
Draw two curved antennae from the head and add tiny notches or clubs at the tips if your moth has them.
Step 8
Add matching wing patterns by drawing simple shapes like spots stripes or eyespots on each wing to mirror both sides.
Step 9
Draw wing veins and short scale-like strokes across the wings for texture and detail.
Step 10
Erase the center line and any extra guide marks so the moth looks clean.
Step 11
Shade the body and wings with pencil strokes along the shapes and gently blend with tissue to make soft shadows.
Step 12
Outline your drawing with a fine-tip pen if you want and color the moth with your coloring materials and sign your name.
Step 13
Share your finished creation on DIY.org
Help!?
What can I use if I don't have a fine-tip pen or tissue for blending?
Use a sharpened colored pencil or a thin marker to outline in place of the 'fine-tip pen' and blend your pencil shading with a cotton swab, fingertip, or paper towel instead of tissue.
My wings look uneven—how can I fix that?
Keep the 'faint straight center line' visible, fold the paper lightly in half or use the center line to measure placement, then redraw the top and bottom wing shapes with very light pencil strokes before erasing guide marks.
How can I adapt this activity for different ages?
For younger kids, simplify to the 'small oval head' and one pair of big wings and skip shading, while older kids can add detailed 'wing veins, scale-like strokes, shading with tissue,' fine-tip pen outlines, and more complex patterns.
How can we enhance or personalize the moth drawing?
Experiment by coloring the moth with watercolor washes or metallic pencils for iridescent scales, add a plant background, sign your name as instructed, and then photograph your finished creation to share on DIY.org.
Watch videos on how to draw a detailed moth
How to Draw a Moth in a Few Easy Steps: Drawing Tutorial for Beginner Artists
4 Videos
How to Draw a Moth in a Few Easy Steps: Drawing Tutorial for Beginner Artists
How to Draw a Moth Easy for Beginners
Learn How to draw moth easy for beginners easy drawing cute moth Step by step moth drawing tutorial
How to Draw a Moth - Beautiful Insect Drawing Guide for Beginners
Facts about moth anatomy for drawing
🦋 Moths outnumber butterflies — about 90% of described Lepidoptera species are moths.
🪶 Moth wings are covered in tiny scales that produce their colors and can rub off like dust if touched.
👃 Moth antennae are highly sensitive scent organs; some males can detect incredibly tiny amounts of pheromone.
🌙 Many moths are nocturnal and use subtle wing patterns and colors to camouflage themselves by day.
✏️ Artists often begin moth drawings with simple shapes (ovals for the body, rounded triangles for wings) before adding patterns and shading.
How do you draw a detailed moth step by step?
What materials do I need to draw a moth with my child?
What ages is drawing a moth suitable for?
What are the benefits, safety tips, and variations for drawing moths?
