How to draw a moose - a free moose drawing guide
Draw a friendly moose step by step using simple shapes, basic proportions, and shading techniques to practice observation and creative drawing skills.


Drawing Apps
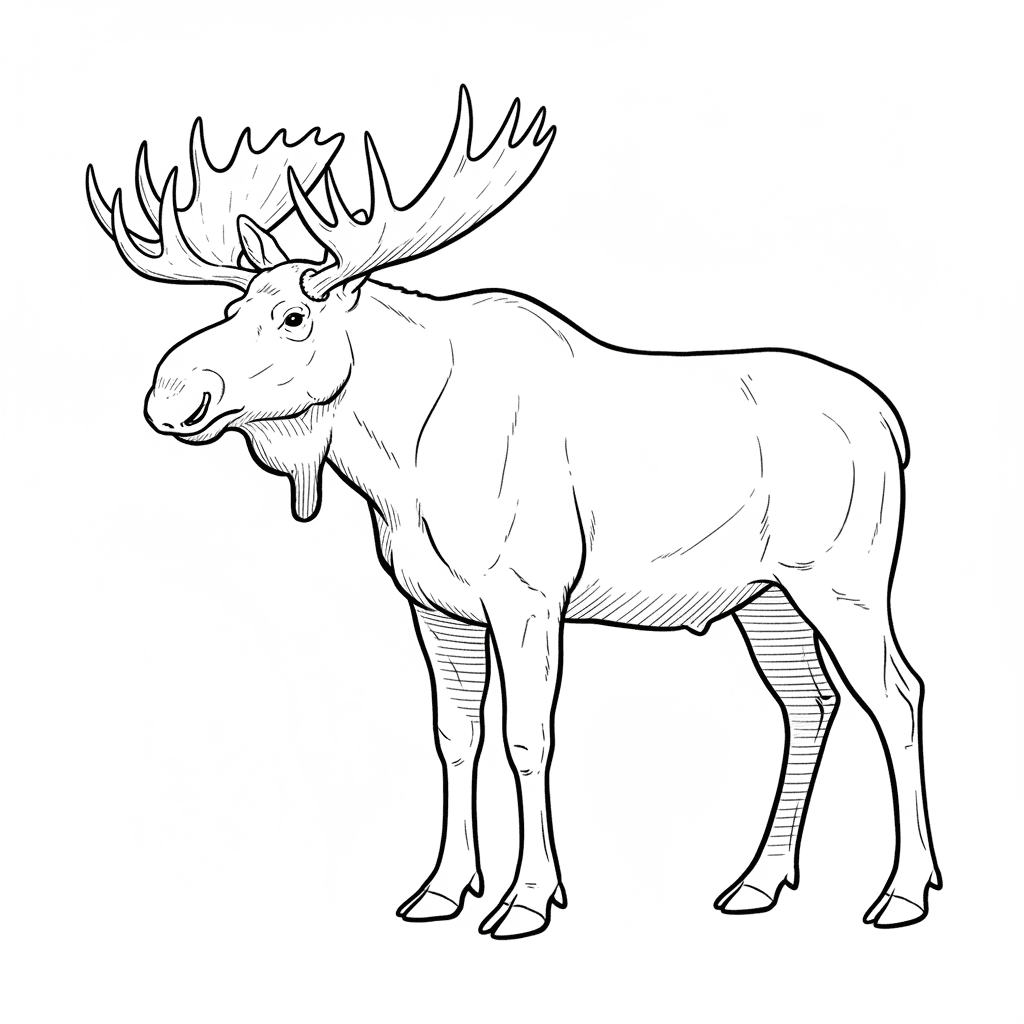
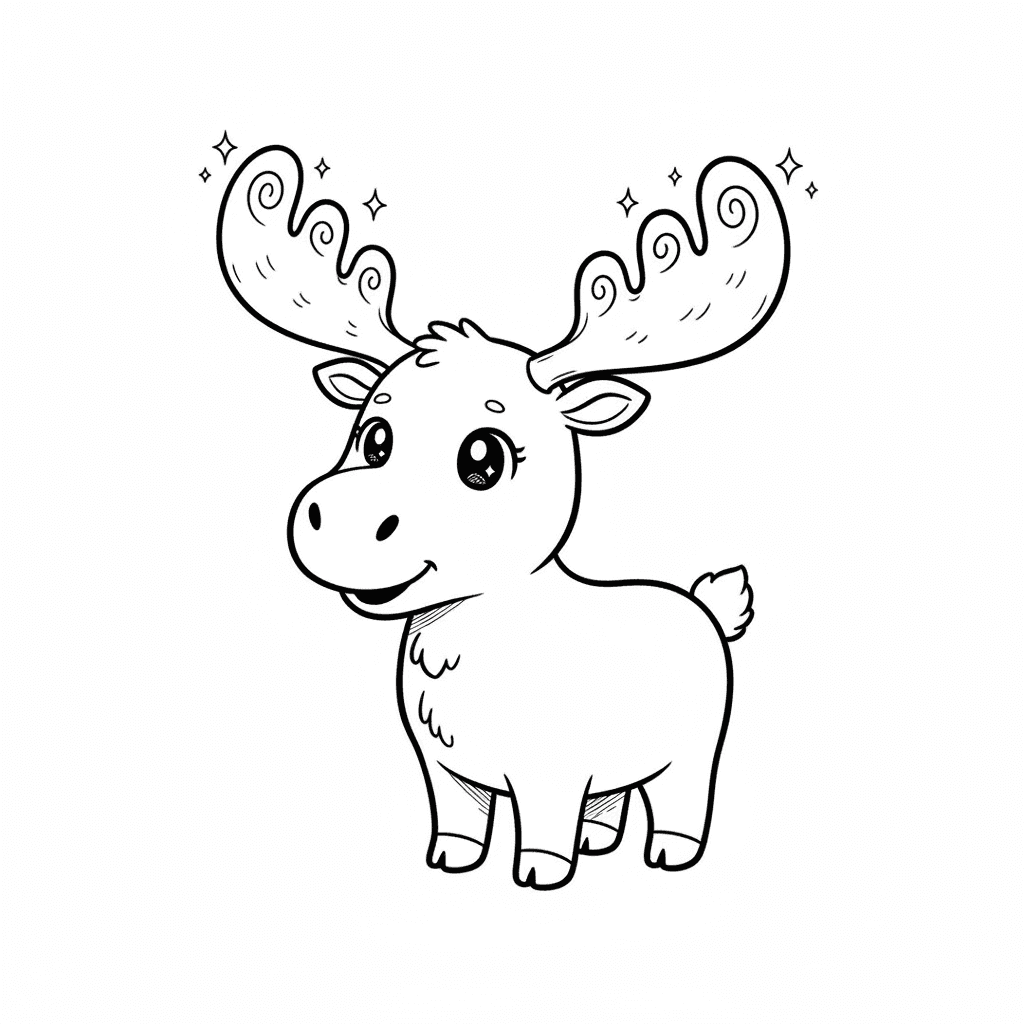
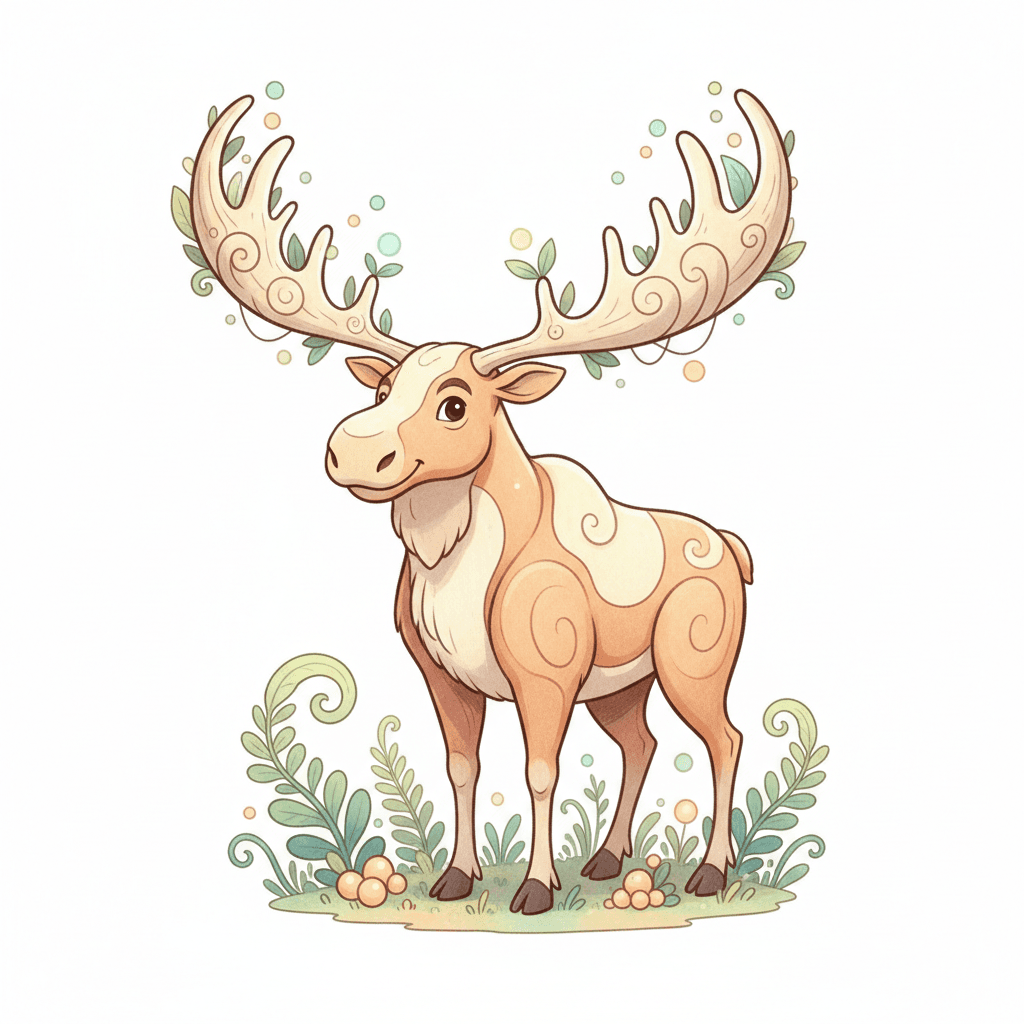
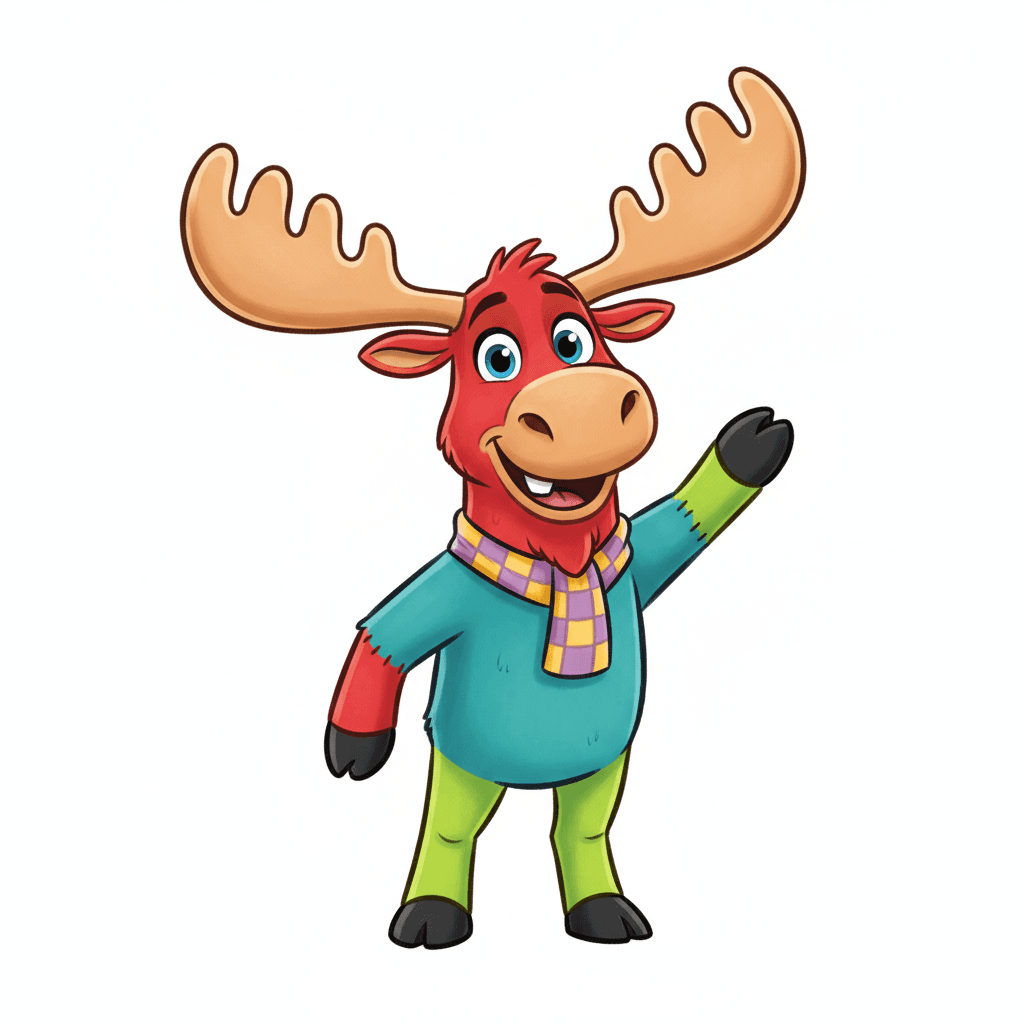
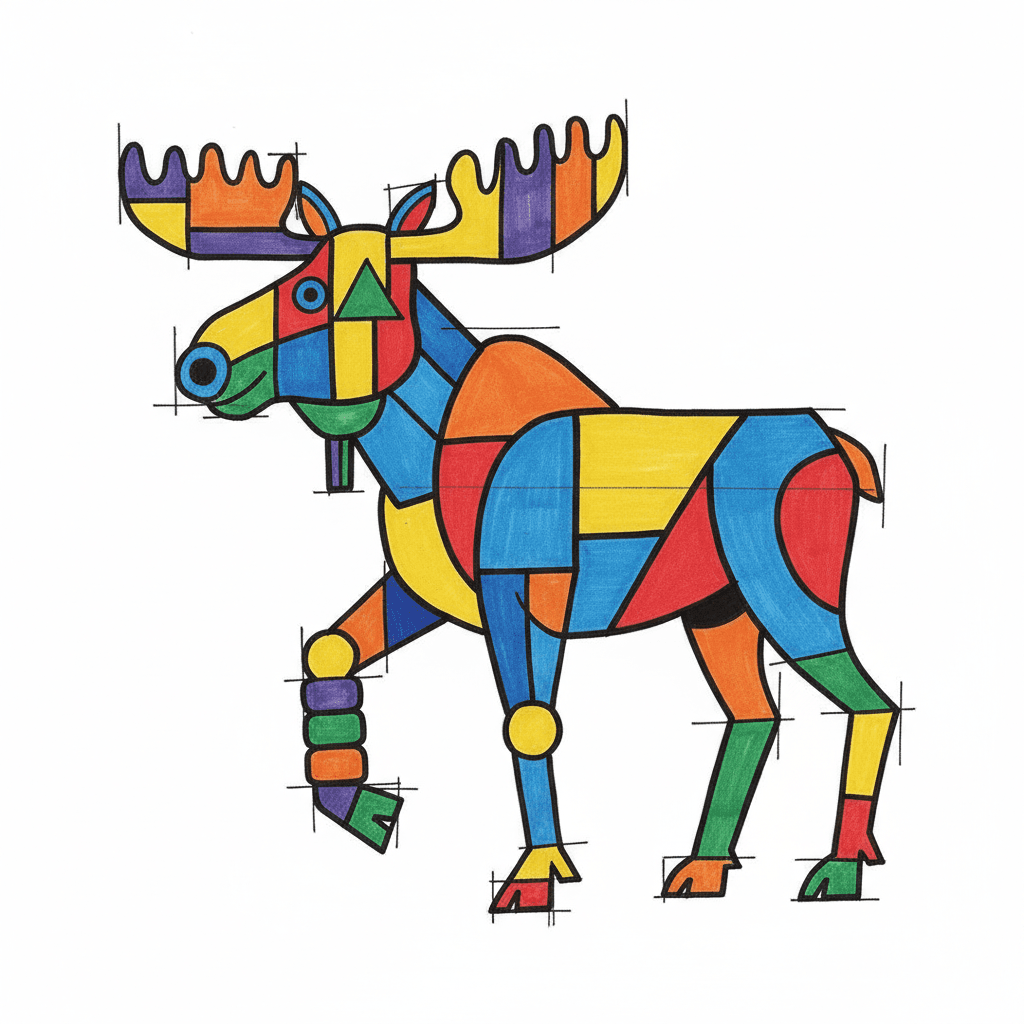
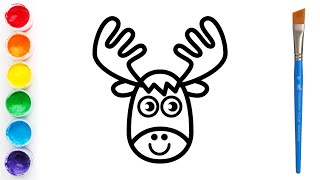
Photos of friendly moose drawing examples
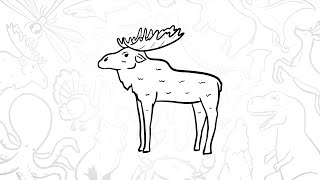
Step-by-step guide to draw a friendly moose
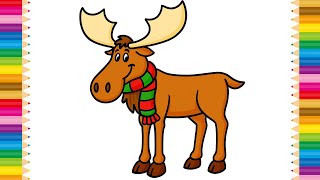
How to draw a moose easy steps for children, kids, beginners lesson #moose #drawing
Step 1
Lightly draw a vertical center line down your paper to help place the moose.
Step 2
Draw a large horizontal oval for the moose’s body slightly below the middle of the paper.
Step 3
Draw a medium circle above the body and slightly to one side for the moose’s head.
Step 4
Draw two short curved lines to connect the head to the body to make the neck.
Step 5
Draw a rounded oval at the front of the head for the snout.
Step 6
Draw two small circles for the eyes on the head and two tiny dots on the snout for nostrils.
Step 7
Draw two rounded ears on the top sides of the head.
Step 8
Sketch two large branchy antlers on top of the head using long curved lines and small forked branches.
Step 9
Draw four straight or slightly curved legs under the body spaced evenly.
Step 10
Add small rectangular or split hooves at the bottom of each leg.
Step 11
Shade lightly under the belly neck and behind the antlers using soft pencil strokes to create shadow.
Step 12
Gently blend the shaded areas with your finger or a tissue and erase any extra guidelines to tidy the drawing.
Step 13
Take a photo or scan your friendly moose and share your finished creation on DIY.org
Help!?
What can we use instead of a pencil, eraser, tissue, or scanner mentioned in the instructions?
Use a light-colored colored pencil or mechanical pencil for the 'lightly draw' construction lines, a kneaded or soft rubber eraser to 'erase any extra guidelines', a clean cotton ball or fingertip instead of a tissue to 'gently blend the shaded areas', and a smartphone camera instead of a scanner to 'take a photo or scan your friendly moose'.
My moose's head, antlers, or legs look wrong—how can I fix these parts?
If proportions or placement are off, use the 'vertical center line' plus the 'large horizontal oval' for the body and the 'medium circle' for the head as measuring guides, lightly adjust the 'two short curved lines' for the neck and 'four straight or slightly curved legs spaced evenly', then erase any extra guidelines before shading.
How can I change the activity for different ages?
For younger children, simplify by tracing pre-drawn 'large horizontal oval' body and 'medium circle' head and drawing big eyes and simple antlers, while older kids can add detailed 'branchy antlers', 'split hooves', layered shading under the belly and behind the antlers, and fine fur texture with short pencil strokes.
What are easy ways to enhance or personalize the finished moose drawing?
Personalize by adding patterned fur, a snowy or forest background, colored pencils or watercolor after erasing guidelines, extra texture on the 'rounded oval snout' and 'branchy antlers', and then take a photo or scan your friendly moose to share on DIY.org.
Watch videos on how to draw a friendly moose
How To Draw A Cartoon Moose
4 Videos

How To Draw A Cartoon Moose
How to Draw a Simple Moose | Step-by-Step Lesson
How to Draw a Cute Moose Step by Step | Easy Drawing Tutorial for Kids
How to draw a moose easy steps for children, kids, beginners lesson #moose #drawing
Facts about animal drawing for kids
🦌 Moose are the largest members of the deer family — male moose can weigh over 1,400 pounds and stand more than 6 feet at the shoulder.
🔄 Moose antlers are shed and regrown every year, which is a cool example of natural cycles you can show in step-by-step drawings.
✏️ Many artists begin with simple shapes (circles, ovals, rectangles) to block in an animal’s proportions before adding details.
🎨 Using light and shadow (shading) can turn a flat outline of a moose into a three-dimensional, lifelike image.
👀 Observational drawing trains you to notice features like the moose’s long muzzle, large ears, and the dewlap under its throat.
How do I teach my child to draw a friendly moose step by step?
What materials do I need to draw a simple moose with my child?
What ages is this moose drawing activity suitable for?
What are the benefits of drawing a moose and fun variations to try?
