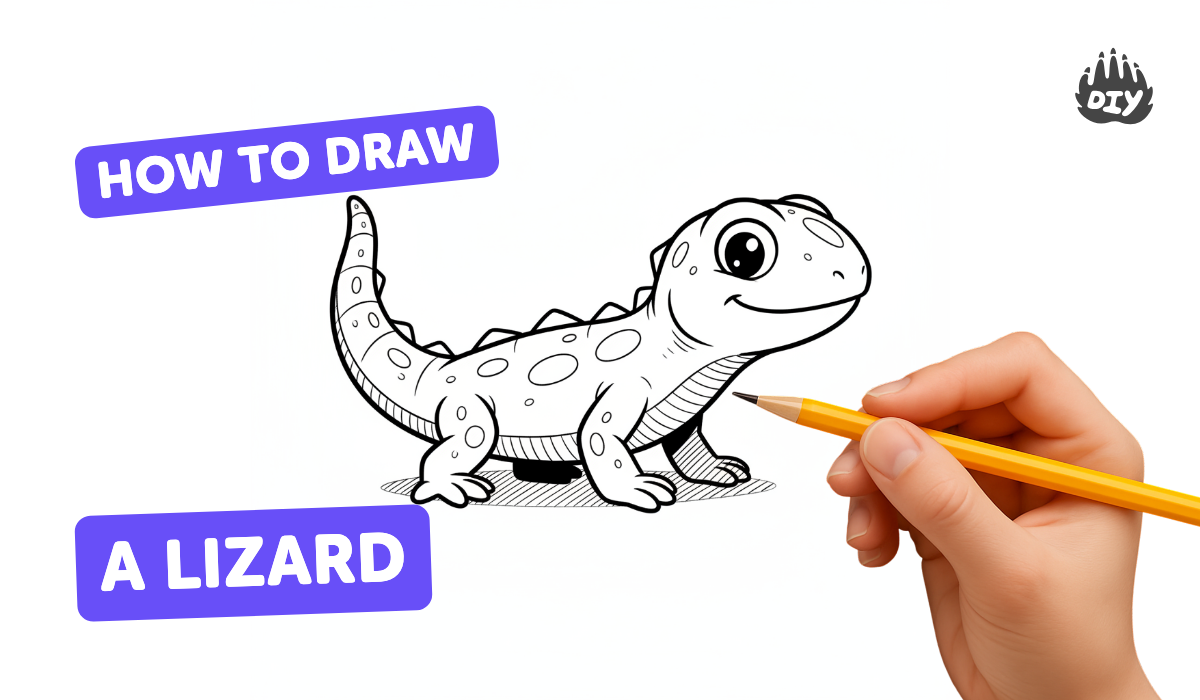
How to draw a lizard - a free lizard drawing guide
Draw a friendly lizard step by step using simple shapes, lines, and scales. Practice observation, proportion, and shading to create a realistic illustration.

Drawing Apps
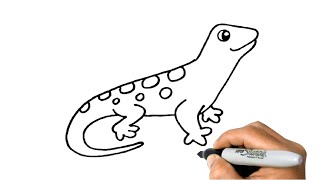
Photos of friendly lizard drawing examples


Step-by-step guide to draw a friendly lizard
Easy Lizard 🦎 Drawing for kids | Step-by-Step Tutorial
Step 1
Gather all your materials and find a flat spot to draw.
Step 2
Draw a small oval near the top of the paper for the lizard's head.
Step 3
Draw a larger oval that overlaps the lower part of the head for the body.
Step 4
Draw a short curved line between the head and body to make the neck.
Step 5
Draw a long S-shaped curve from the back of the body for the tail.
Step 6
Draw two front legs as bent tube shapes with three small toes each.
Step 7
Draw two back legs a bit thicker than the front legs with three small toes each.
Step 8
Draw two small circles on the head for the eyes.
Step 9
Draw a tiny curved line under the eyes for a friendly smile.
Step 10
Erase any extra overlapping guide lines so the lizard shape looks clean.
Step 11
Add scale patterns by drawing small U-shapes or diamonds along the back and body.
Step 12
Shade lightly under the belly and along the body edge with gentle pencil strokes to show shadow.
Step 13
Trace your final outlines with a darker pencil or fine-tip marker to make the drawing pop.
Step 14
Color your lizard using lighter colors on the belly and darker tones on the back and add a tongue or spots if you like.
Step 15
Share your finished lizard on DIY.org.
Help!?
What can we use if we don't have a fine-tip marker, eraser, or colored pencils?
Trace your final outlines with the darkest pencil or a ballpoint pen instead of a fine-tip marker, correct mistakes using a kneaded eraser or the corner of a soft cloth after the 'Erase any extra overlapping guide lines' step, and color the lizard with crayons or washable markers as described in the 'Color your lizard' step.
My tail or legs look uneven — how can I fix that?
Follow the instructions to draw the small and larger ovals first and use faint guide lines for the long S-shaped tail and bent tube legs, then 'Erase any extra overlapping guide lines' and lightly redraw the shapes before you 'Trace your final outlines' so they look balanced.
How can I adapt this activity for different age groups?
For younger kids, use big ovals, thicker crayons, and skip detailed 'scale patterns,' while older children can add more 'scale patterns,' careful 'shade lightly,' and trace with a fine-tip marker for extra detail.
What are some ways to personalize or extend the lizard drawing?
Add a background habitat, experiment with watercolors or textured paper, embellish with spots or a tongue as in the 'Color your lizard' step, and then 'Share your finished lizard on DIY.org' to show your variation.
Watch videos on how to draw a friendly lizard
Draw a Lizard with Me! 🦎✨ | Step-by-Step Drawing Tutorial
4 Videos
Draw a Lizard with Me! 🦎✨ | Step-by-Step Drawing Tutorial
How to Draw a LIZARD Easy Step by Step
How to Draw a Cute Lizard 🦎 | Easy & Fun Art Tutorial for Kids!

How to Draw a Lizard Easy Step By Step Drawing Tutorials for Kids - UCIDraw
Facts about animal drawing for kids
🦎 There are over 6,000 species of lizards worldwide, from tiny geckos to the giant Komodo dragon.
🔁 Many lizards can detach and later regrow their tails — a defense called autotomy that helps them escape predators.
👀 Some lizards can see colors and even ultraviolet light, so they perceive more hues than humans do.
🌍 Lizards live almost everywhere — deserts, rainforests, mountains, and cities — but not in the coldest polar regions.
✏️ Artists commonly start drawings with simple shapes (circles, ovals, lines) to get proportion and pose right before adding scales and shading.
How can my child draw a friendly lizard step by step?
What materials do I need to draw a lizard with my child?
What ages is this lizard drawing activity suitable for?
What are the benefits and fun variations of drawing a lizard?
