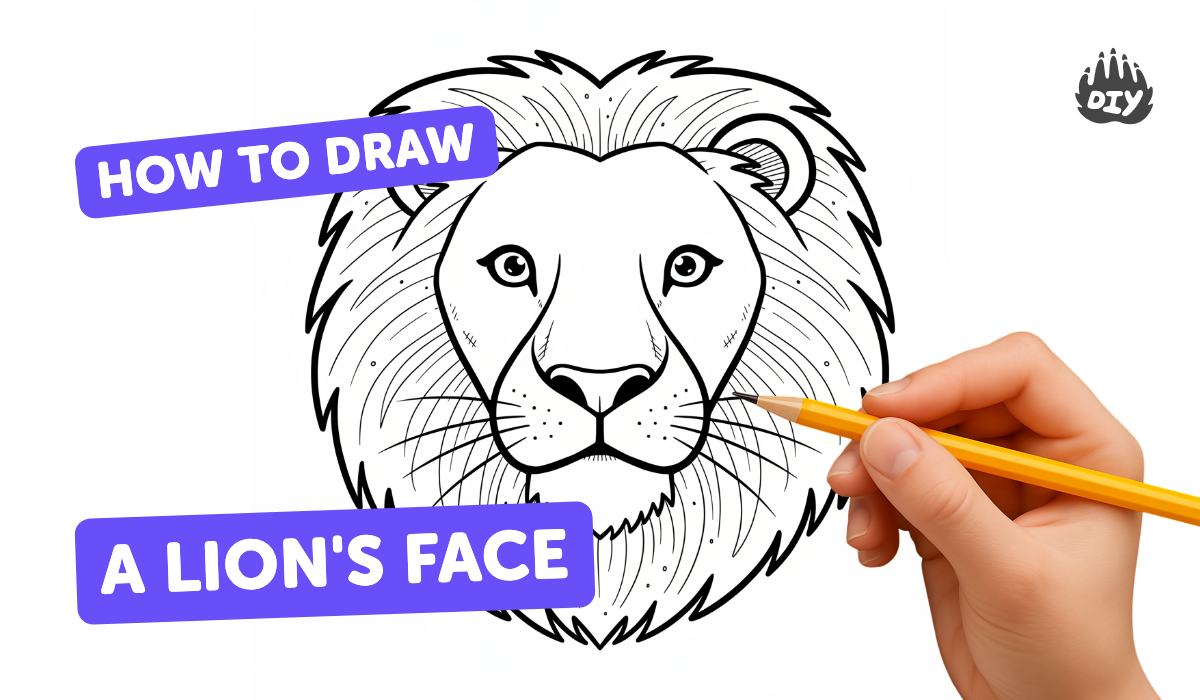
How to draw a lion face - a free lion face drawing guide
Draw a detailed lion face step by step using shapes, lines, and shading. Practice proportions, textures, and facial features to improve observational drawing skills.

Drawing Apps
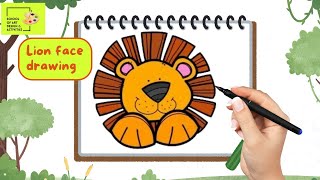
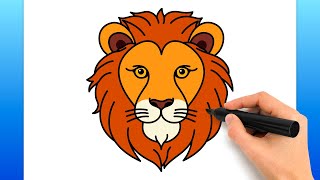
Photos of lion face drawings


Step-by-step guide to draw a lion face
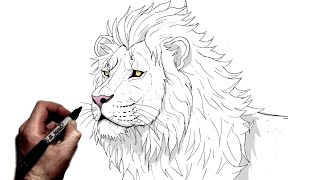
How to Draw a Lion — Step-by-Step Lion Face & Mane Tutorial for Kids & Beginners 🦁✏️
Step 1
Place your paper in portrait (tall) position on a flat surface.
Step 2
Lightly draw a large circle near the center of the paper for the lion’s head.
Step 3
Draw one light vertical line and one light horizontal line across the circle to make face guidelines.
Step 4
Sketch a slightly rounded trapezoid or rounded triangle at the bottom of the circle to form the muzzle.
Step 5
Draw a small triangle or heart shape at the top of the muzzle to make the nose.
Step 6
Draw a short vertical line down from the nose and two curved lines outward to make the mouth.
Step 7
Draw two almond shaped eyes on the horizontal guideline spaced evenly from the center line.
Step 8
Add small circles for pupils inside the eyes and draw a curved line above each eye for the eyelid.
Step 9
Draw two rounded ears near the top sides of the circle and add a smaller curved line inside each ear.
Step 10
Draw the mane by sketching big wavy or zigzag lines all around the outside of the head circle.
Step 11
Make fur texture by adding many short tapered pencil strokes on the face and longer strokes in the mane.
Step 12
Shade under the chin nose bridge and around the eyes lightly with your pencil and soften the shading using the tissue or cotton bud.
Step 13
Take a photo of your finished lion face and share your creation on DIY.org.
Help!?
What can I use instead of a tissue or cotton bud for softening the pencil shading?
Use a clean fingertip, the folded corner of a paper towel, a cotton swab, or a blending stump to soften the shading under the chin, nose bridge, and around the eyes as the instructions say.
My lion's eyes look uneven—how can I fix them using the face guidelines?
Erase lightly and redraw the almond-shaped eyes on the horizontal guideline so they sit evenly on either side of the vertical center line, using the guidelines to check spacing and symmetry.
How can I adapt this drawing activity for younger or older children?
For younger kids, simplify by tracing a plate for the head circle and drawing a basic nose and mane scribbles, while older kids can add tapered fur strokes, detailed eyelids, and soft shading under the chin and nose bridge as described.
How can we enhance or personalize the finished lion face before taking the photo for DIY.org?
Personalize the mane with colored pencils, markers, or watercolor to add patterns or multiple colors, add whiskers with a sharp pencil, and include textured fur strokes on the face before photographing and sharing on DIY.org.
Watch videos on how to draw a lion face
How to Draw a Lion Face 🦁 | Easy Step-by-Step Drawing for Kids
4 Videos
How to Draw a Lion Face 🦁 | Easy Step-by-Step Drawing for Kids
How To Draw A Lion Face (Easy Drawing Tutorial)
🦁 Easy Lion Drawing for Kids | Step by Step Tutorial 🎨
How To Draw A Lion | Step By Step
Facts about animal drawing for kids
🦁 A lion's mane color often darkens with age and higher testosterone—artists can use mane shade to show age or mood.
👃 A lion's nose pattern is unique like a fingerprint, so tiny nose marks can make your portrait one-of-a-kind.
👀 Lions have a reflective layer behind their retinas (tapetum lucidum) that makes eyes look shiny in low light—great reference for highlights.
✏️ Blocking a face into simple shapes (circles, ovals, triangles) first makes it much easier to get correct proportions.
🎨 Shading from light to dark and using short, varied pencil strokes helps imitate fur texture and round facial planes.
How do I draw a detailed lion face step by step?
What materials do I need to draw a lion face?
What ages is this lion face drawing activity suitable for?
What are the benefits, safety tips, or variations for drawing a lion face?
