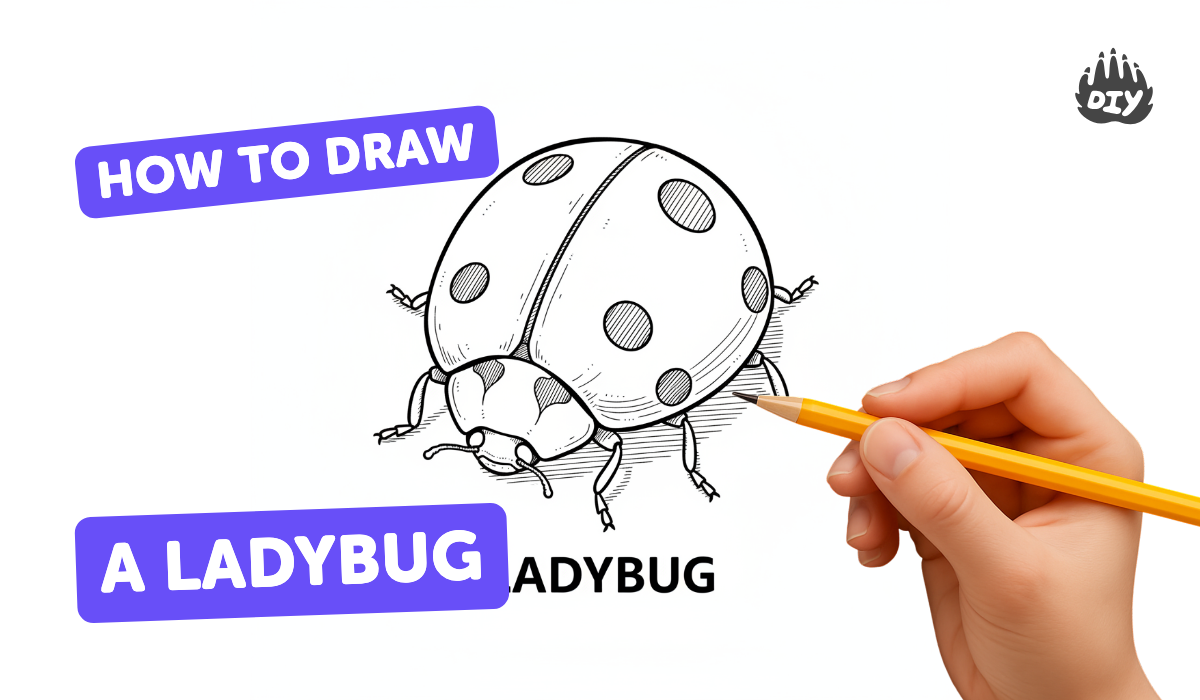
How to draw a ladybug - a free ladybug drawing guide
Draw a friendly ladybug step-by-step using pencil, marker, and crayons. Learn shapes, symmetry, and coloring to create your own cheerful insect art.

Drawing Apps
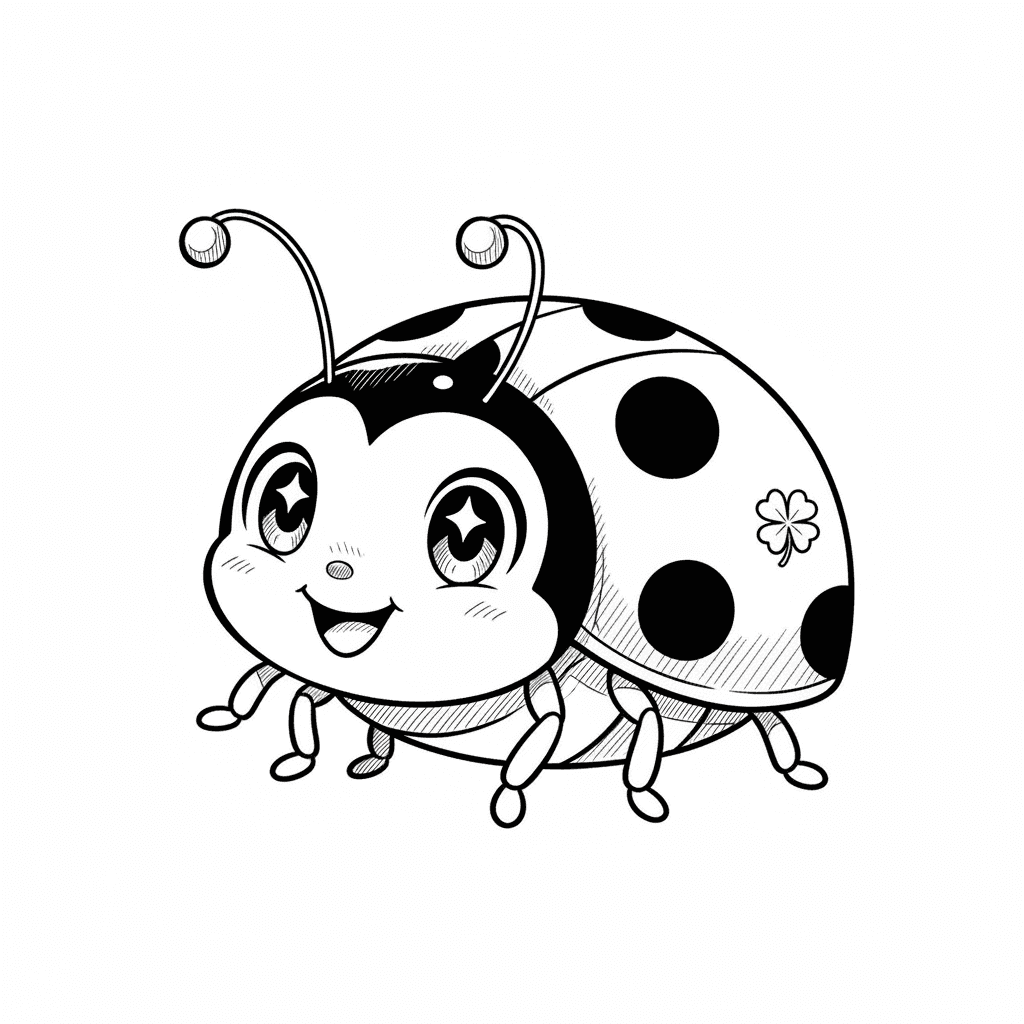
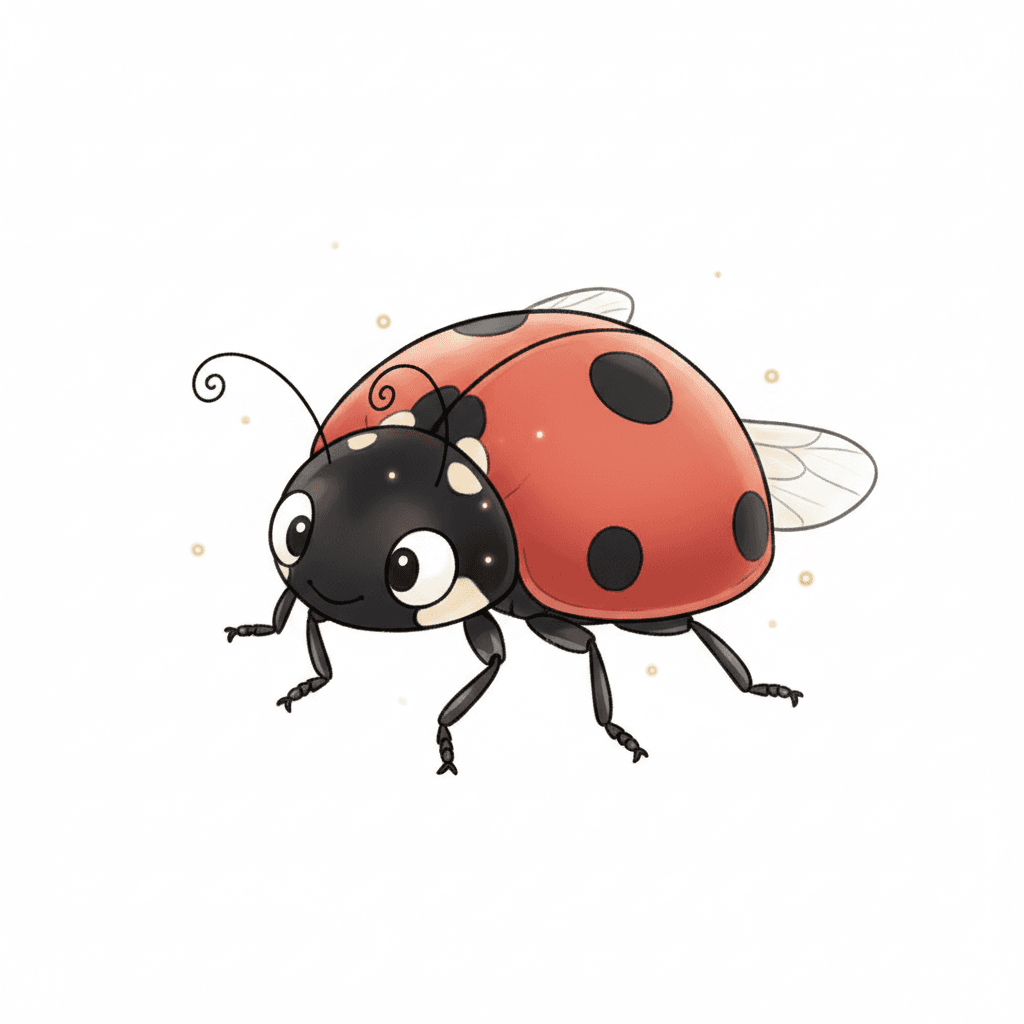
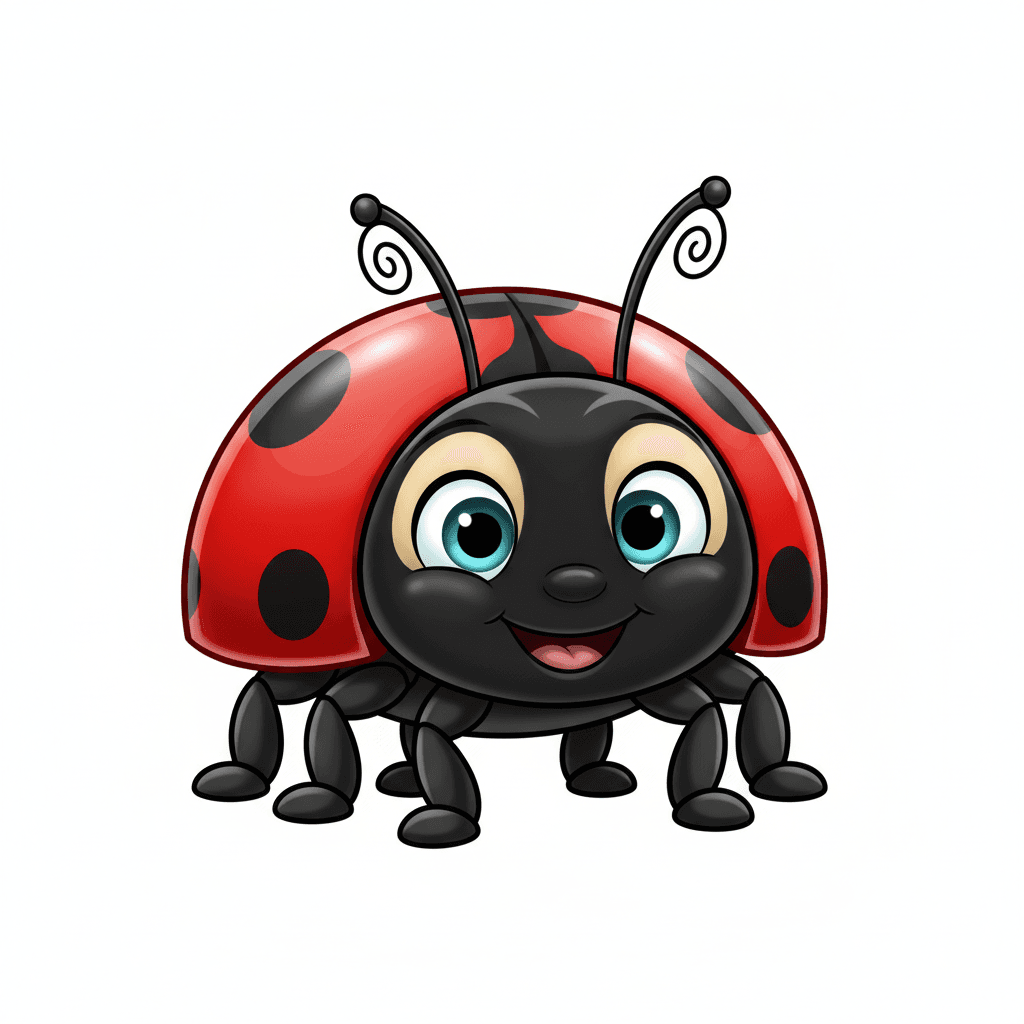
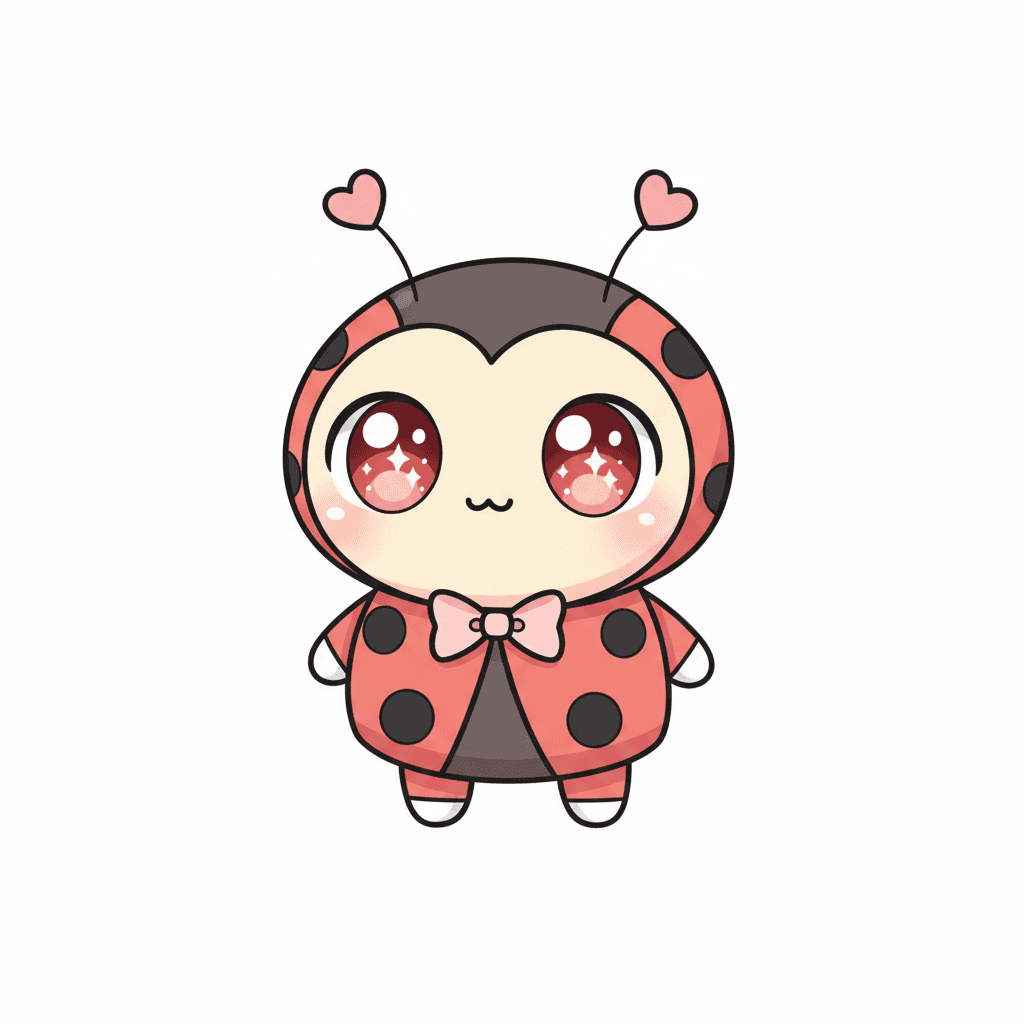
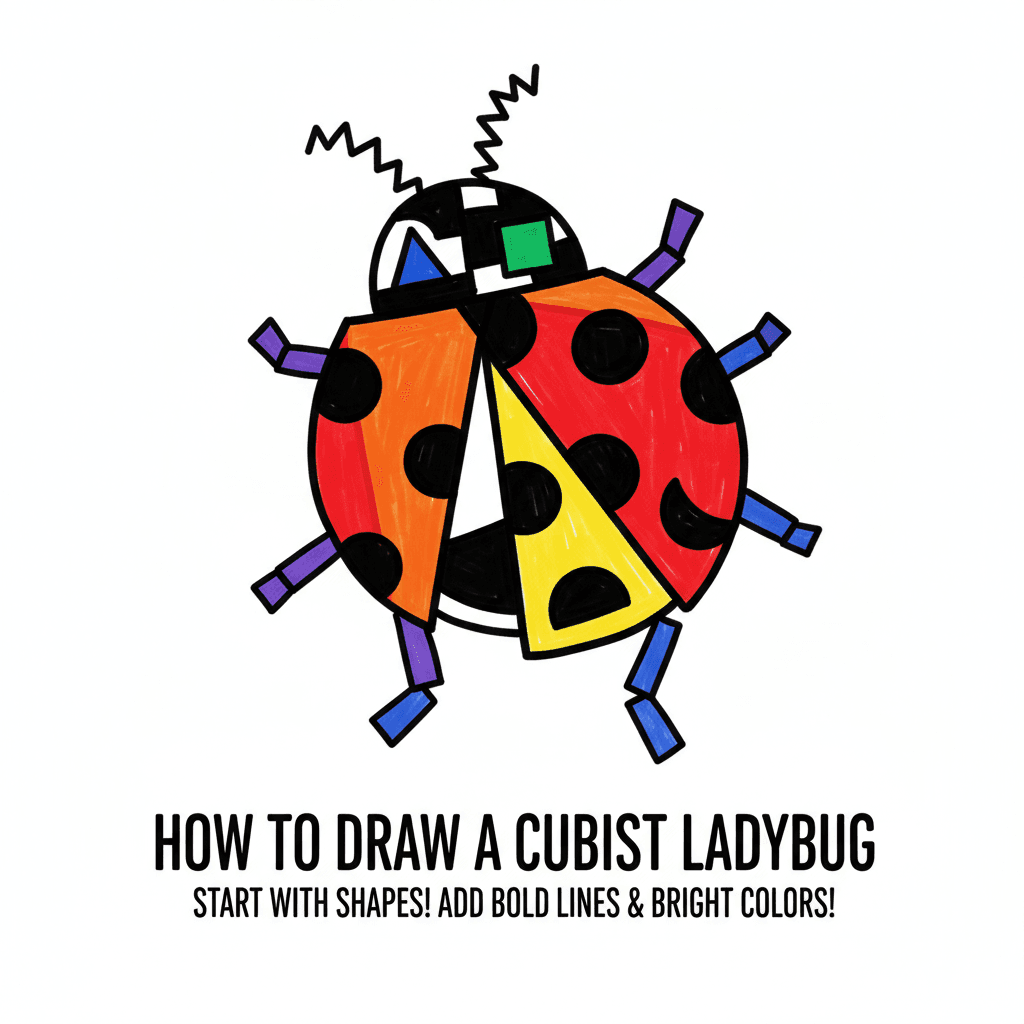
Photos of ladybug drawing examples

Step-by-step guide to draw a ladybug
How to draw a ladybug EASY step by step for kids, beginners, children 2
Step 1
Place your plain paper on a flat surface in front of you.
Step 2
Lightly draw a large oval in the middle of the paper for the ladybug's body.
Step 3
Draw a small circle touching the top of the oval for the head.
Step 4
Draw a straight line from the top to the bottom of the oval to split the wings into two halves.
Step 5
Draw two short curved antennae on the top of the head.
Step 6
Draw three small curved legs on each side of the body.
Step 7
Draw three round spots on the left wing.
Step 8
Draw the same three spots in matching places on the right wing so they look symmetrical.
Step 9
Draw two round eyes on the head.
Step 10
Draw a small smiling mouth under the eyes.
Step 11
Carefully trace over all the pencil lines with your black marker to make bold outlines.
Step 12
Gently erase the pencil lines so only the marker drawing remains.
Step 13
Color both wings red leaving the spots uncolored so they stay white.
Step 14
Color the head the antennae the legs and the spots black.
Step 15
Share your finished ladybug drawing on DIY.org.
Help!?
I don't have a black marker or red crayon — what can I use instead?
If you don't have a black marker use a dark pencil, black crayon, or fine-tip pen for tracing, and replace the red crayon with a red colored pencil, washable marker, or red watercolor to color the wings.
My spots don't match on both wings or the marker smudges when I erase — how can I fix that?
Make faint pencil guide dots measured from the center wing line to mirror spot positions and allow the black marker to dry completely before gently erasing the pencil lines with a soft eraser to avoid smudging.
How can I change the activity for younger or older kids?
For younger children pre-draw the large oval, head, and center wing line and have them color the wings and spots, while older kids can add finer antennae, shading on the red wings, labeled body parts, or more realistic leg details.
How can we extend or personalize the ladybug drawing after finishing the basic steps?
Turn it into a mini project by cutting the wings along the center line to make liftable wings, gluing patterned paper under the spots for a surprise color, adding a leaf background, and then share the photo on DIY.org.
Watch videos on how to draw a ladybug
Easy Ladybug Drawing for Kids | Step by Step Cute Cartoon Ladybug Sketch Tutorial 🐞
4 Videos
Easy Ladybug Drawing for Kids | Step by Step Cute Cartoon Ladybug Sketch Tutorial 🐞
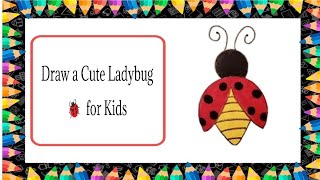
How to Draw a Cute Ladybug for Kids

How to draw a ladybug easy🐞
Cute Ladybug Drawing - Easy Step-by-Step for Beginners
Facts about drawing and coloring for kids
🐞 About 5,000 species of ladybugs (Coccinellidae) live around the world, in lots of colors and patterns.
🔁 Ladybugs are bilaterally symmetric — their left and right sides mirror each other, making them perfect for practicing symmetry in drawing.
✏️ Start with a light pencil sketch so you can erase and tweak shapes before tracing your final lines with a marker.
🖍️ Crayons are waxy and great for layering color; press lightly for soft shading or harder for bright, bold patches.
🎯 Not all ladybugs have the same number of spots — some species have none, so you can invent fun spot patterns for your friendly bug.
How do you draw a friendly ladybug step-by-step?
What materials do I need to draw a ladybug?
What ages is this activity suitable for?
What are the benefits and fun variations of drawing a ladybug?
