How to draw a knight - a free knight drawing guide
Learn to draw a knight in armor step-by-step using simple shapes, adding helmet, shield, sword, and shading to create a heroic character.

Drawing Apps
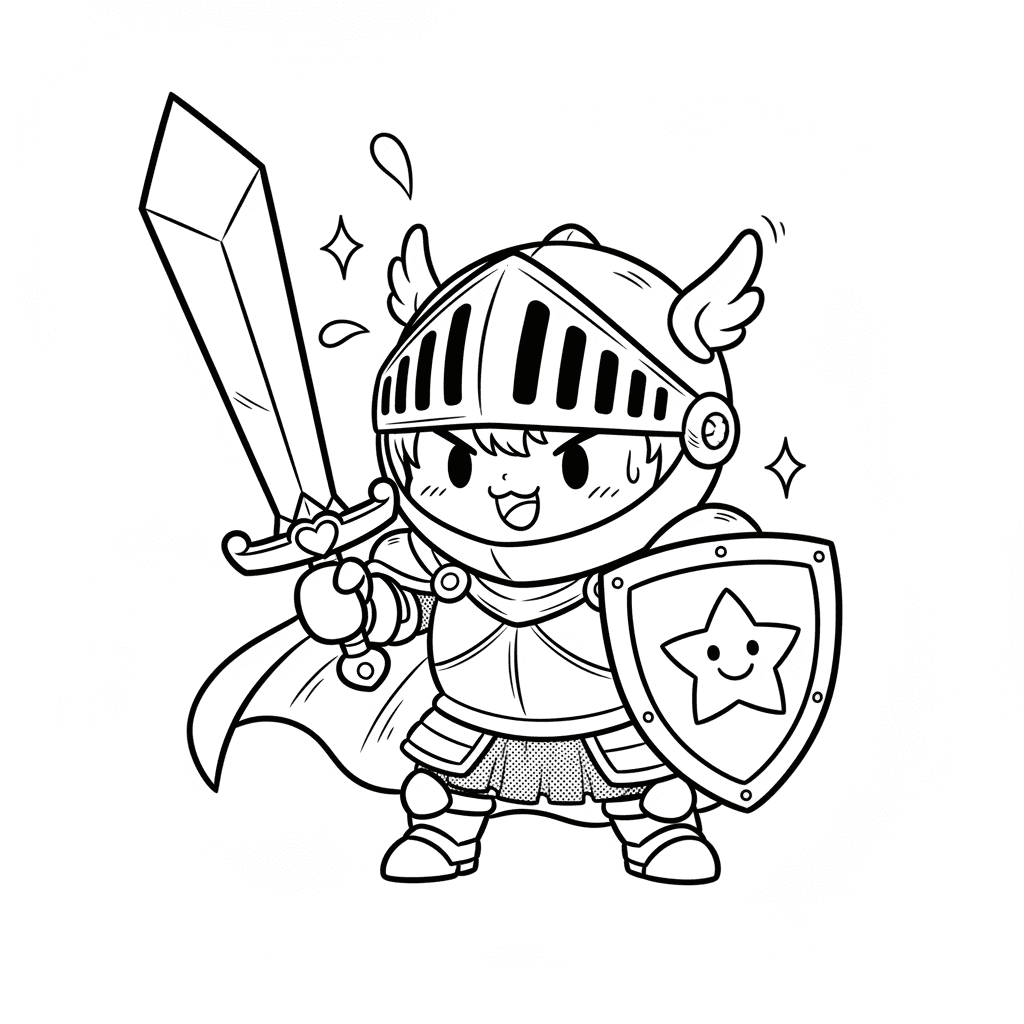
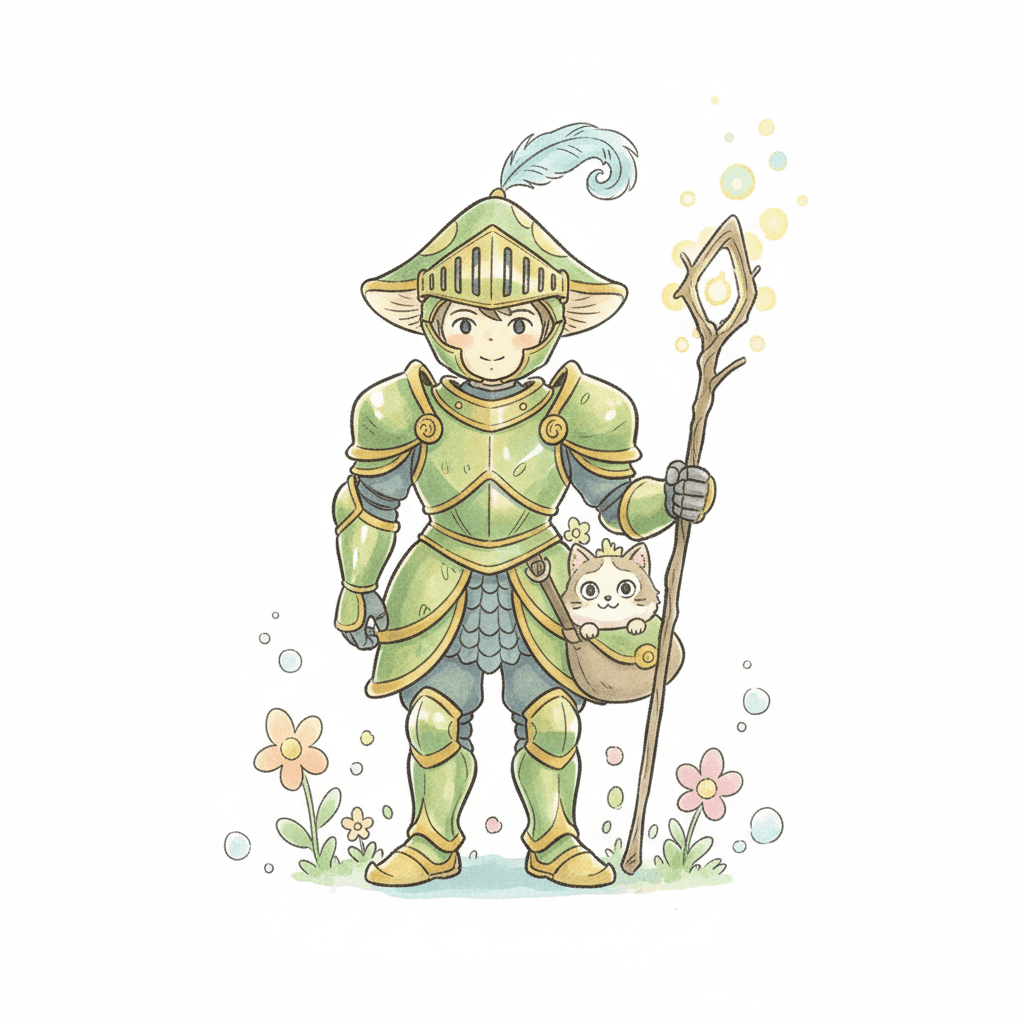
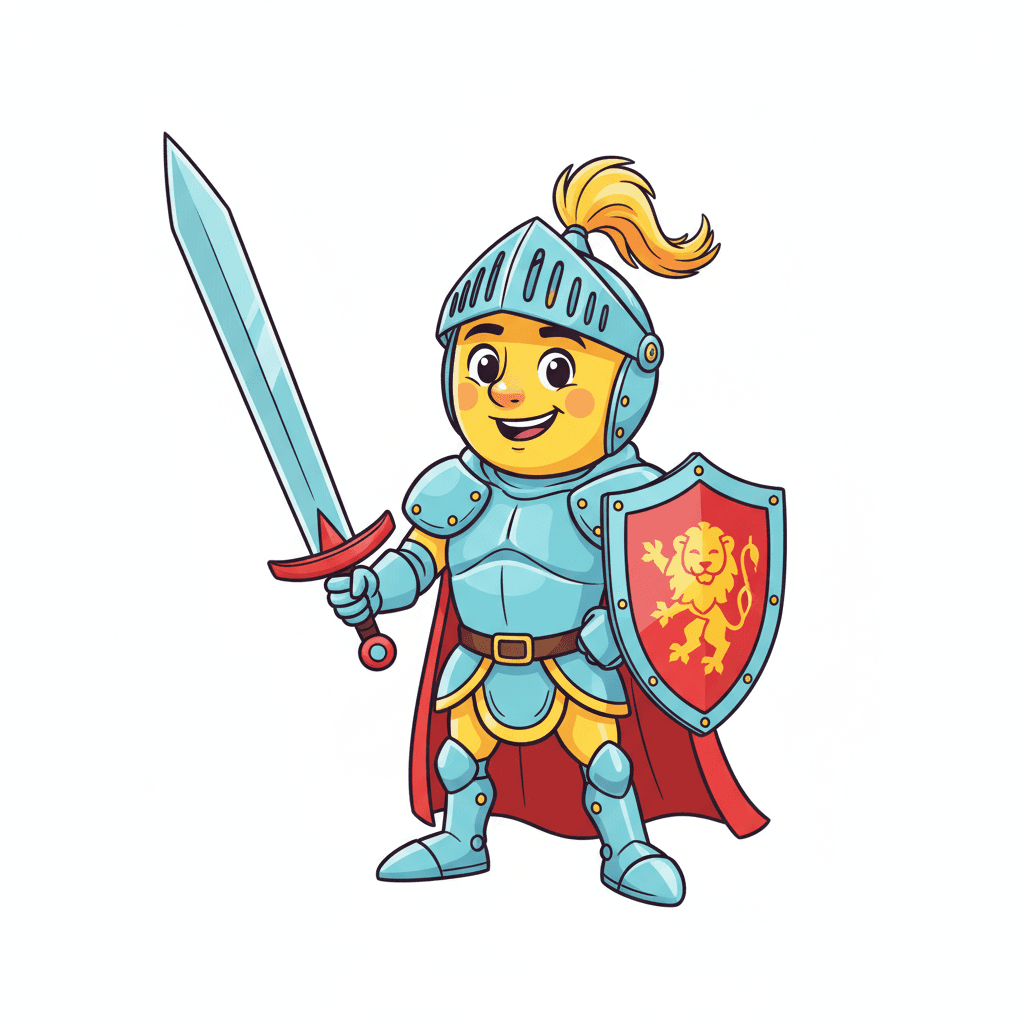
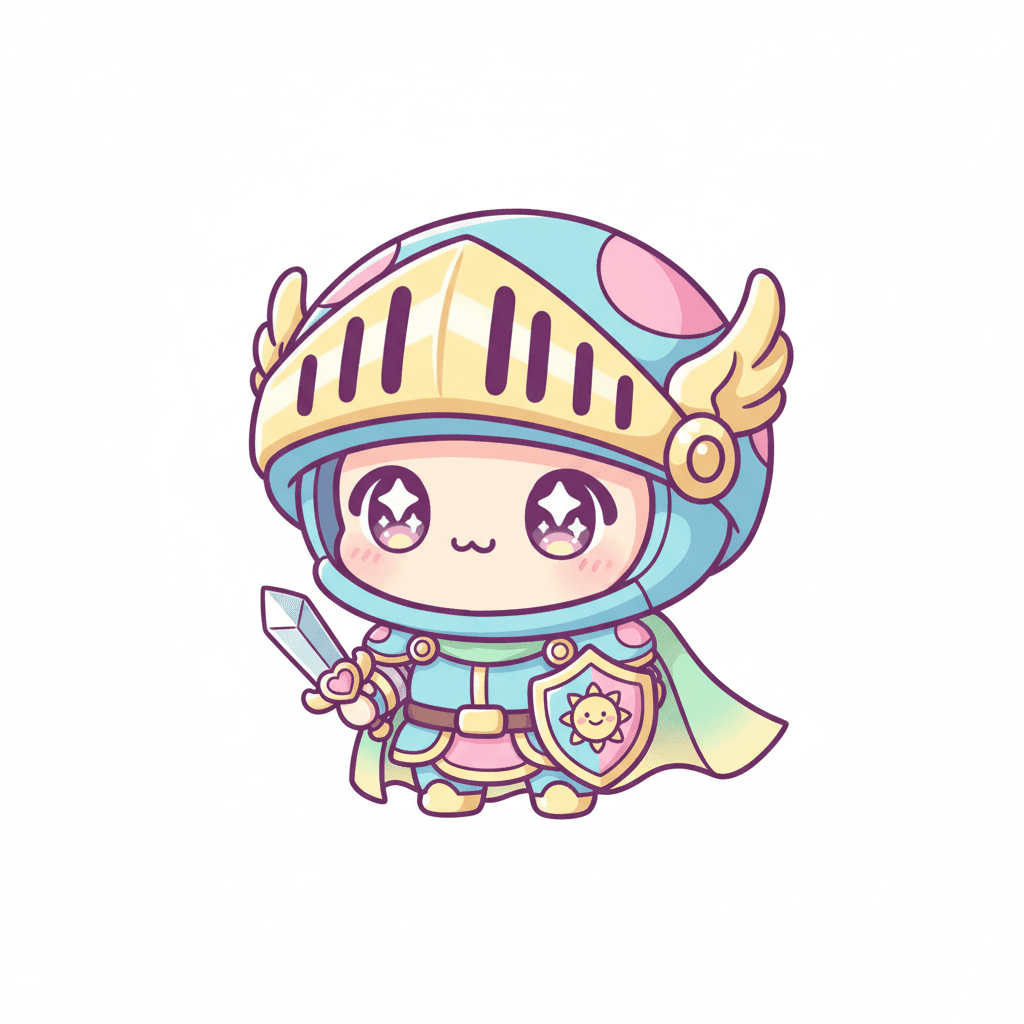
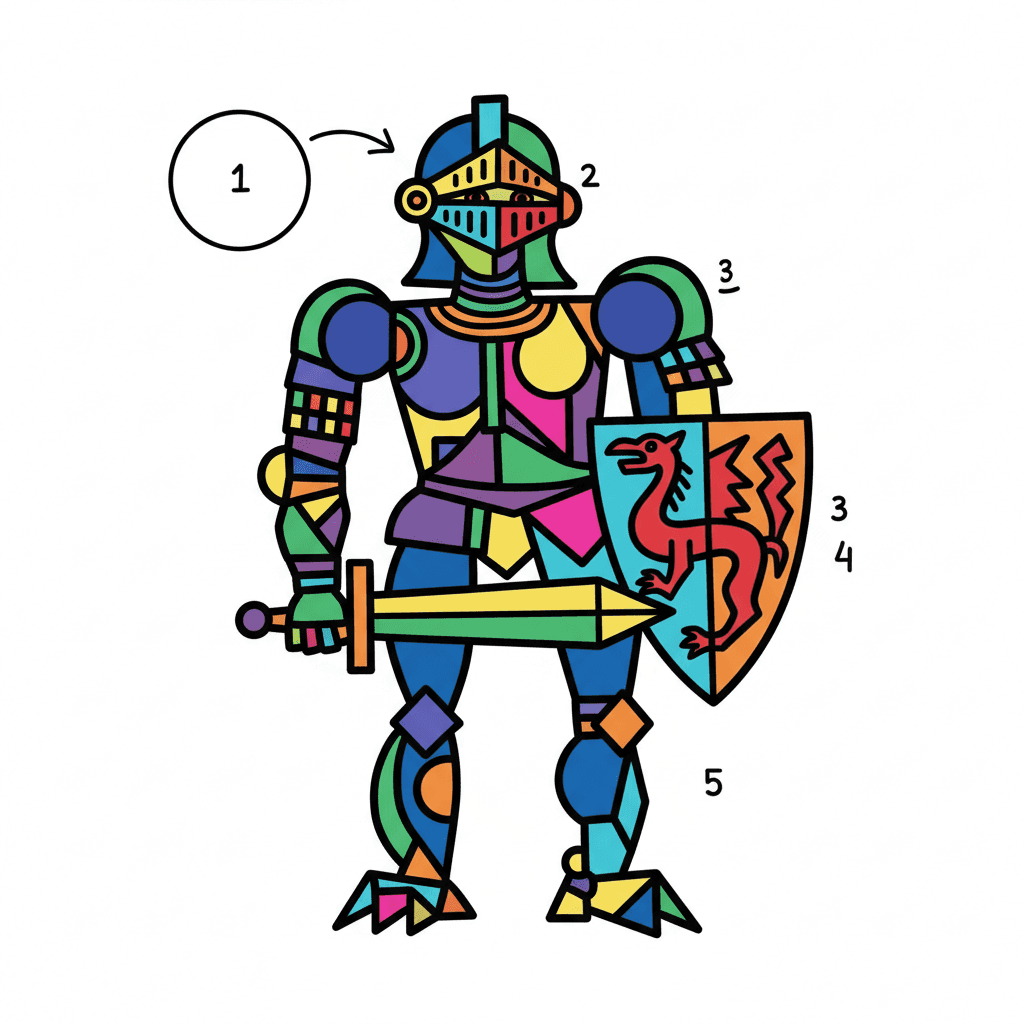
Photos of knight drawing examples
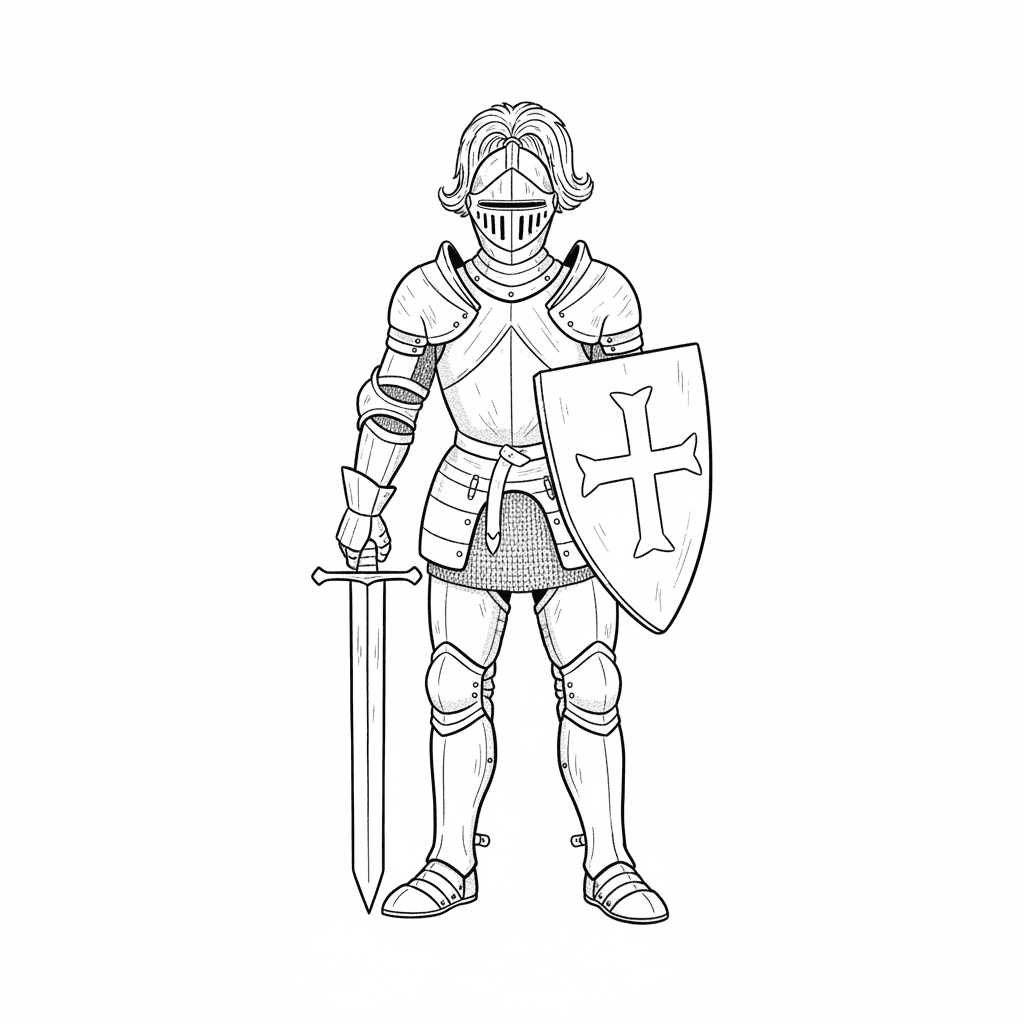
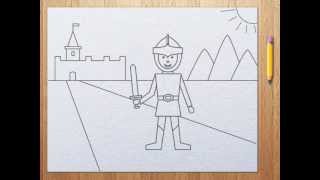
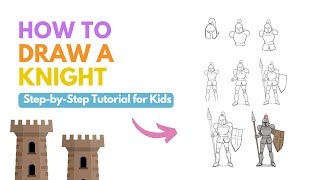
Step-by-step guide to draw a knight in armor
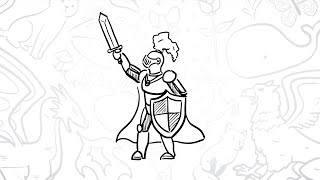
How To Draw A Knight
Step 1
Draw a simple stick figure to set your knight's pose using a circle for the head and lines for the spine arms and legs.
Step 2
Add basic shapes to block in the body by drawing an oval for the chest a rectangle for the torso and circles at the shoulders and knees.
Step 3
Sketch a rounded helmet shape around the head circle to make your knight's headgear.
Step 4
Draw a horizontal visor slit on the helmet for the knight's eyes to peek through.
Step 5
Add a plume or feathered crest on top of the helmet to make the knight look heroic.
Step 6
Thicken the arm lines into armor plates by drawing curved rectangles along each arm and round shapes for the elbow joints.
Step 7
Draw a large shield shape on the arm you want the knight to hold.
Step 8
Sketch a straight sword in the other hand with a simple blade a crossguard and a handle.
Step 9
Thicken the leg lines into armored greaves and add pointed boots for a sturdy stance.
Step 10
Add small details like rivets panel lines and a simple emblem on the chest to make the armor interesting.
Step 11
Trace the final strong lines of your knight with a black pen or darker pencil to make the drawing pop.
Step 12
Gently erase the pencil guide lines so only your clean knight lines remain.
Step 13
Shade along the edges and under the helmet using pencil strokes to create shiny metal and depth.
Step 14
Share your finished heroic knight on DIY.org so everyone can see your brave creation.
Help!?
What can I use if I don't have a black pen or darker pencil to trace the final lines?
If you don't have a black pen or darker pencil, trace the final strong lines with a dark-colored marker or fine-tip Sharpie so your knight still pops.
My helmet visor or plume looks off—how can I fix alignment or proportion mistakes?
Go back to the head circle and spine guide lines, lightly redraw the rounded helmet around the head circle and center the horizontal visor slit before thickening lines into armor plates.
How can I adapt this knight drawing for younger or older kids?
For younger kids use larger simple shapes (big circle for the head, oversized oval chest, skip rivets and shading) and crayons, while older kids can add detailed rivets, panel lines, a complex emblem on the chest, and pencil shading for shiny metal.
How can we personalize or extend the knight drawing after finishing the basic steps?
Personalize it by designing a unique emblem on the chest, decorating the shield, adding a background scene or color with metallic paints or markers, and scan or photograph the finished knight to share on DIY.org.
Watch videos on how to draw a knight in armor
How to draw a knight step by step tutorial for kids
4 Videos
How to draw a knight step by step tutorial for kids
🗡️ Learn to Draw a Knight! - Fun Drawing Lesson for Kids 🛡️
Draw a Brave Knight in Armor - Easy Step-by-Step Tutorial for Kids!
How To Draw A Knight In Shining Armor
Facts about character drawing for kids
🏇 Knights were often mounted warriors — cavalry (soldiers on horseback) was a key part of medieval armies.
🛡️ Shields commonly showed heraldry (colorful symbols and patterns) so friends and foes could identify a knight quickly.
⚔️ A typical medieval sword weighed about 1–1.5 kg (2–3 lb), light and balanced for quick moves.
🪖 A full suit of plate armour usually weighed around 15–25 kg (33–55 lb) but used joints and overlaps to keep the wearer surprisingly mobile.
✏️ Art tip: real armor is made of simple shapes (cylinders, plates, and spheres) — start with those shapes when sketching a knight.
How do I teach my child to draw a knight step-by-step?
What materials do we need to draw a knight in armor?
What ages is learning to draw a knight suitable for?
What are the benefits of drawing a knight for my child?
