How to Draw a Kangaroo
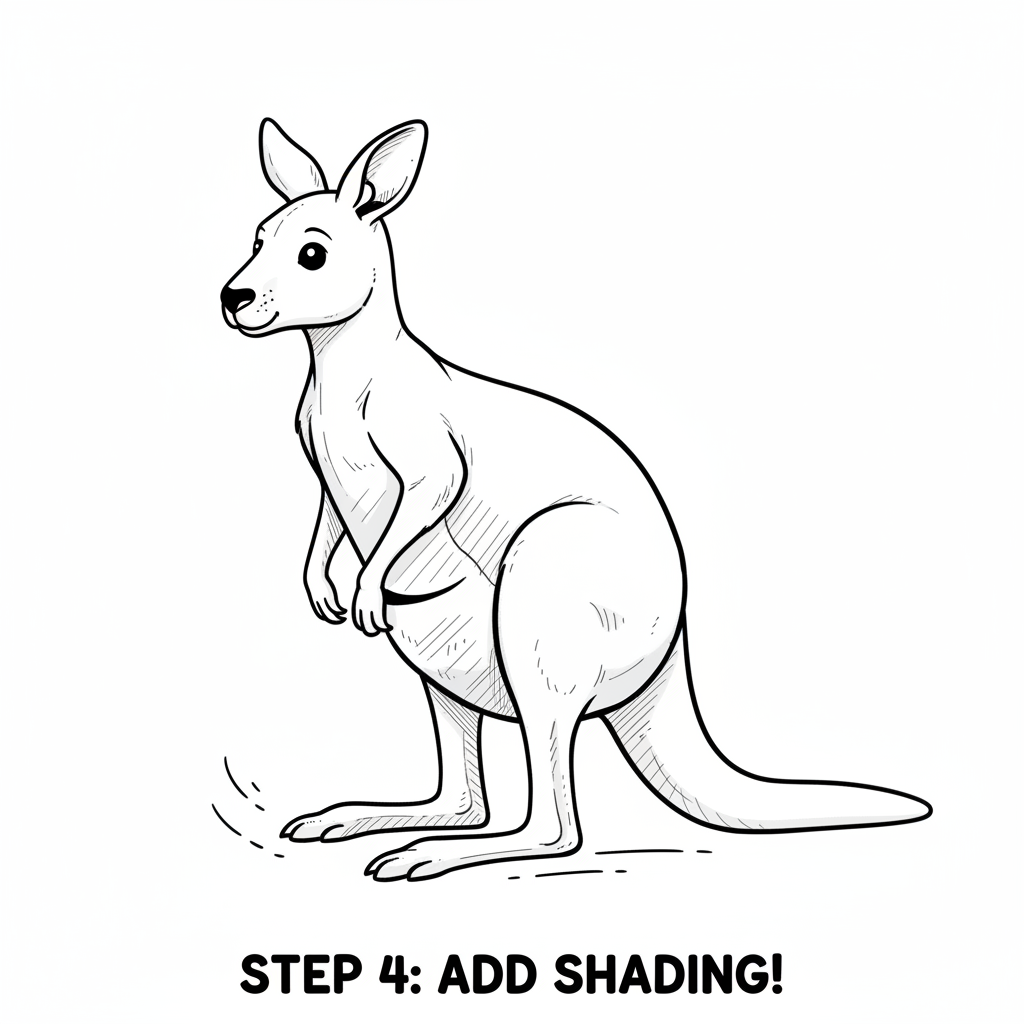
Draw a friendly kangaroo step by step using simple shapes, practice sketching body proportions, adding details, and coloring to finish your own kangaroo.
About this tutorial
Draw a friendly kangaroo step by step using simple shapes, practice sketching body proportions, adding details, and coloring to finish your own kangaroo.
What you need
Instructions
- 1
Step 1
Lightly draw a small circle near the top center of your paper for the kangaroo's head.
- 2
Step 2
Draw a larger oval below and slightly behind the head for the kangaroo's body.
- 3
Step 3
Add two rounded triangle shapes on top of the head for the ears.
- 4
Step 4
Draw a long curved line from the back of the body to make the kangaroo's tail.
- 5
Step 5
Sketch two short rounded shapes at the front of the body for the arms.
- 6
Step 6
Draw two strong long rounded shapes at the bottom of the body for the hind legs with big oval feet.
- 7
Step 7
Draw a curved pocket shape on the lower front of the body to make the pouch.
- 8
Step 8
Add two round eyes on the head using small circles.
- 9
Step 9
Draw a tiny oval for the nose near the bottom of the head.
- 10
Step 10
Draw a small curved line under the nose to make a smiling mouth.
- 11
Step 11
Trace the final kangaroo lines with a black marker to make your drawing bold.
- 12
Step 12
Gently erase the light pencil guide lines so only the clean drawing remains.
- 13
Step 13
Color your kangaroo using brown or any fun colors and add shading or spots if you like.
- 14
Step 14
Take a photo of your finished kangaroo and share your creation on DIY.org.
Get inspired
Fun facts
How do I draw a kangaroo step by step?
Start by sketching simple shapes: an oval for the body, a circle for the head and a long curved rectangle for the tail. Add a guideline from head to body to place the eyes and nose. Draw the front arms and large back legs with rounded shapes, then connect shapes and smooth the outline. Add ears, a pouch, facial features and fur details. Erase extra lines and finish by coloring or shading to complete your friendly kangaroo.
What materials do I need to draw a kangaroo?
You only need basic art supplies: plain drawing paper, a soft pencil (HB or 2B), a good eraser and a pencil sharpener. For color and finishing, use colored pencils, crayons, or washable markers and a fine black pen for outlines if desired. Optional items: a reference photo of a kangaroo, a blending stump for shading, and low-tack tape to hold paper in place.
What ages is drawing a kangaroo suitable for?
Drawing a kangaroo suits many ages: preschoolers (4–6) can use simple shapes and bold colors, early elementary kids (7–9) can practice proportions and basic details, and older children (10–12+) can refine anatomy, shading and texture. Adjust complexity to skill level and provide scissors-free supervision for young children using markers. This activity can be adapted for siblings with different abilities.
What are the benefits of drawing a kangaroo for kids?
Drawing a kangaroo builds fine motor skills, hand-eye coordination and observation. It teaches basic proportions and spatial reasoning while encouraging creativity and patience. The activity also boosts confidence when kids finish and share their artwork, and can spark curiosity about animals and habitats. Try variations like adding a joey in the pouch or drawing a scene to extend learning and storytelling.
Watch & Learn
Need help?
What can we use if we don't have a black marker, eraser, or colored pencils?
Trace your final kangaroo lines with a dark pen or fine-tip felt marker instead of a black marker, use a soft kneaded or regular rubber eraser to remove the light pencil guide lines from steps 1–11, and color with crayons, watercolor, or colored pens if you don't have colored pencils.
My kangaroo's head and body look out of proportion or the tail is awkward—how do I fix it?
Lightly erase and reposition the small circle and larger oval from steps 1–2 using your pencil as a measuring guide for size, then redraw the long curved tail starting from the back of the body in step 4 so the curve flows naturally.
How can I adapt this drawing activity for different age groups?
For younger kids simplify by making big basic shapes (larger circle and oval, simpler ears) and skip marker tracing, while older kids can add a joey in the pouch, detailed shading, spots, and trace with the black marker in step 12 for a polished look.
How can we extend or personalize the kangaroo drawing after finishing it?
Customize the outcome by adding a background scene, patterns or a joey in the pouch on the pouch step, try mixed media for the coloring step like watercolor washes or textured paper, and then take a photo of your finished kangaroo to share on DIY.org as suggested.