How to draw a human face - a free human face drawing guide
Draw a realistic human face in steps using basic shapes and measurements. Practice proportions, symmetry, features placement, and gentle pencil shading techniques.


Drawing Apps
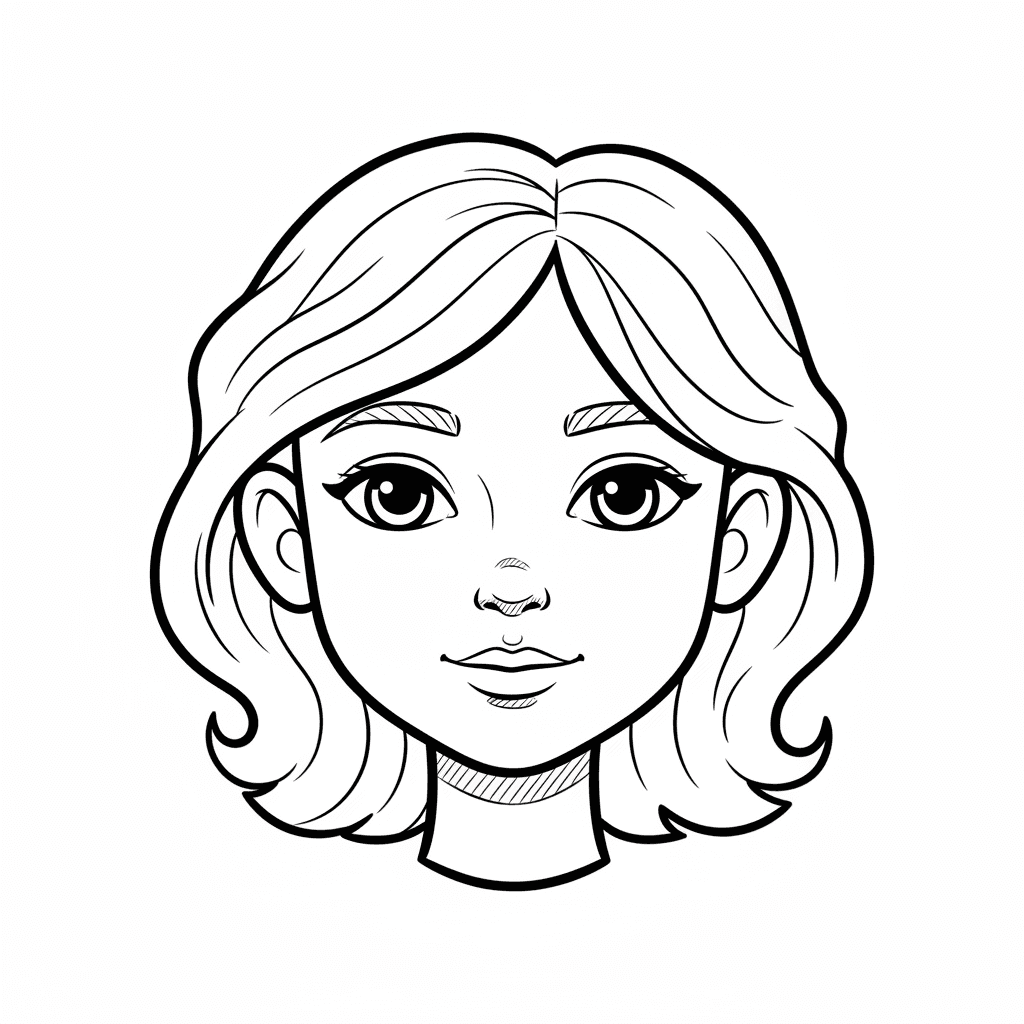
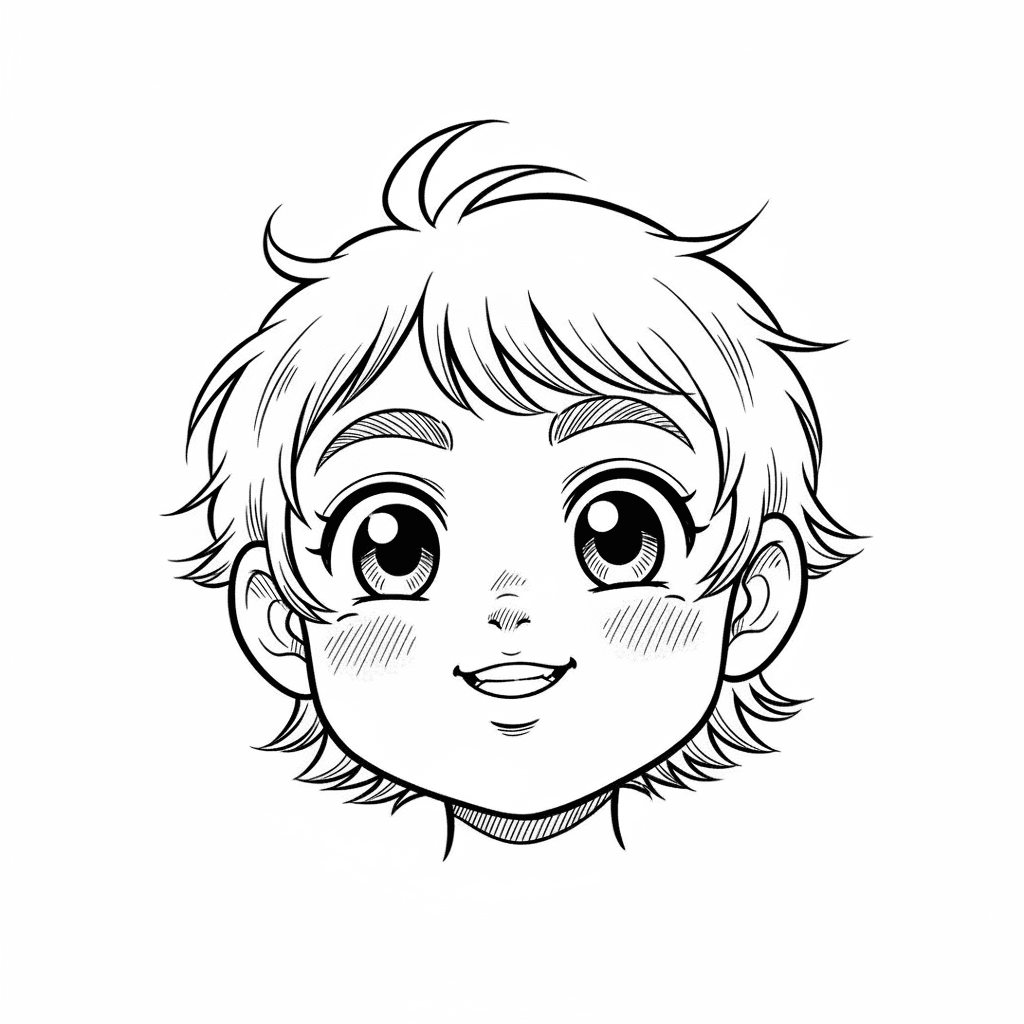
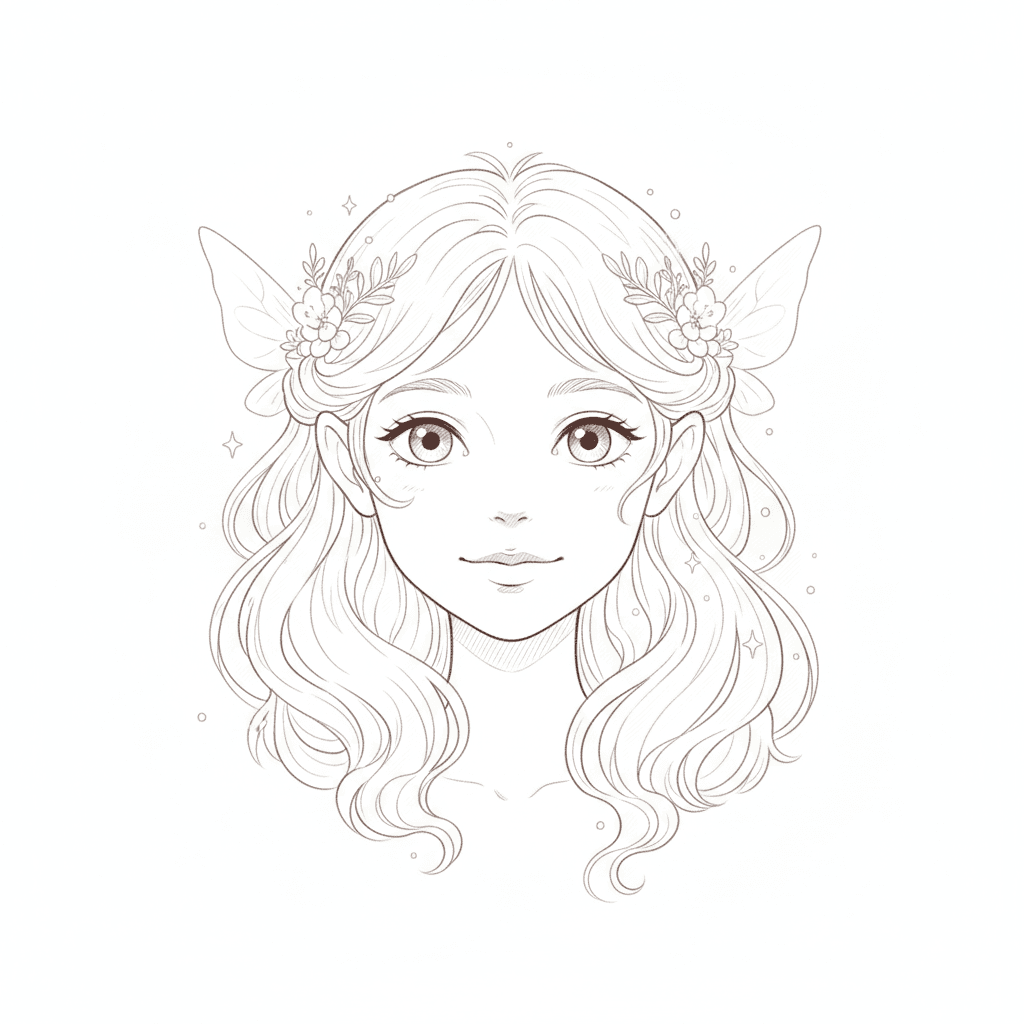
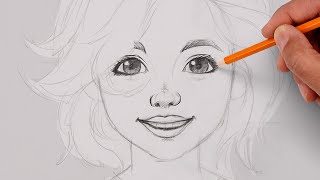
Photos of realistic human face drawing examples


Step-by-step guide to draw a realistic human face
Learn how to draw portraits - How to draw a face step-by-step - Easy tutorial for kids
Step 1
Lightly draw a vertical oval for the head with your pencil.
Step 2
Draw a straight vertical center line down the middle of the oval to help keep both sides even.
Step 3
Draw a horizontal guideline across the middle of the oval to mark the eye line.
Step 4
Measure from the top of the oval to the eye line and mark a light horizontal hairline about one-third of that distance from the top.
Step 5
On the eye line draw two almond-shaped eyes with the space between them equal to one eye width.
Step 6
Inside each eye draw a circle for the iris and a smaller circle for the pupil and make sure both pupils line up with the vertical center line.
Step 7
Draw eyebrows just above the eye line following the curve of each eye.
Step 8
Mark the bottom of the nose at the midpoint between the eye line and the chin and draw a simple nose shape along the center line.
Step 9
Mark the mouth line about one-third of the distance from the bottom of the nose to the chin and draw a gentle curve for the lips.
Step 10
Draw the ears so their tops line up with the eye line and their bottoms line up with the bottom of the nose.
Step 11
Erase parts of the oval and refine cheekbones and the jawline to match the face shape you want.
Step 12
Shade lightly with soft pencil strokes on the sides of the nose under the brow ridge and under the lower lip to create gentle shadows.
Step 13
Smooth shaded areas with a blending stump or tissue and lift small highlights using the eraser.
Step 14
Share your finished realistic face on DIY.org.
Help!?
What can I use instead of a blending stump or tissue?
If you don't have a blending stump or tissue for the step 'Smooth shaded areas', use a folded piece of tissue, a cotton swab (Q‑tip), a clean fingertip, or a small piece of folded paper towel to gently blend the soft pencil strokes.
My eyes look uneven — how can I fix symmetry when drawing the eye line and pupils?
Before darkening lines, lightly mark the vertical center line and the eye-width spacing on the eye line, draw guide tick marks for each iris, and use a ruler or the center line to ensure both pupils align as instructed in the 'Inside each eye draw a circle for the iris and a smaller circle for the pupil' step.
How can I adapt this face-drawing activity for different ages?
For younger children simplify by using a larger oval, bold marker lines, and big simple eyes and mouth while older kids can follow every step including measuring the hairline, refining cheekbones, and detailed shading with a blending stump as described.
How can we extend or personalize the finished face before sharing it on DIY.org?
Extend the activity by changing the 'light horizontal hairline' placement to create different hairstyles, adding freckles or glasses, experimenting with expressions by altering the mouth curve, and using colored pencils to tint the irises and skin tones before uploading to DIY.org.
Watch videos on how to draw a realistic human face
How to Draw a Face for Kids
4 Videos
How to Draw a Face for Kids
How To Draw HUMAN FACES | Sketch Tutorial (for BEGINNERS)
How to Sketch a Human Face - Step-by-Step Drawing Tutorial for Beginners!

Easiest Way to Draw a Human Face - Step-by-Step for Beginners!
Facts about portrait drawing
🧑🎨 The human face uses over 40 muscles to make expressions — that's how we smile, frown, and wiggle our eyebrows!
🖼️ A helpful rule for portraits: the eyes are usually drawn about halfway down the head.
📏 Leonardo da Vinci's Vitruvian Man explored human proportions and inspired many portrait-drawing rules.
👀 People can recognize familiar faces incredibly fast — studies show it can happen in about 100 milliseconds.
✏️ Shading tricks like chiaroscuro turn flat pencil lines into lifelike, 3D-looking faces.
How do you draw a realistic human face step by step?
What materials do I need to draw a realistic face?
What ages is drawing a realistic face suitable for?
What are the benefits of practicing realistic face drawing?
