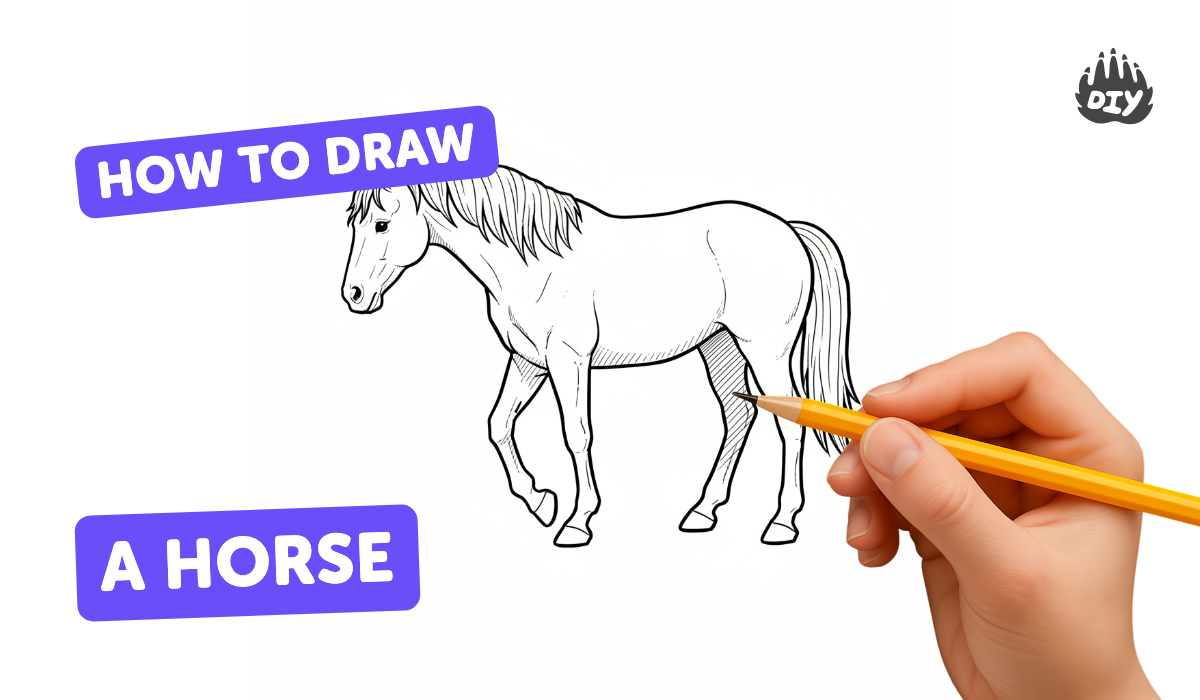
How to draw a horse - a free horse drawing guide
Learn to draw a horse step-by-step using simple shapes, pencils and erasers; practice proportions, shading, and adding mane and tail details.

Drawing Apps
Photos of horse drawing examples


Step-by-step guide to draw a horse
Learn How to Draw a Horse Easily! 🐴 | Step-by-Step Tutorial for Kids & Beginners | GG Kids Art
Step 1
Gather your paper pencil eraser and sharpener and put them on a flat surface.
Step 2
Lightly draw a large oval for the horse’s body and a smaller circle in front of it for the head.
Step 3
Draw two curved lines between the head and body to make the neck shape.
Step 4
Add four straight guide lines down from the body where the legs will go and put small circles for the knee and fetlock joints.
Step 5
Sketch a small oval at the front of the head for the muzzle and a small triangle on top for one ear.
Step 6
Turn each leg guide into a leg by drawing two parallel lines around the guide and add small rectangles at the bottom for hooves.
Step 7
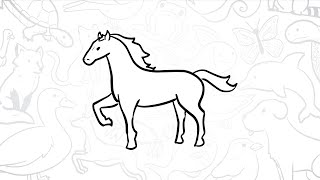
Smooth the body outline by drawing curved lines to connect the head neck and body and make the horse’s shape natural.
Step 8
Erase the extra guide circles and lines so only the clean horse outline remains.
Step 9
Draw the mane as a row of flowing curved lines along the top of the neck and draw a long tufted tail from the back of the body.
Step 10
Add an eye a nostril and a short mouth line on the head for facial details.
Step 11
Shade lightly under the belly behind the legs and under the neck using short pencil strokes then blend gently with your finger or a stump.
Step 12
Sign your name in the corner and share your finished horse drawing on DIY.org
Help!?
Can I substitute any of the listed materials if I don't have them?
Use a mechanical pencil instead of a sharpener, a kneaded or rubber eraser if you don't have a standard eraser, and plain printer paper or a sketchbook sheet placed on a flat surface instead of special paper.
What should I do if my horse's legs or neck look wrong as I draw?
If the neck or legs look off, lighten and erase the large oval, small circle, and the two curved neck lines or the four straight leg guide lines, then redraw the neck and straighten the guide lines before adding the parallel leg lines and rectangles for hooves.
How can I change the steps to suit different ages or skill levels?
For preschoolers simplify to one big oval and one circle and let them add a mane and tail, for school-age kids keep the knee and fetlock guide circles and hooves, and for older kids add the shading under the belly and refined facial details like the nostril and eye.
How can we extend or personalize the finished horse drawing?
Add a saddle, patterned coat markings, a fence or field background, color the mane and tufted tail, then sign your name in the corner and share the finished horse on DIY.org.
Watch videos on how to draw a horse
how to draw a horse step by step for kids !
4 Videos
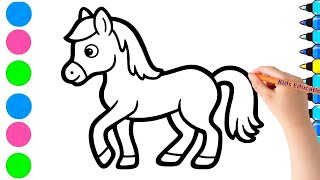
how to draw a horse step by step for kids !
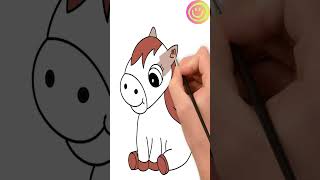
Easy Horse Drawing for Kids | Step-by-Step Tutorial
Easy Horse Drawing for Kids | How to Draw a Horse Step by Step | Simple Drawing Tutorial #art
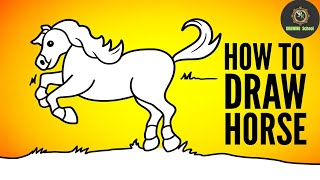
🐎 How to Draw a Simple Horse | Step-by-Step Lesson 🌾
Facts about animal drawing for kids
🐎 Horses are measured in hands — 1 hand = 4 inches, so a 15-hand horse stands 60 inches tall at the shoulder.
✏️ Many artists start drawings with simple shapes (circles, ovals, rectangles) to block in correct horse proportions fast.
🎨 Shading with different pencils (H = harder/lighter, B = softer/darker) helps fur, muscles, and round forms look 3D.
🐴 Some horse breeds, like the Friesian, are famous for long flowing manes and tails that can grow almost to the ground.
👀 Horses have nearly 350° vision — great for spotting danger, though they have tiny blind spots right in front and behind them.
How do you draw a horse step-by-step for kids?
What materials do I need to teach my child to draw a horse?
What ages is learning to draw a horse suitable for?
What are the benefits of practicing horse drawing for children?
