How to draw a hamburger - a free hamburger drawing guide
Draw a colorful hamburger step by step using simple shapes, add layers like bun, lettuce, tomato, cheese, and practice shading.

Drawing Apps
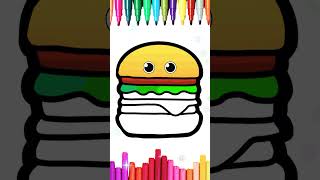
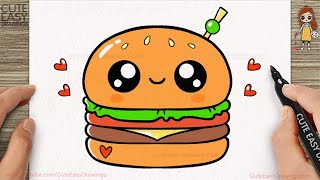
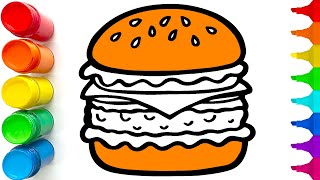
Photos of colorful hamburger drawing examples


Step-by-step guide to draw a colorful hamburger
How to Draw a Cute Burger Simple & Easy for Kids
Step 1
Draw two curved lines one near the top and one a little lower to make the top bun and bottom bun shapes for your hamburger.
Step 2
Add sesame seeds by drawing lots of small oval shapes on the top bun.
Step 3
Draw a wavy zigzag line between the buns to make a leafy lettuce layer.
Step 4
Draw one or two round slices beneath the lettuce to make tomato slices.
Step 5
Draw a square or triangle shape that hangs down a bit to make a melted cheese slice.
Step 6
Draw an oval or rounded rectangle under the cheese to make the burger patty.
Step 7
Trace the main outlines of your burger with a black marker or fine liner to make the shapes bold.
Step 8
Gently erase any extra pencil lines so only the clean black outlines remain.
Step 9
Color the top and bottom buns with a warm tan or light brown color.
Step 10
Color the lettuce with bright green to make it look fresh.
Step 11
Color the tomato slices red or pink to make them juicy.
Step 12
Color the cheese with a bright yellow or orange to show melted cheese.
Step 13
Color the patty with brown and add tiny short lines for grill texture.
Step 14
Add shading under each layer using a darker shade and blend softly with a tissue to make the burger look round and real.
Step 15
Share your colorful hamburger creation on DIY.org
Help!?
If I don't have a black marker, tissue, or colored pencils listed in the steps, what can I use instead?
Trace the main outlines with a dark ballpoint pen, black crayon, or fine-tip felt pen, blend shading using a cotton ball or your fingertip instead of a tissue, and use markers or crayons in place of colored pencils to color the buns, lettuce, tomato, cheese, and patty.
My wavy zigzag lettuce or melted cheese looks flat and my shading smudges—what should I do?
Sketch the wavy zigzag lettuce and cheese lightly in pencil first so you can reshape them, add curved drips to the cheese to show melting, and prevent smudged shading by layering color lightly and blending with a clean tissue or cotton swab as the instructions recommend.
How can I adapt this hamburger drawing activity for younger or older kids?
For younger children, pre-draw the two curved bun lines and have them add sesame seeds and color with crayons, while older kids can add realistic grill texture with tiny short lines on the patty, multiple shading tones blended with a tissue, and experiment with perspective for a more advanced look.
What are simple ways to extend or personalize the hamburger drawing after following the steps?
Personalize the burger by adding favorite toppings like pickles or bacon, creating a background or menu card, using collage pieces for cheese and lettuce, or photographing and sharing the shaded, outlined hamburger on DIY.org as suggested.
Watch videos on how to draw a colorful hamburger
Let's Draw a Cute Hamburger for Kids | Easy Burger Drawing Tutorial
4 Videos
Let's Draw a Cute Hamburger for Kids | Easy Burger Drawing Tutorial
How to Draw a Cute Burger Easy Step by Step for Kids
🍔 How to Draw a Hamburger | Easy Step by Step Drawing Tutorial
How to draw a Hamburger|Easy Drawing Tutorial
Facts about drawing and shading for kids
🍔 The word "hamburger" comes from Hamburg, Germany, where a minced-beef dish inspired the modern sandwich.
🧀 Cheese often drapes over a hot patty in soft curves—great practice for drawing smooth folds and highlights.
🟢 Lettuce has lots of tiny ruffles; sketching small wavy lines makes it look crispy and three-dimensional.
🎨 Building a burger from simple shapes (ovals for buns, rectangles for cheese, circles for tomato) makes step-by-step drawing easy.
💡 Shading one side darker and adding a tiny highlight gives each layer depth and makes the whole burger pop.
How do I teach my child to draw a colorful hamburger step by step?
What materials do I need to draw a colorful hamburger with my child?
What ages is drawing a layered hamburger suitable for?
What are the benefits and safe variations of the hamburger drawing activity?
