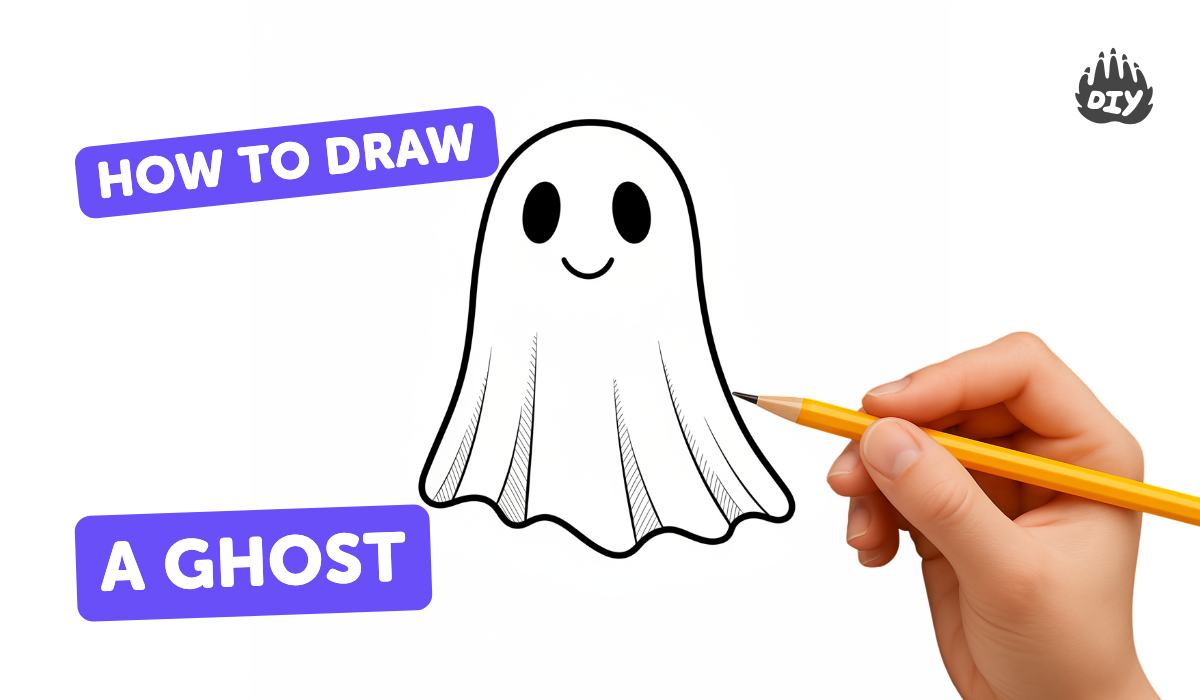
How to draw a ghost - a free ghost drawing guide
Draw a friendly ghost step-by-step using simple shapes, add facial expressions and shading, and practice creativity while learning proportions and drawing basics.

Drawing Apps
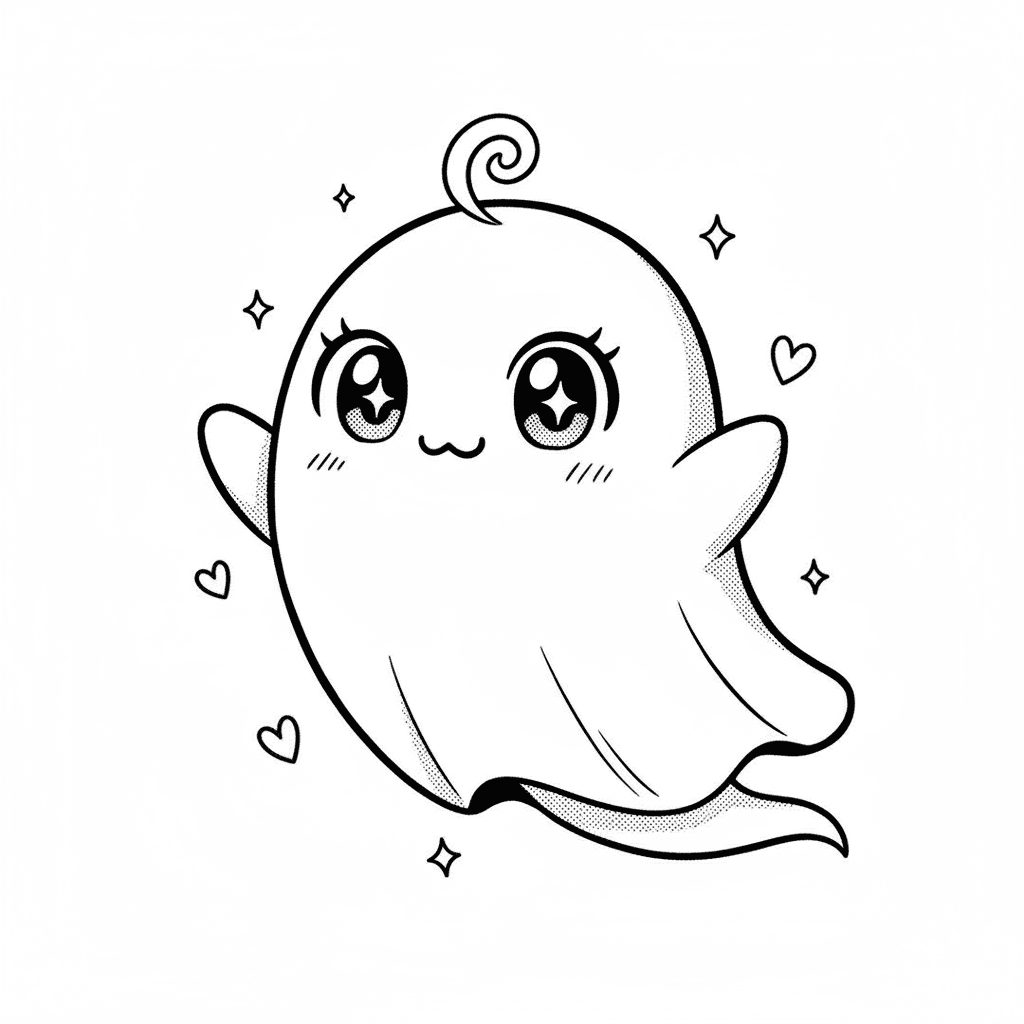
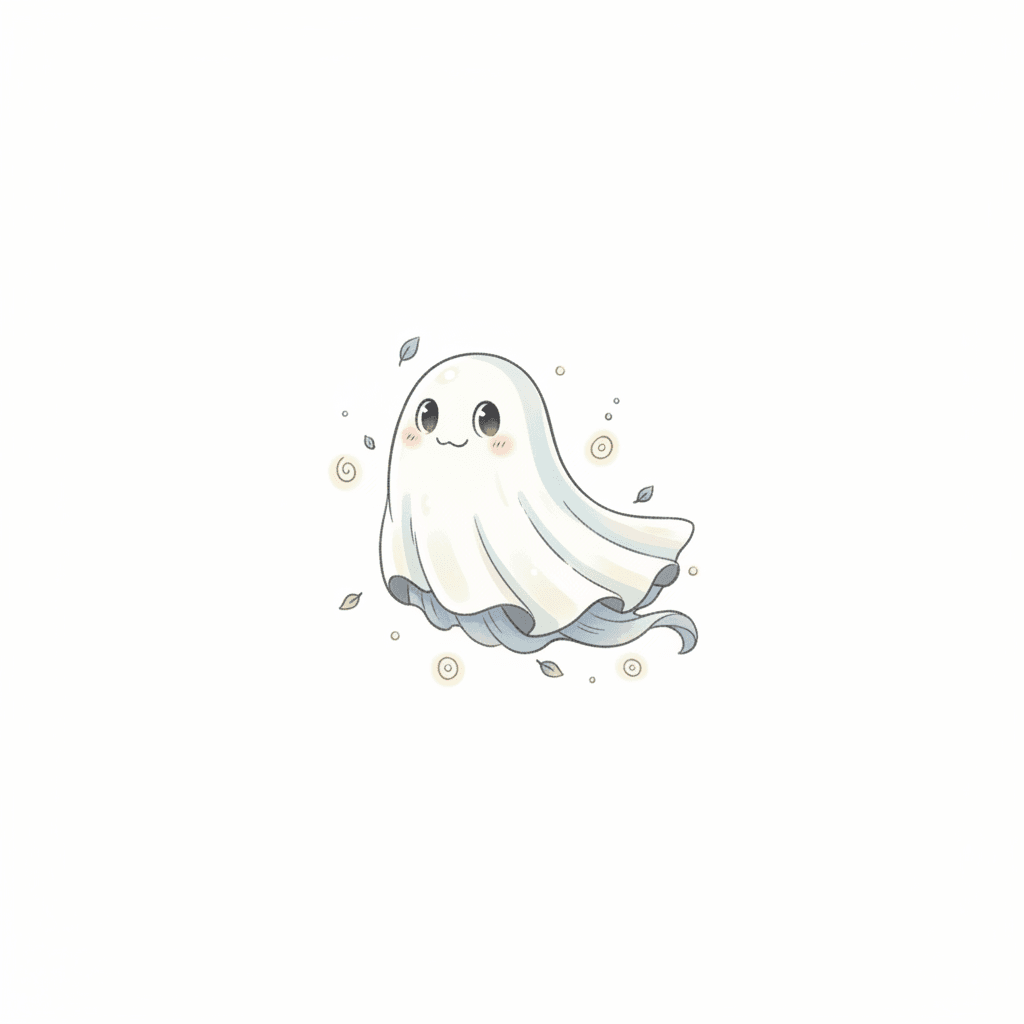
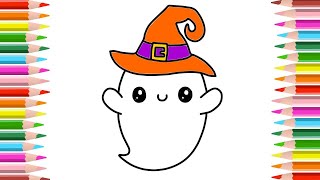
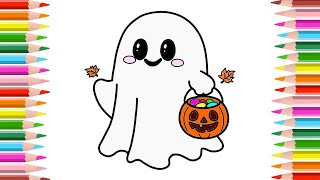
Photos of friendly ghost drawings


Step-by-step guide to draw a friendly ghost
How to Draw Casper the Friendly Ghost
Step 1
Place your paper in front of you and lightly draw a large vertical oval in the center to make the ghost's body.
Step 2
Add a wavy skirt by drawing three or four gentle scalloped curves along the bottom of the oval.
Step 3
Erase any extra overlapping lines so the ghost shape looks like one smooth outline.
Step 4
Draw two large circles near the top center of the ghost for its eyes.
Step 5
Draw a smaller filled circle inside each eye to make pupils.
Step 6
Add a tiny white dot or leave a small unshaded spot in each pupil for a shiny highlight.
Step 7
Draw a friendly curved smile below the eyes to give your ghost a happy expression.
Step 8
Draw two rounded arm shapes on each side of the body so the ghost looks like it’s waving.
Step 9
Carefully trace the whole ghost outline with a black marker or dark pen to make it stand out.
Step 10
Lightly shade one side of the ghost with soft pencil strokes to show where the light does not hit.
Step 11
Use a tissue or cotton swab to gently blend the pencil shading so the shadow looks smooth.
Step 12
Draw a soft oval shadow under the ghost and blend it lightly with your tissue to ground your ghost.
Step 13
Color the ghost or the background with your coloring materials to make it spooky-cute.
Step 14
Sign your name and date in a corner so everyone knows you made it.
Step 15
Share your finished ghost creation on DIY.org.
Help!?
What can I use if I don't have a tissue, cotton swab, or black marker?
Use a clean fingertip or a small piece of soft cloth to gently blend the pencil shading instead of a tissue or cotton swab, and trace the outline with a dark colored pencil or fine-tip crayon if you don't have a black marker.
My scalloped skirt looks messy and there are overlapping oval lines—how can I fix it?
Gently erase the extra overlapping lines, redraw three or four gentle scalloped curves so the skirt looks smooth, then carefully trace the whole ghost outline with your black marker or dark pen to lock in the shape.
How can I adapt this ghost-drawing activity for younger or older kids?
For younger children pre-draw the large vertical oval and wavy skirt and let them add sticker eyes and color, while older kids can refine the light-side shading with blended pencil strokes, draw the soft oval shadow under the ghost, and add a detailed background before signing and sharing on DIY.org.
How can we make the ghost more creative or turn it into a longer project?
Personalize the ghost by adding patterns or accessories on the wavy skirt, create a spookier colored background, draw a group of ghosts with different expressions, or turn the finished piece into a signed and dated card to share on DIY.org.
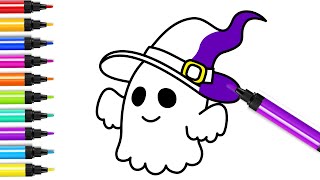
Watch videos on how to draw a friendly ghost
How to Draw a Cute Ghost | Drawing Step By Step For Kids & Beginners | Painting & Coloring Ghost
4 Videos
How to Draw a Cute Ghost | Drawing Step By Step For Kids & Beginners | Painting & Coloring Ghost
How To Draw a Cute Ghost | Ghost Drawing Step By Step For Kids & Beginners | Easy Coloring Painting
How To Draw a Ghost For Halloween Step By Step | BittyBrush For Kids
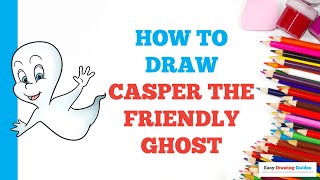
How to Draw Casper the Friendly Ghost: Easy Step by Step Drawing Tutorial for Beginners
Facts about drawing basics for kids
👻 The classic sheet-style ghost (round head + wavy tail) is super popular because kids can draw it with only a few simple shapes.
🎨 Just one shadow or a darker edge can make a flat ghost look 3D—shading is a tiny trick with big impact.
🙂 Tweaking eyebrows or the curve of a mouth by a few degrees can change a ghost from spooky to friendly instantly.
📏 Many artists use the 'head as a unit' rule to keep proportions consistent—measure characters by how many heads tall they are.
✏️ Short daily doodles (10–15 minutes) help kids improve drawing skills quickly—practice beats perfection!
How do I draw a friendly ghost step by step?
What materials do I need to draw a friendly ghost?
What ages is drawing a friendly ghost suitable for?
What are the benefits of drawing a friendly ghost?
