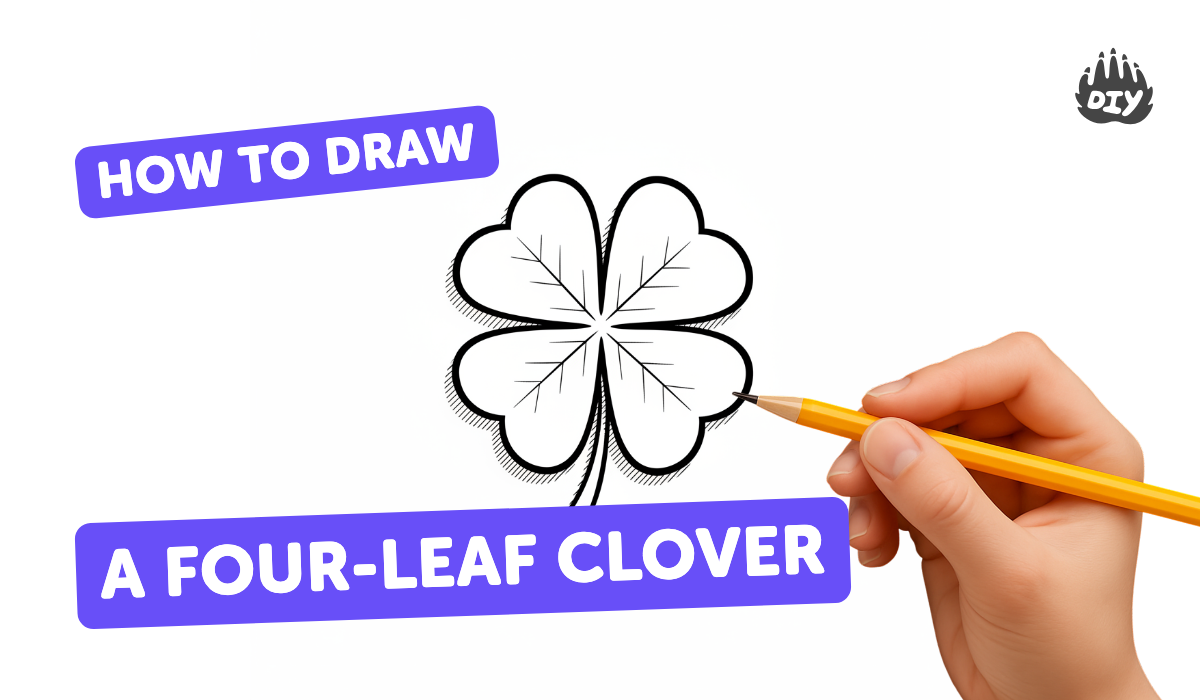
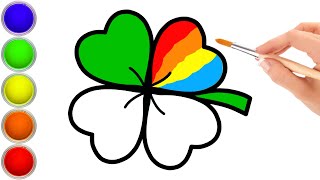
How to draw a four leaf clover - a free four leaf clover drawing guide
Draw a four leaf clover step by step using simple shapes, practice symmetry, then add shading and color to make a lively picture.

Drawing Apps
Photos of four-leaf clover drawings


Step-by-step guide to draw a four-leaf clover
How To Draw A Four-Leaf Clover - Preschool
Step 1
Place your paper on a flat surface in front of you.
Step 2
Put your pencil and eraser next to the paper so they are easy to reach.
Step 3
Lightly draw a small circle in the center of the paper to use as a guide.
Step 4
Draw one heart shaped leaf touching the top of the circle so the point faces outward.
Step 5
Draw a second heart shaped leaf directly opposite the first one using the circle to line them up.
Step 6
Draw a third heart shaped leaf at a right angle to the first two using the circle to position it.
Step 7
Draw a fourth heart shaped leaf opposite the third one to finish the four leaves.
Step 8
Erase the small center circle and any extra guide marks gently.
Step 9
Draw a short curved stem from the bottom center of the clover.
Step 10
Draw one vein line down the middle of each leaf to add detail.
Step 11
Shade each leaf by adding darker pencil strokes near the base and along one side for depth.
Step 12
Colour the clover with green crayons or coloured pencils using darker green on shaded areas and lighter green for highlights.
Step 13
Take a picture of your finished four leaf clover and share it on DIY.org.
Help!?
What can we use if we don't have green crayons or coloured pencils?
Use markers, watercolour paints, or mix blue and yellow pencil strokes and follow the shading step by darkening near the base and one side as described.
My heart-shaped leaves don't line up—how can I fix that?
Redraw them lightly using the small center guide circle and rotate or flip the paper to check symmetry before erasing the guide circle.
How can I adapt the activity for younger or older kids?
For younger children, have them trace pre-cut heart templates on the guide circle and colour with broad strokes, while older kids can add extra vein lines, layered shading, and finer colour blending.
How can we enhance or personalize our finished four-leaf clover?
Draw patterns or initials inside each leaf, add glitter or layered card stock for a pop, then photograph your finished clover and include a caption when you share it on DIY.org.
Watch videos on how to draw a four-leaf clover
HOW TO DRAW A 4 LEAF CLOVER | Simple and Easy #tutorial
4 Videos
HOW TO DRAW A 4 LEAF CLOVER | Simple and Easy #tutorial
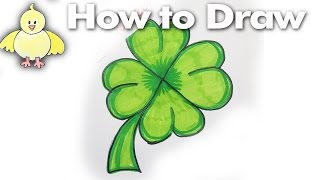
How to Draw a Cartoon Shamrock | 4-Leaf Clover Step by Step Drawing Tutorial
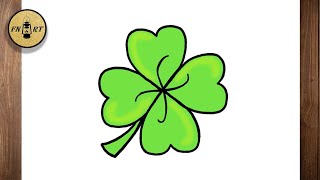
How to draw a four leaf clover step by step EASY
Clover Drawing Easy 🍀 How to Draw a Four leaf Clover Rainbow Colors / Learn to Draw for Kids
Facts about drawing and shading for kids
🍀 Four-leaf clovers are rare—about 1 in 5,000 clover plants has four leaves.
✨ In many cultures a four-leaf clover is a lucky charm; each leaf often represents hope, faith, love, and luck.
🔁 A perfectly drawn four-leaf clover shows fourfold rotational symmetry—rotate it 90° and it can look the same.
🌱 Most four-leaf clovers are simply genetic variations of the common white clover (Trifolium repens).
🎨 Artists use highlights, midtones, and shadows when shading to make flat shapes look round and lively.
How do I draw a four-leaf clover step by step with my child?
What materials do I need to draw a four-leaf clover with my child?
What ages is drawing a four-leaf clover suitable for?
What are the benefits of drawing a four-leaf clover for kids?
