How to Draw a Fire Truck
Draw a fire truck step by step using pencil and markers; learn to sketch shapes, proportions, wheels, ladder, hose, and emergency lights.
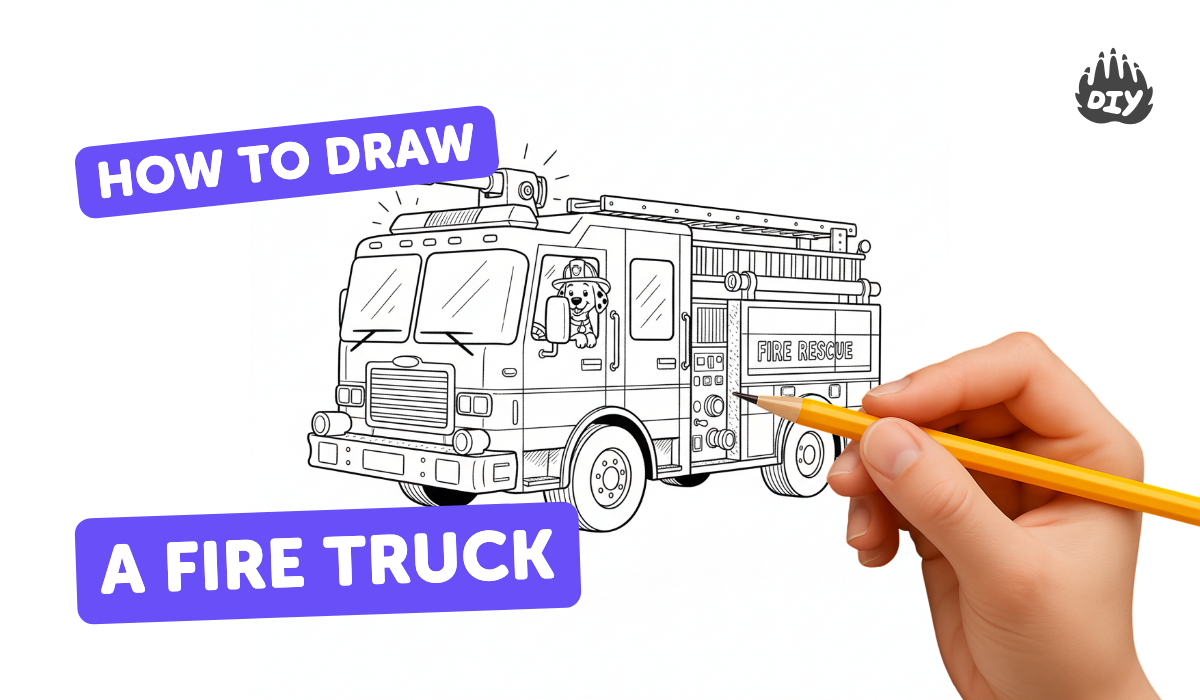
About this tutorial
Draw a fire truck step by step using pencil and markers; learn to sketch shapes, proportions, wheels, ladder, hose, and emergency lights.
What you need
Instructions
- 1
Step 1
Lightly draw a long horizontal rectangle for the main body of the fire truck.
- 2
Step 2
Draw a smaller square or rectangle on the left top of the main body for the cab where the driver sits.
- 3
Step 3
Draw a thin long rectangle on the top rear of the main body to mark the ladder base.
- 4
Step 4
Draw two large circles under the body for the truck wheels.
- 5
Step 5
Draw smaller circles inside each wheel to make the wheel hubs.
- 6
Step 6
Draw a large rectangle on the cab for the windshield and a smaller rectangle for the side window.
- 7
Step 7
Draw two long parallel lines along the ladder base to form the ladder rails.
- 8
Step 8
Draw short evenly spaced horizontal lines between the ladder rails to make the ladder rungs.
- 9
Step 9
Draw a coiled curved line on the side of the truck to show the hose.
- 10
Step 10
Draw small rounded rectangles on the cab roof and the front for the emergency lights.
- 11
Step 11
Carefully trace over the important pencil lines with your black marker to make the outlines bold.
- 12
Step 12
Gently erase the remaining pencil sketch lines that you no longer need.
- 13
Step 13
Color the truck body red using your red marker.
- 14
Step 14
Use other coloured markers to color the wheels ladder hose lights and any small details.
- 15
Step 15
Take a picture of your finished fire truck and share your creation on DIY.org
Fun facts
How do I teach my child to draw a fire truck step by step?
Start by drawing a large rectangle for the truck body and a smaller square or rounded rectangle for the cab. Add two or three circles for wheels and an oval for the wheel wells. Sketch windows and a front grille, then draw a side ladder and a coiled hose. Add emergency lights on top and simple details like door lines, handles, and a siren. Erase guiding lines, darken the final pencil lines with a marker, and color with bright reds and yellows.
What materials do I need to draw a fire truck with my child?
Gather a plain sheet of drawing paper or a sketchbook, a sharp pencil for light guidelines, and a good eraser. Add a fine-tip black marker or pen to outline the final drawing, plus colored markers, crayons, or colored pencils for filling in (red, yellow, black, gray). Optional extras: ruler for straight edges, circle template or compass for perfect wheels, and scrap paper for practice sketches.
What ages is this activity suitable for?
Drawing a step-by-step fire truck suits many ages: toddlers (3–4) can practice basic shapes and coloring with adult help; preschool and early elementary kids (4–7) can follow simple step sequences to sketch wheels, cab, and ladder; older children (8–12+) can focus on proportions, perspective, and adding realistic details or inking. Adjust complexity, supervision, and materials to match each child’s fine motor skill level.
What are the benefits and fun variations of drawing a fire truck?
This activity builds fine motor skills, shape recognition, spatial reasoning, and following step-by-step instructions. It encourages creativity and can spark conversations about community helpers and safety. Variations include drawing a side, front, or aerial view, turning the sketch into a collage with red construction paper, making a pop-up or cardboard model, or recreating the truck digitally using a drawing app. Supervise markers and scissors for younger children.
Watch & Learn
Need help?
What can we use if we don't have a black marker or red marker?
If you don't have a black marker, use a dark pen or a sharp dark crayon to trace the important outlines, and if you lack a red marker for the truck body, substitute colored pencils, crayons, or red watercolor paint (letting paint dry before erasing pencil lines).
My wheels look uneven or the ladder rungs are crooked — how can I fix that?
If the two large circles for the wheels or the short evenly spaced ladder rungs look crooked, redraw them lightly in pencil using a cup or coin as a circle guide and a ruler for the ladder rails, then trace the corrected lines with your black marker and erase the extra pencil sketches.
How can I adapt this drawing activity for different ages?
For ages 3–5, have an adult lightly draw the long horizontal rectangle and two large circles for wheels for the child to color with crayons; for ages 6–8, let them draw the cab, ladder base, wheels, and coiled hose and trace with a black marker before erasing pencil lines themselves; and for 9+, encourage measuring ladder rails, adding evenly spaced rungs, drawing windshield and side window rectangles, and adding shading with multiple colored markers.
How can we personalize or extend the fire truck drawing?
To personalize your truck, add a number or name on the cab, glue a craft stick along the ladder base for a 3D ladder, attach yarn for a textured hose, add colored shading and small details with other coloured markers, and then take a picture of your finished fire truck to share on DIY.org.