How to draw a dog face - a free dog face drawing guide
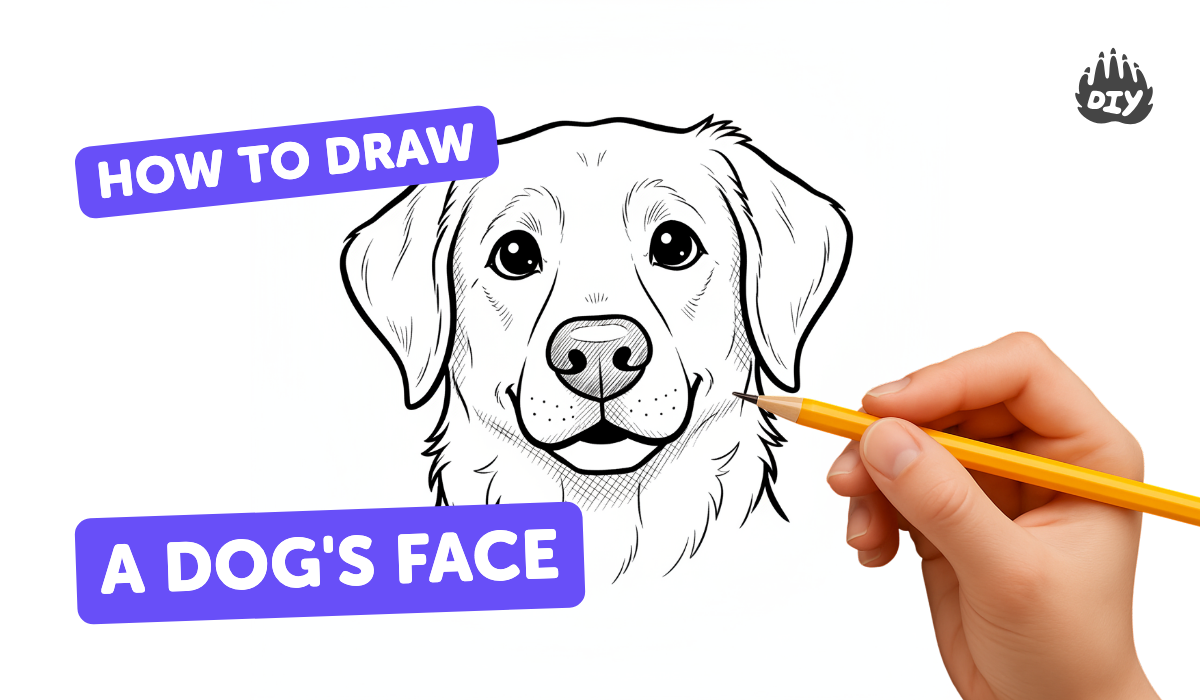
Draw a dog face using basic shapes, pencil, and marker. Practice proportions, symmetry, and simple shading to create a recognizable cartoon or realistic portrait.

Drawing Apps
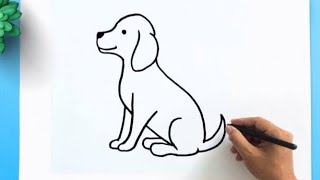
Photos of dog face drawings


Step-by-step guide to draw a dog face
How to draw a dog face (head) 3 EASY & SLOWLY step by step for kids and beginners
Step 1
Gather your pencil eraser paper black marker and colouring materials so everything is ready to draw.
Step 2
Put your paper in front of you in portrait orientation so the dog face will fit nicely.
Step 3
Lightly draw a vertical centerline and a horizontal eye line to make simple center guidelines.
Step 4
Sketch a large circle or oval around the guidelines to make the head shape.
Step 5
Sketch a smaller oval overlapping the lower center of the head to make the muzzle.
Step 6
Mark two small dots on the eye line at equal distances from the centerline to place the eyes.
Step 7
Draw the eyes as ovals around the dots to give your dog friendly eyes.
Step 8
Add tiny circles inside each eye to make shiny highlights that bring the eyes to life.
Step 9
Draw a rounded triangle nose at the top center of the muzzle for the snout detail.
Step 10
Draw a short vertical line under the nose and a small curved line to make the mouth.
Step 11
Sketch matching ears on each side of the head using pointy or floppy shapes to choose your dog type.
Step 12
Erase the light guidelines and any extra sketch lines so only the dog face remains.
Step 13
Trace your final outline with the black marker and wait a moment for the ink to dry.
Step 14
Add light pencil shading to the muzzle ears and under the chin and blend gently with a tissue or your finger.
Step 15
Share your finished dog face drawing on DIY.org
Help!?
What can I use if I don't have a black marker or certain colouring materials?
If you don't have a black marker, use a dark ballpoint pen or a black colored pencil to trace the final outline after erasing guidelines, and substitute crayons or watercolor pencils for the colouring materials.
What should I do if the eyes look uneven or my marker smudges during drawing?
If the eyes look uneven or the marker smudges, re-measure and re-mark the two equal-distance eye dots using the vertical centerline and eye line before redrawing the ovals, blot fresh smudges with a tissue, and wait for the ink to dry before erasing extra sketch lines.
How can I adapt this activity for different age groups?
For ages 3–5, pre-draw the large head circle and muzzle and let them add eye stickers and color; for ages 6–8, follow the full sketch-and-erase steps with supervision; and for 9+, have them add the light pencil shading blended with a tissue and refine fur details.
How can we enhance or personalize the finished dog face drawing?
To personalize the drawing, choose floppy or pointy ear shapes as instructed, use your colouring materials to add breed-specific fur patterns and a colored collar under the chin, and deepen muzzle and ear shadows with extra pencil shading blended with a tissue before sharing on DIY.org.
Watch videos on how to draw a dog face
How to Draw a Dog Face - Step by Step for Beginners
4 Videos

How to Draw a Dog Face - Step by Step for Beginners
How to Draw a Dog Step by Step 🐕 Easy Drawing a Dog - Animal Drawings
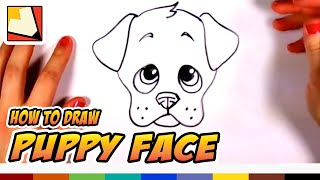
How to Draw a Cute Puppy Face Step by Step - Art for kids | CC
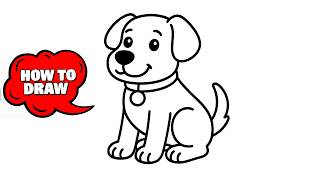
How to Draw a Dog (Easy Step-by-Step Tutorial for Beginners)
Facts about drawing and sketching for kids
🐶 Every dog's nose print is unique — scientists can use nose patterns like a fingerprint!
✏️ Cartoon dog faces often use bigger, rounder eyes and simpler shapes to look extra friendly and cute.
👀 Symmetry helps people recognize faces quickly — balanced features make a dog face look 'right'.
🎨 Simple shading (a little shadow under the chin or around the muzzle) can make a flat sketch look three-dimensional.
📐 Many artists start with basic shapes — circles for the head, ovals for the snout, triangles for ears — to build a perfect dog face.
How do I teach my child to draw a dog face step by step?
What materials do we need to draw a dog face with basic shapes?
What ages is drawing a dog face suitable for?
What are the benefits and safety tips for drawing a dog face?
