How to draw a cube - a free cube drawing guide
Learn to draw a 3D cube step-by-step using simple shapes, lines, and shading to understand perspective, depth, and light effects.

Drawing Apps
Photos of 3D cube drawing examples


Step-by-step guide to draw a 3D cube
How to Draw a Cube - VERY EASY - FOR KIDS
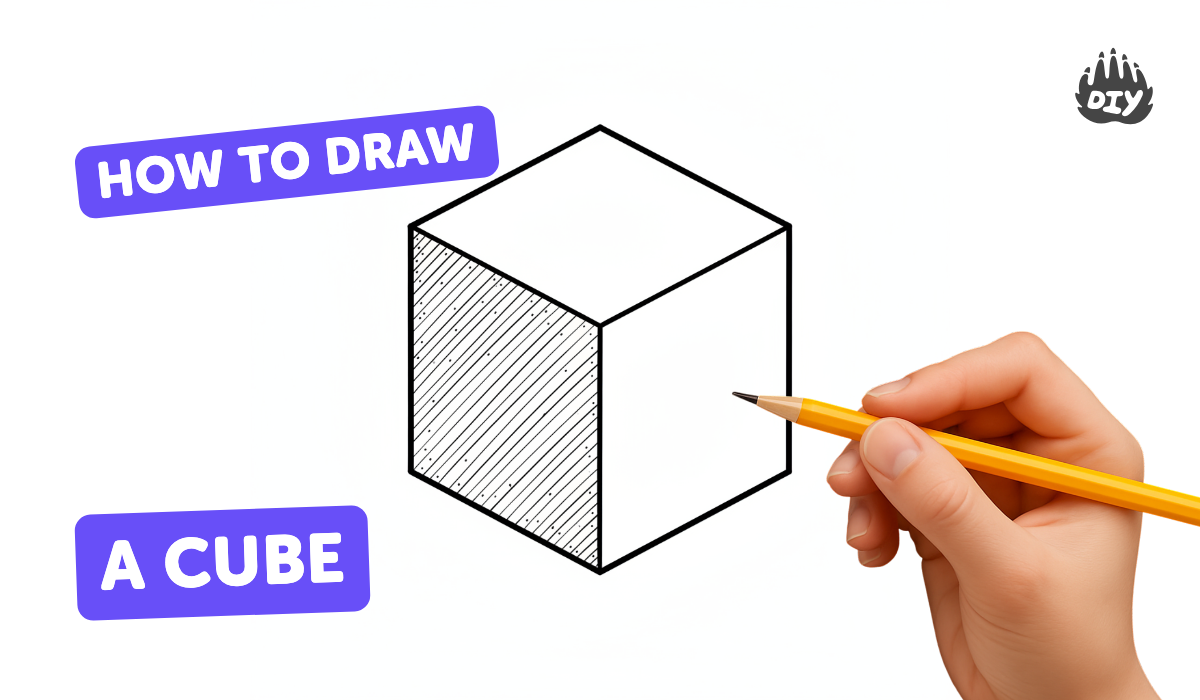
Step 1
Gather your paper pencil eraser ruler and colouring materials and place them on a flat table.
Step 2
Draw a neat square in the middle of the paper using your ruler and pencil.
Step 3
Choose a direction for the light and draw a small sun or arrow outside the square to show where the light is coming from.
Step 4
Draw a second square the same size as the first and move it slightly up and to the right (or in any diagonal direction) so the two squares overlap.
Step 5
Use your ruler to draw straight lines connecting each corner of the front square to the matching corner of the back square.
Step 6
Erase the inner lines that should be hidden so only the outside edges of the cube remain visible.
Step 7
Trace over the three visible edges of the cube with a firmer pencil line to make the cube stand out.
Step 8
Look at your sun or arrow and shade the face that the light hits most very lightly with your pencil or colouring materials.
Step 9
Shade the face that faces away from the light the darkest by pressing a bit firmer with your pencil or colouring materials.
Step 10
Shade the remaining face with medium pressure so it looks between light and dark.
Step 11
Draw a simple cast shadow on the side opposite the light and colour it a little darker than the darkest face.
Step 12
Add a small erased highlight on the face nearest the light if you want extra shine.
Step 13
Share your finished 3D cube drawing on DIY.org
Help!?
What can I use if I don't have a ruler or colouring materials from the list?
If you don't have a ruler, press the straight edge of a book or a piece of cardboard against the paper to draw the neat square in step 2, and if you lack colouring materials use a soft pencil to do the light, medium and dark shading called for in steps 8–10.
My two squares don't line up or the cube looks messy after erasing—how can I fix that?
If the back square or connecting lines in steps 4–5 look off, lightly mark matching corner points first and keep guideline lines faint so you can cleanly erase the inner lines in step 6 without removing the outside edges you trace in step 7.
How can I adapt this cube drawing for different age groups?
For younger kids (4–6) use a pre-drawn square template and crayons for simple light/dark faces in steps 8–10, while older kids (10+) can place the back square farther in step 4, refine connecting lines with a ruler in step 5, and add detailed cast shadow and highlight work in steps 11–12.
What are some ways to extend or personalize the cube activity after finishing the basic cube?
To extend the activity, draw several cubes at different sizes by repeating steps 2–7, vary the light direction in step 3 for different shading effects in steps 8–10, add textures or color gradients to the faces, and create a background scene before sharing on DIY.org as in step 13.
Watch videos on how to draw a 3D cube
How To Draw An Easy Rubik's Cube | Learn Colors | Easy Drawing For Toddlers | Step By Step
4 Videos

How To Draw An Easy Rubik's Cube | Learn Colors | Easy Drawing For Toddlers | Step By Step
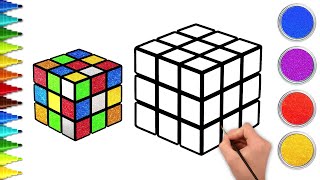
How To Draw Rubik's Cube Easily🎨| Easy Drawing For Kids | Chiki Doodle Learn How To Draw
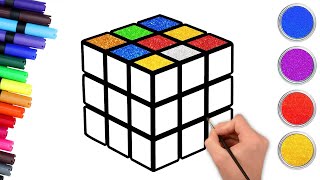
🎨 How to Draw an Easy Rubik's Cube | Easy Drawing for Kids | Chiki Doodle
How To Draw Rubik's Cube Easily🎨| Step By Step Drawing For Kids | Chiki Doodle Learn How To Draw
Facts about basic drawing and perspective
🧊 Cubes have 6 faces, 12 edges, and 8 corners — count them on your sketch to check your 3D cube!
🎯 A vanishing point is where parallel lines seem to meet; placing it wisely makes your cube look like it pops out of the page.
💡 Shading just one side darker can trick the eye into seeing depth — light and shadow are drawing’s secret superpowers.
✏️ One-point perspective is perfect for cubes facing you; two-point perspective makes corner-on cubes look extra realistic.
🕹️ Isometric projection shows three sides equally without shrinking — many classic video games use it to make 3D-looking worlds.
How do I teach my child to draw a 3D cube step by step?
What materials do we need to draw a 3D cube with kids?
What ages is learning to draw a 3D cube suitable for?
What are the benefits of teaching kids to draw 3D cubes, and how can we vary the activity?
