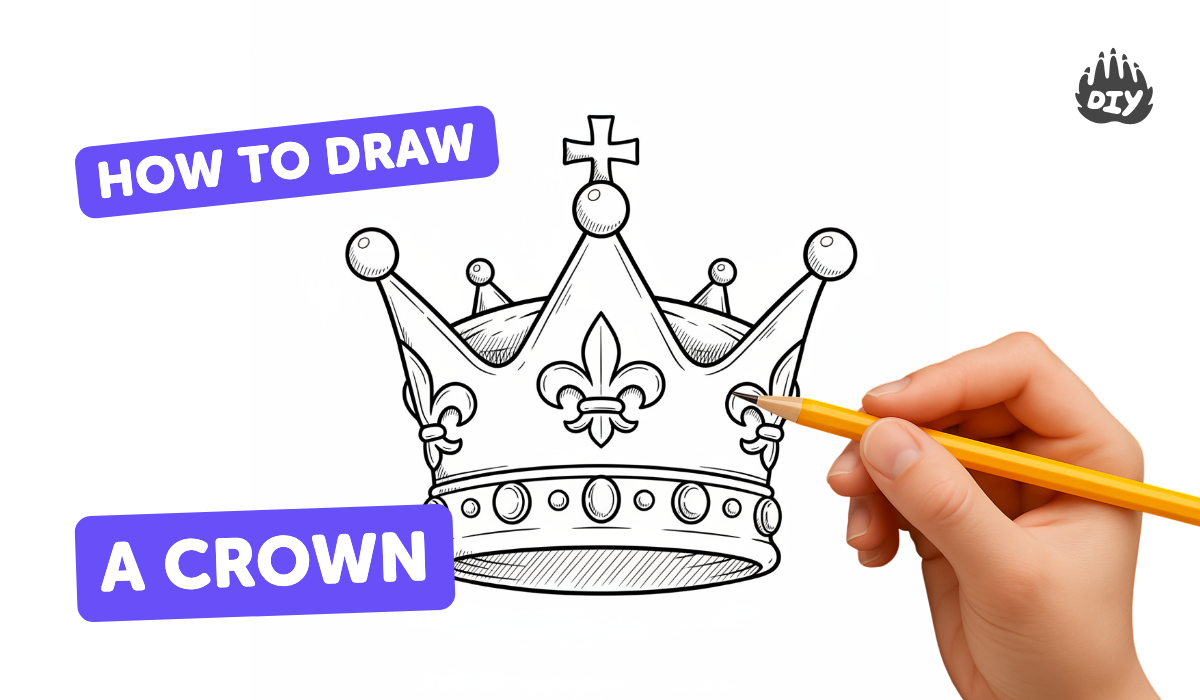
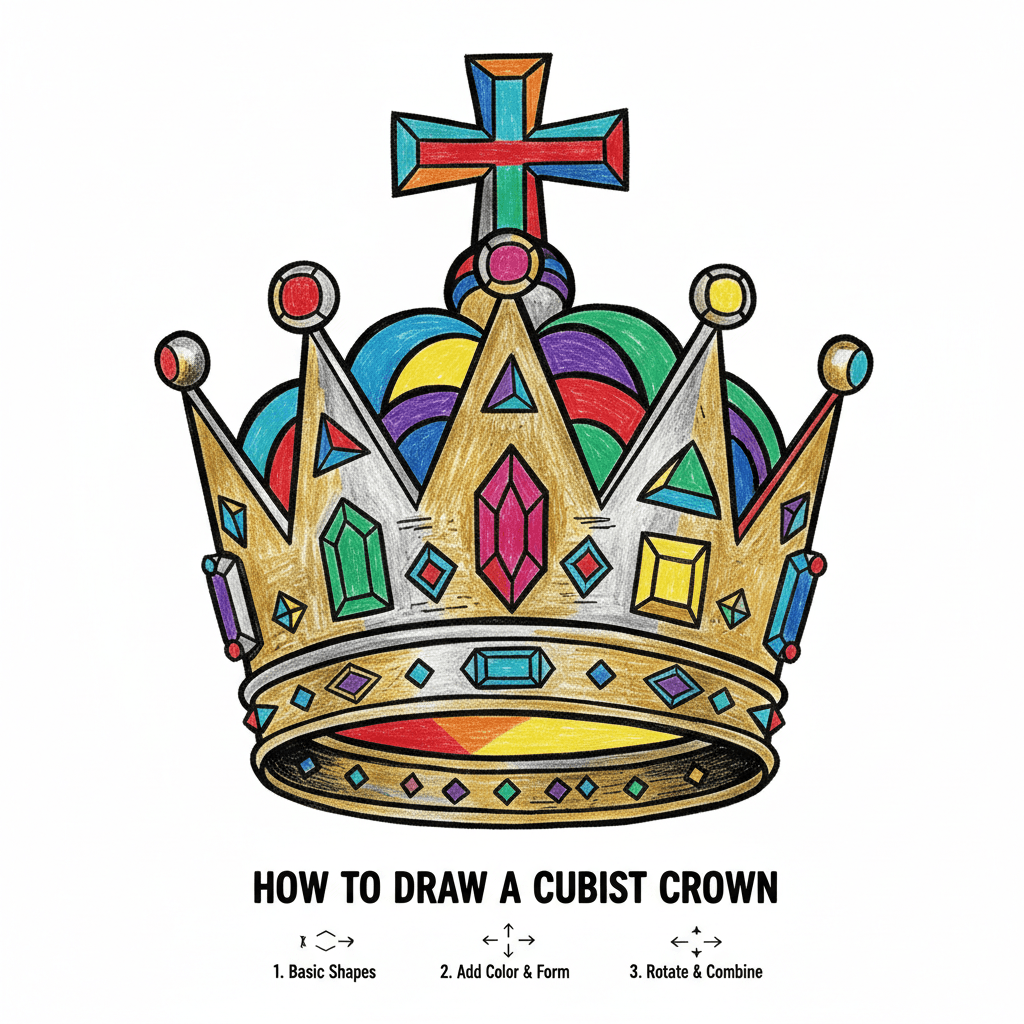
How to draw a crown - a free crown drawing guide
Draw a crown step-by-step using simple shapes, add gems, patterns, and shading to personalize your royal design and practice drawing skills.

Drawing Apps
Photos of crown drawing examples
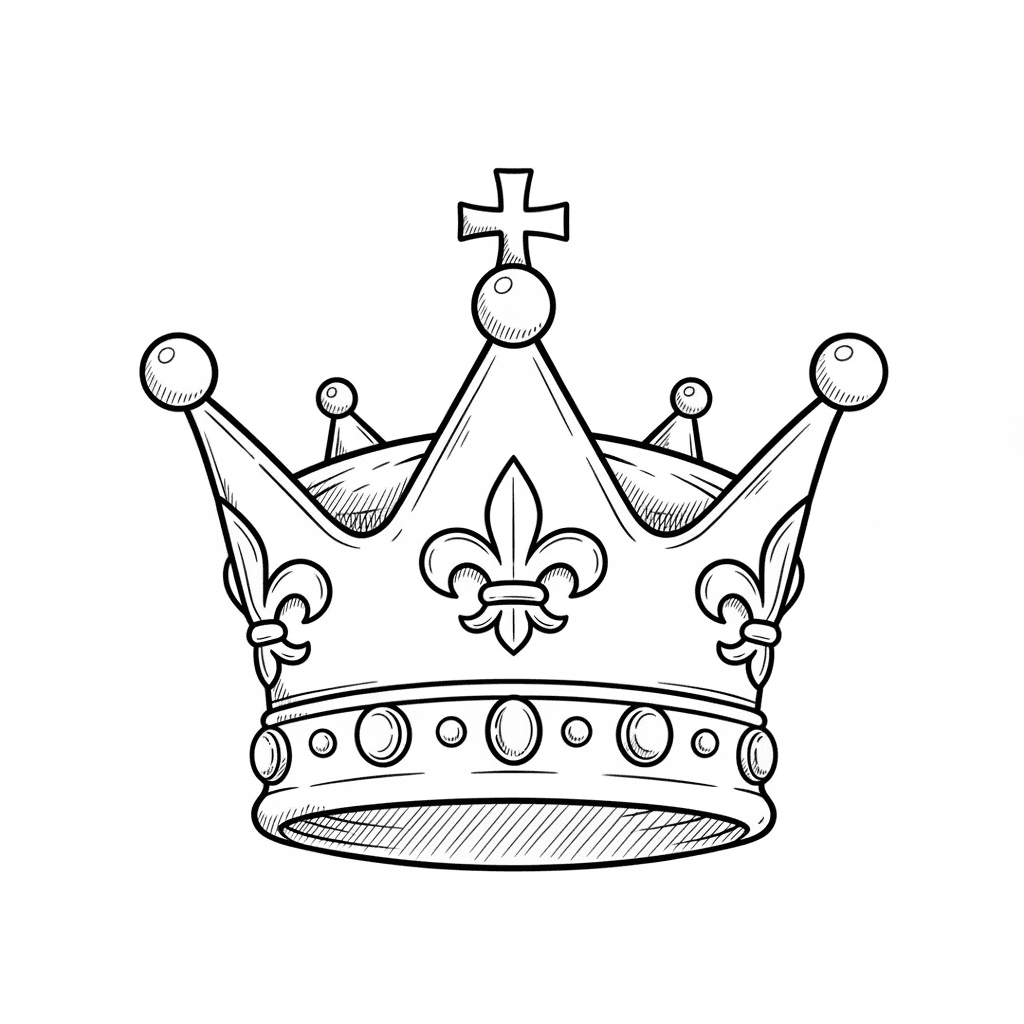

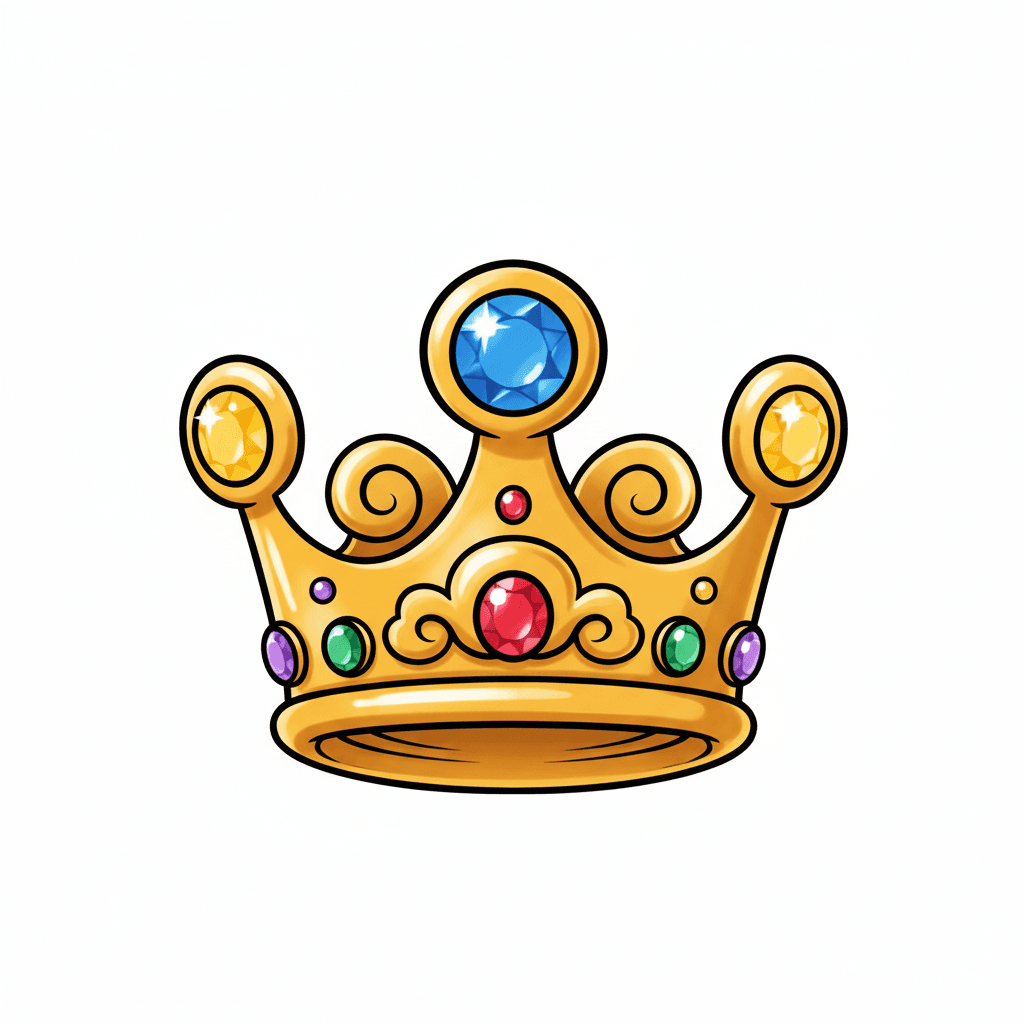

Step-by-step guide to draw a crown
How to Draw a Crown | Easy Drawing for Kids Step by Step
Step 1
Place your paper flat in front of you so you have lots of room to draw.
Step 2
Draw a straight horizontal line near the bottom third of the paper for the crown base.
Step 3
Draw two short vertical lines upward from the ends of the base to set the crown height.
Step 4
Draw three large curved points across the top connecting the vertical lines to make the crown shape.
Step 5
Draw a small circle or diamond shape on the tip of each top point to show gems.
Step 6
Draw a second parallel horizontal line just above the base to create a decorative band.
Step 7
Add simple patterns like tiny circles stars or zigzag lines inside the band and on the crown points.
Step 8
Lightly shade under each gem and along the inside edges with your pencil to make soft shadows.
Step 9
Trace the whole crown outline and gem edges with your black marker to make the drawing bold.
Step 10
Carefully erase any extra pencil lines and smudges so your lines are clean.
Step 11
Color the crown and gems using your coloring materials to make a royal color scheme.
Step 12
Add tiny white highlights by leaving small spots uncolored on each gem to make them sparkle.
Step 13
Share your finished royal crown creation on DIY.org.
Help!?
What can we use if we don't have a black marker or colored pencils?
Use a dark ballpoint pen, a black crayon, or a thin permanent marker to trace the outline instead of the black marker, and substitute washable markers, watercolors, or crayons for the coloring materials.
My three curved points look uneven or my shading smudges when I erase—how can I fix that?
Sketch the three large curved points lightly with your pencil and keep the base straight with a ruler, shade very softly under each gem, let any marker ink fully dry before erasing extra pencil lines, and erase gently as instructed to avoid smudges.
How can I adapt this crown drawing for younger or older kids?
For younger kids simplify by drawing one or two big curved points and bold gem shapes to color, while older kids can add more tiny circles, stars, zigzags inside the decorative band, more detailed gem shapes, and finer pencil shading as in the steps.
How can we extend or personalize the finished crown?
After coloring and leaving the tiny white highlights on each gem, cut out the traced crown outline and glue it to a cardstock strip to wear, or decorate gems with stickers, glitter, or metallic markers for extra sparkle before sharing on DIY.org.
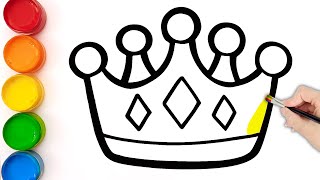
Watch videos on how to draw a crown
How to Draw a Cute Crown 👑 | Easy & Fun Art Tutorial for Kids!
4 Videos
How to Draw a Cute Crown 👑 | Easy & Fun Art Tutorial for Kids!

👑How to Draw a Crown | Easy Step by Step | Drawing, Painting & Coloring Crown For Beginners
👑How to Draw a Crown | Easy Step by Step | Drawing, Painting & Coloring Crown For Beginners
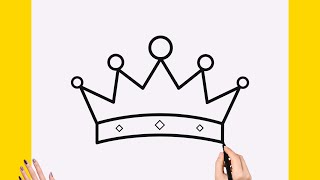
How to Draw a Crown | Easy (Step-by-Step) KING CROWN Drawing Tutorial
Facts about drawing for kids
👑 Crowns have been worn as symbols of power for over 5,000 years — ancient pharaohs and kings used different crowns to show status.
💎 Many royal crowns are decorated with real gemstones; drawing small highlights makes painted gems look like they sparkle.
✏️ A crown is easy to draw by starting with simple shapes: an oval for the band and triangles or arches for the points.
🎨 Shading the underside of points and adding a tiny white highlight on gems gives your crown a three-dimensional, shiny look.
📐 Using a center guideline and mirrored shapes helps keep both sides symmetrical so your crown looks balanced and regal.
How do you draw a crown step-by-step?
What materials do I need to draw a crown?
What ages is crown drawing suitable for?
What are the benefits of drawing a crown?
