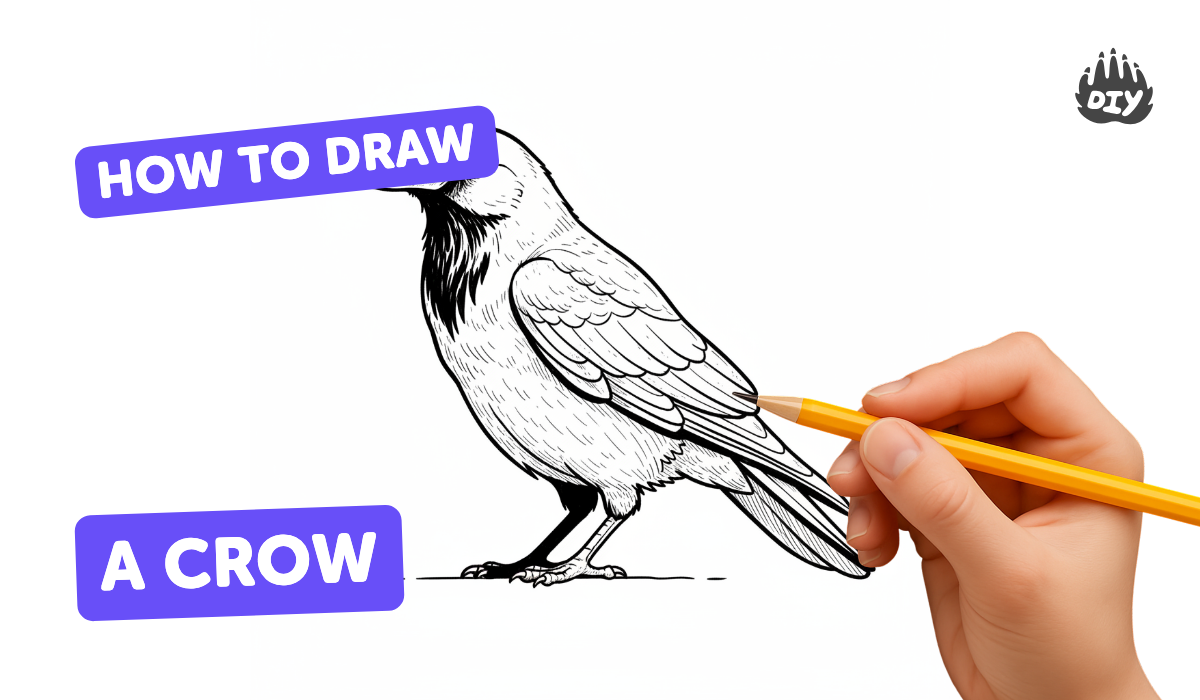
How to draw a crow - a free crow drawing guide
Draw a crow using basic shapes, lines, and shading. Practice observation, proportion, feather texture, wing structure, and shading techniques to create a lifelike crow.

Drawing Apps
Photos of crow drawing examples


Step-by-step guide to draw a crow
Learn to Draw a CROW Step-by-Step! Easy Bird Drawing for Kids (by 9 Year-Olds) ✨
Step 1
Find a clear photo of a crow to look at while you draw.
Step 2
Lightly draw a small circle for the head and a larger oval for the body with space between them.
Step 3
Draw a short curved line to connect the head and body to make the neck.
Step 4
Sketch a pointed triangle shape on the head for the beak.
Step 5
Draw a long slightly fanned triangle at the back of the oval to mark the tail.
Step 6
Draw a gentle curved line across the middle of the body to show where the wing will sit.
Step 7
Draw two thin lines under the body for legs and add three little toes on each foot.
Step 8
Trace a smooth outline around the head beak body wing and tail to form the crow shape.
Step 9
Erase the circle oval and extra construction marks so only the crow outline remains.
Step 10
Draw short overlapping curved strokes along the wing and tail to show feather texture.
Step 11
Shade the crow’s body with light pencil strokes that follow the direction of the feathers.
Step 12
Darken under the wing belly and at the base of the beak with heavier pencil to make shadows.
Step 13
Gently blend the shaded areas with a tissue or cotton swab to make the feathers look smooth.
Step 14
Use the eraser to lift tiny highlights on the feathers and then sign your name on the drawing.
Step 15
Share your finished crow drawing on DIY.org.
Help!?
I don't have a tissue or cotton swab for blending—what can I use instead?
Use a folded piece of clean soft cloth, a paper towel corner, or a pencil blending stump to gently blend the shaded areas in the step that says 'Gently blend the shaded areas with a tissue or cotton swab'.
My crow's proportions and pencil marks look messy—how can I fix that?
Keep the initial 'small circle for the head and a larger oval for the body with space between them' and the neck connector drawn very lightly so you can accurately trace the crow outline and then 'Erase the circle, oval and extra construction marks' without smudging the final lines.
How can I adapt this crow-drawing activity for different age groups?
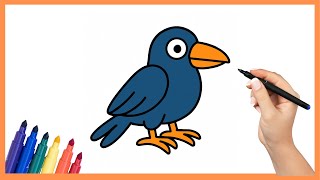
For younger kids simplify by drawing bold head and body shapes and a single wing line with a marker, for school-age children follow all steps including 'short overlapping curved strokes' for feathers and blending, and for teens add finer feather detail, stronger shading and sign before sharing on DIY.org.
What are some ways to enhance or personalize the finished crow drawing?
After you 'Erase the circle, oval and extra construction marks' add a branch or sky background, experiment with colored pencils or charcoal for texture, lift highlights with the eraser on the feathers, and then sign your name and share on DIY.org.
Watch videos on how to draw a crow
How To Draw A Crow! (Art For Kids!) - Easy Step By Step Beginner Art/Drawing Lesson!
4 Videos

How To Draw A Crow! (Art For Kids!) - Easy Step By Step Beginner Art/Drawing Lesson!
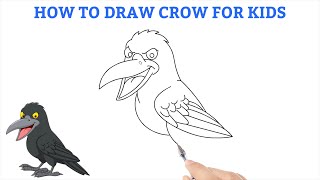
How to Draw Crow for Kids - Step by Step Tutorial | Mady Arts
How to Draw a Crow Step by Step Tutorial
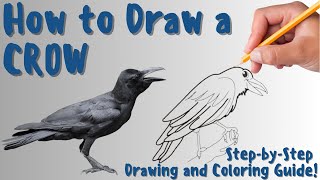
How To Draw A Crow - Fun & Easy Step-by-Step Drawing and Coloring Guide
Facts about drawing birds
🐦 Crows (genus Corvus) are extremely smart — they can use tools, solve puzzles, and even remember human faces.
✏️ A realistic crow can start from simple shapes: circle for the head, oval for the body, and triangles for beak and tail.
🪶 Feathers are layered — drawing overlapping feather shapes helps wings look three-dimensional and natural.
👀 Crows have distinct proportions (short neck, sturdy body, long wings and tail) — measuring with your pencil helps keep them accurate.
🎨 Black feathers are glossy: add soft highlights and directional shading to make a crow look shiny and lifelike.
How do I draw a crow using basic shapes and shading?
What materials do I need to draw a crow?
What ages is this crow drawing activity suitable for?
What are the benefits of drawing a crow?
