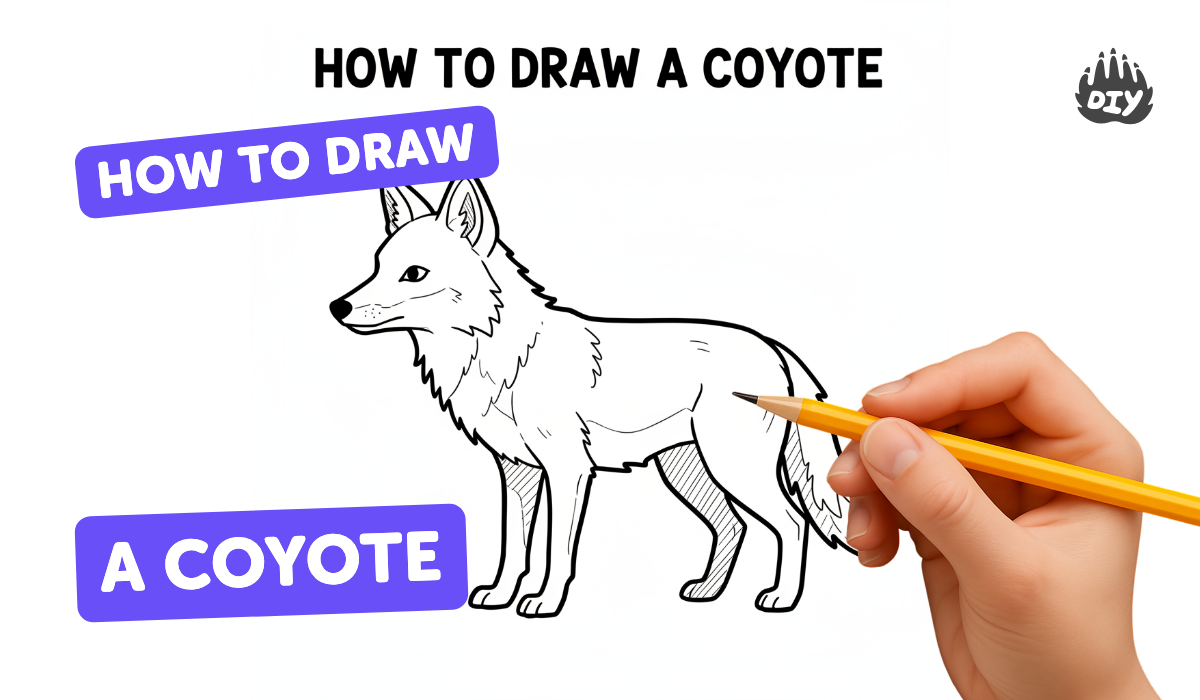
How to draw a coyote - a free coyote drawing guide
Draw a realistic cartoon coyote step-by-step using simple shapes, add fur texture, facial features, correct proportions, and color to complete your artwork.

Drawing Apps
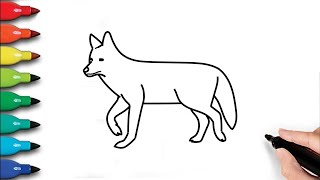
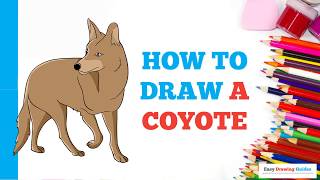
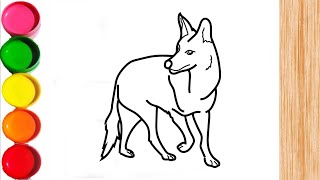
Photos of coyote drawing examples


Step-by-step guide to draw a coyote
How to Draw a Coyote Step by Step Easy for Beginners/Kids - Simple Coyotes Drawing Tutorial
Step 1
Gather your materials and clear a flat space to draw.
Step 2
Lightly draw a circle for the coyote’s head in the top part of your paper.
Step 3
Lightly draw an oval for the coyote’s body slightly below and touching the head.
Step 4
Draw a vertical and horizontal guideline across the head circle to place the face features.
Step 5
Sketch two upright triangle ear shapes on top of the head circle.
Step 6
Draw a rounded snout shape extending from the front of the head circle.
Step 7
Sketch four simple leg guides under the body using long rectangles for front legs and slightly bent shapes for back legs.
Step 8
Draw a long curved bushy tail coming off the back of the body oval.
Step 9
Use your pencil to connect the shapes into a smooth coyote outline and add short jagged lines for fur along the neck chest tail and cheeks.
Step 10
Draw the facial features by placing two almond-shaped eyes on the guidelines a small nose at the tip of the snout and a simple mouth line under the nose.
Step 11
Erase the extra construction lines so only your clean coyote drawing remains.
Step 12
Carefully go over your final lines with a black pen or marker and let it dry.
Step 13
Colour your coyote using a light brown or tan for the body and add darker browns or greys on the ears tail tip and back for realistic shading.
Step 14
Share a photo of your finished coyote artwork on DIY.org
Help!?
What can we use if we don't have a black pen or marker to go over the final lines?
If you don't have a black pen or marker, carefully trace the final outline with a sharpened dark pencil, a fine-tip felt pen, or a thin brush and black paint to replace the inking step.
My coyote looks lopsided after sketching—how can I fix proportions before inking and erasing?
If the head circle and body oval look out of proportion, keep pencil guides light, compare sizes by holding your pencil or a ruler over the paper, adjust the circle or oval until balanced, then erase only extra construction lines before inking.
How can I adapt this drawing activity for younger or older kids?
For younger children use larger paper, pre-drawn or traced circles/ovals and thick crayons while skipping detailed jagged fur and shading, and for older kids encourage refining the almond-shaped eyes and snout, adding short jagged fur lines on the neck, chest, tail and cheeks, and practicing realistic shading with darker browns or greys.
How can we enhance or personalize the finished coyote drawing?
Enhance the drawing by adding a background scene (desert plants or moon), personal patterns or markings on the ears and tail tip, layer colours as instructed—light brown base with darker browns/greys on the back, ears and tail tip—and photograph the finished coyote to share on DIY.org.
Watch videos on how to draw a coyote
How to Draw a Coyote Step by Step
4 Videos
How to Draw a Coyote Step by Step
How to Draw a Coyote in a Few Easy Steps: Drawing Tutorial for Beginner Artists
How to draw A COYOTE Easy for kids
How to Draw a Coyote Easy Step by Step
Facts about drawing animals
🐺 Coyotes live across North and Central America and can thrive in deserts, forests, mountains — even cities, so you can pick many backgrounds for your drawing.
🎨 Wile E. Coyote from Looney Tunes helped make the coyote a classic cartoon character with exaggerated shapes you can study for stylized designs.
🐾 Adult coyotes usually weigh about 7–21 kg (15–46 lb), a helpful guide when getting body proportions right in your sketch.
👁️ Coyotes have long snouts and slightly slanted, forward-facing eyes—those simple shapes give your face realistic expression and focus.
🌙 Coyotes are most active at dawn and dusk (crepuscular), a great time to practice moody lighting and warm/cool color contrasts in your art.
How do I draw a realistic cartoon coyote step-by-step?
What materials do I need to draw a realistic cartoon coyote?
What ages is drawing a realistic cartoon coyote suitable for?
What are the benefits of drawing a realistic cartoon coyote?


