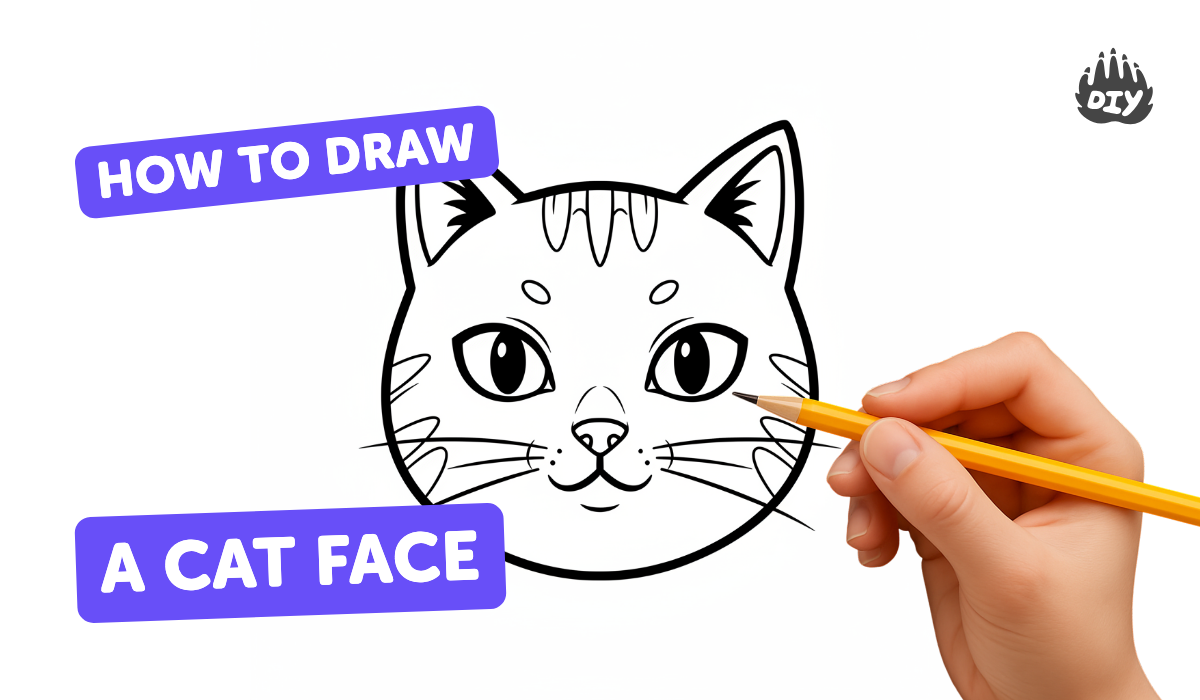
How to draw a cat face - a free cat face drawing guide
Draw a cat face step-by-step using simple shapes, pencil guidelines, and basic shading. Learn proportions, whiskers placement, and expressive eyes.

Drawing Apps
Photos of cat face drawings


Step-by-step guide to draw a cat face
How to Draw a Cute Cat Step by Step: Fun & Easy Drawing Tutorial for Kids and Beginners!
Step 1
Lightly draw a large circle near the middle of your paper for the cat's head.
Step 2
Draw one vertical line down the center of the circle and one horizontal line across the middle as simple guidelines.
Step 3
Add two triangle shapes on top of the circle for the ears placing one on each side.
Step 4
On the horizontal guideline draw two almond-shaped eyes spaced about one eye-width apart.
Step 5
Inside each eye draw a smaller circle for the iris and leave a tiny white spot for the highlight.
Step 6
Draw a small upside-down triangle on the vertical guideline below the eyes for the nose.
Step 7
Draw a short vertical line from the bottom of the nose to mark the center of the mouth.
Step 8
From the end of that line draw two small curved lines outwards to make the smiling mouth.
Step 9
Put three small dots on each cheek and draw three whisker lines from each dot outward.
Step 10
Gently erase the guideline lines so the cat face shapes look clean.
Step 11
Add short quick strokes around the face and ears to show fluffy fur.
Step 12
Shade lightly inside the ears and add soft shading on one side of the face to show form.
Step 13
Colour the eyes and fur if you want using your colouring materials.
Step 14
Share your finished cat face on DIY.org.
Help!?
What can I use if I don't have a regular pencil or eraser for the guidelines?
Use a mechanical pencil or a light-colored colored pencil to draw the circle and guidelines and a soft kneaded eraser or clean white eraser to gently erase the guideline lines as instructed.
My eyes look uneven or too close together—how can I fix that?
Mark one eye-width on the horizontal guideline with the tip of your pencil or a small coin as a spacer, then redraw the almond-shaped eyes lightly so you can gently erase and adjust spacing.
How can I adapt this cat-face drawing for different ages?
For younger children simplify to a big circle and triangle ears and skip detailed irises and whisker dots, while older kids can add the short quick strokes for fluffy fur, soft shading on one side of the face, and colored irises.
What are some ways to enhance or personalize the finished cat face?
Personalize it by adding stripes or spots with your colouring materials, changing the mouth curve to create different expressions, experimenting with varied short quick strokes for fur texture, and then share the result on DIY.org.
Watch videos on how to draw a cat face
How To Draw A Cute Cat Step By Step!
4 Videos
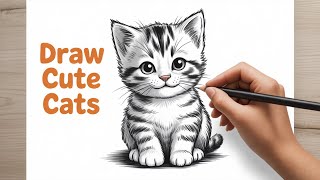
How To Draw A Cute Cat Step By Step!
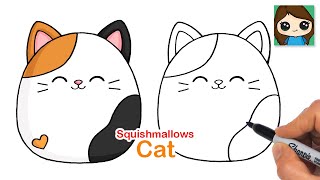
How to Draw a Cute Cat Easy | Squishmallows
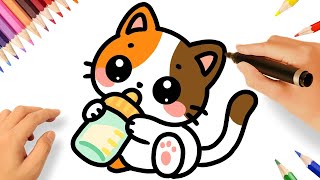
HOW TO DRAW A CUTE KAWAII BABY CAT EASY STEP BY STEP 😻🍼
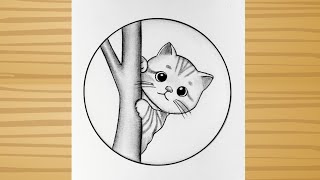
How to draw a cute Cat easy/ step by step/ cute cat drawing easy/pencil sketch/Circle Drawing
Facts about drawing for kids
🐱 Cats have about 32 muscles in each ear, which is why they can swivel them so fast to catch sounds.
🐾 A cat's whisker span is roughly the same width as its body and helps it judge whether it can fit through tight spaces.
👀 Cats have a reflective layer called the tapetum lucidum behind their retinas — that’s why their eyes can glow in low light.
✏️ Many artists start drawings with simple shapes (circles, ovals, triangles) and light guidelines to get proportions right.
🎨 Using just three values — light, mid, and dark — can make a flat sketch look three-dimensional and expressive.
How do you draw a cat face step-by-step?
What materials do I need to draw a cat face?
What ages is this cat-face drawing activity suitable for?
What are the benefits of drawing cat faces and how can I vary the activity?
