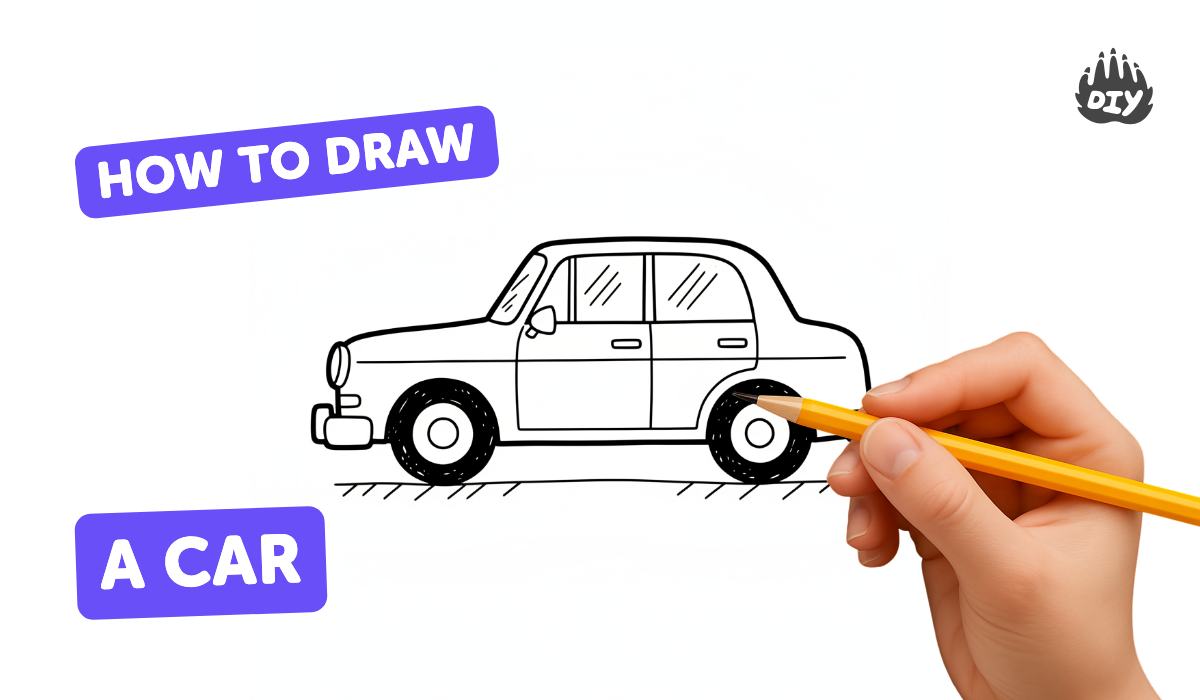
How to draw a car - a free car drawing guide
Draw a simple car step by step using pencil, ruler, eraser and colored pencils to learn shapes, proportions, symmetry and adding wheels, windows, decorations.

Drawing Apps
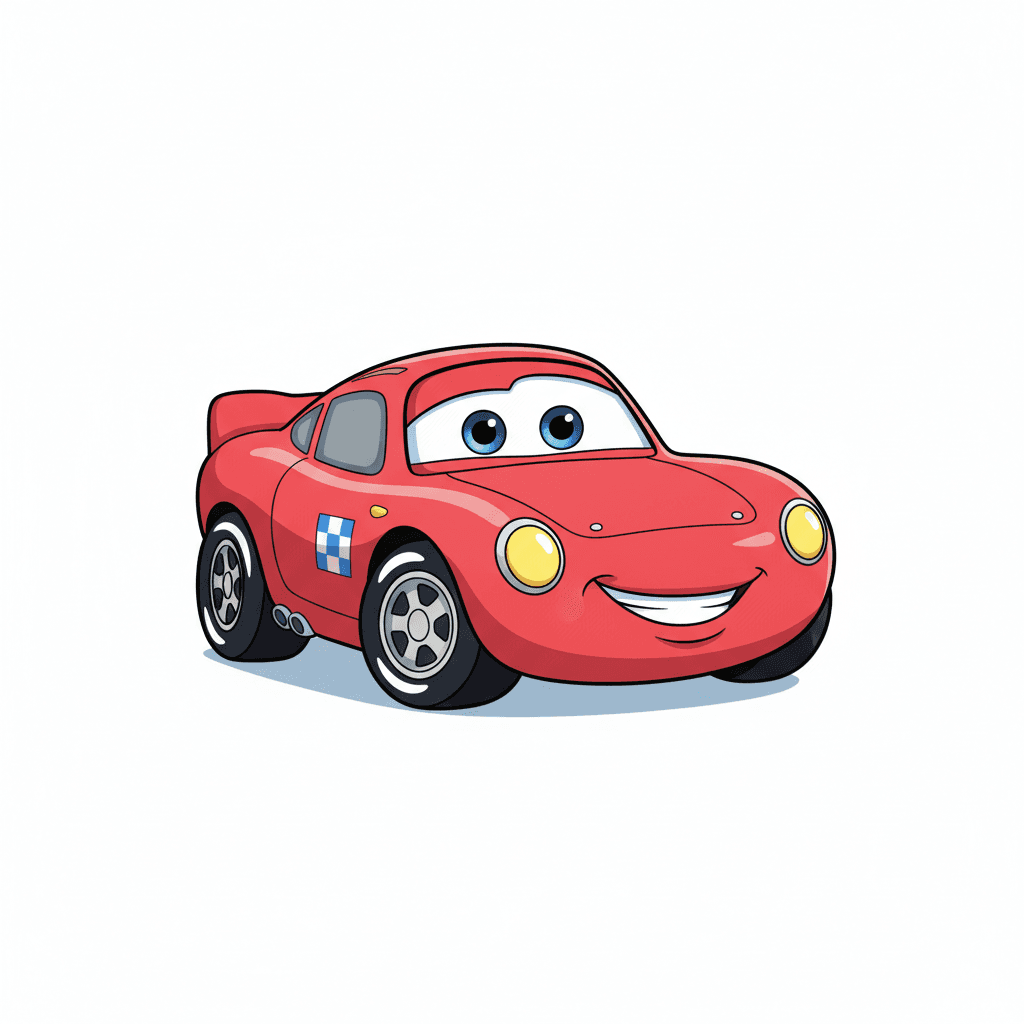
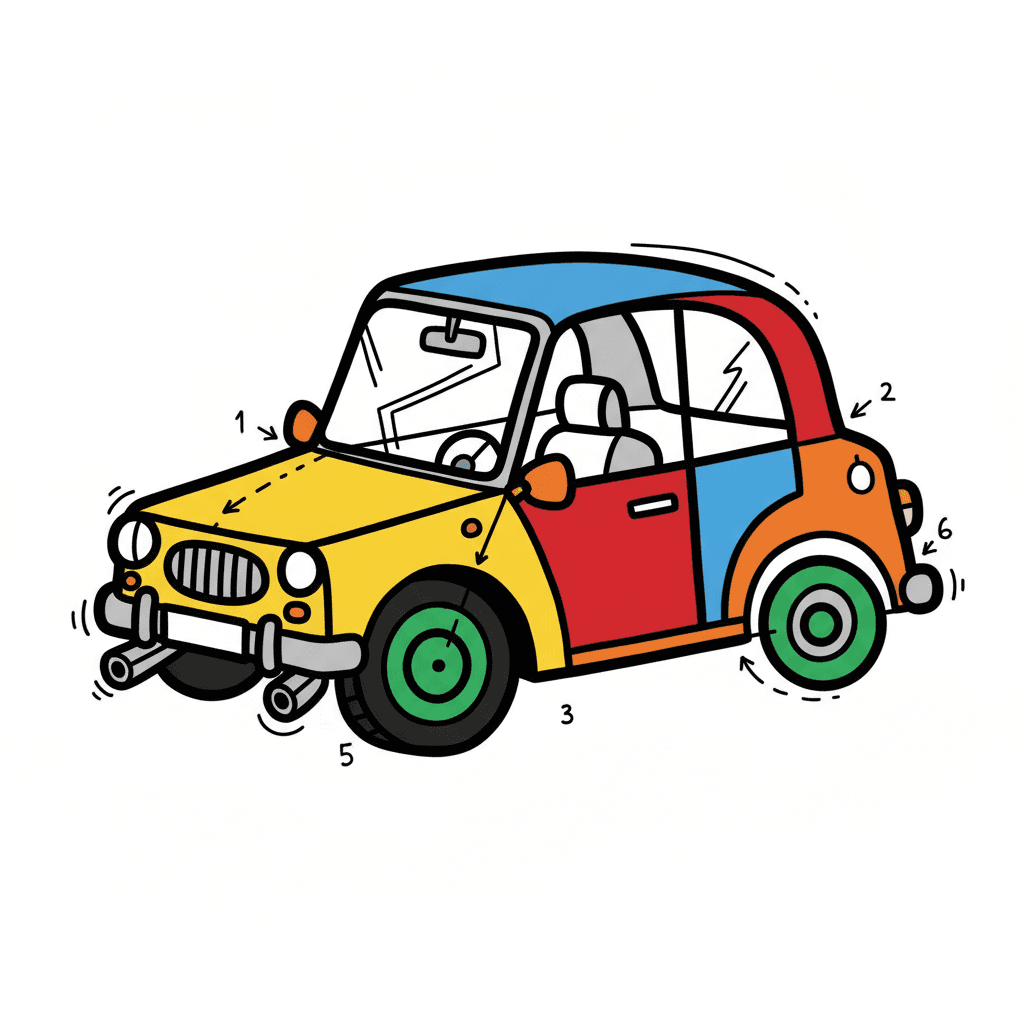
Photos of simple car drawing examples
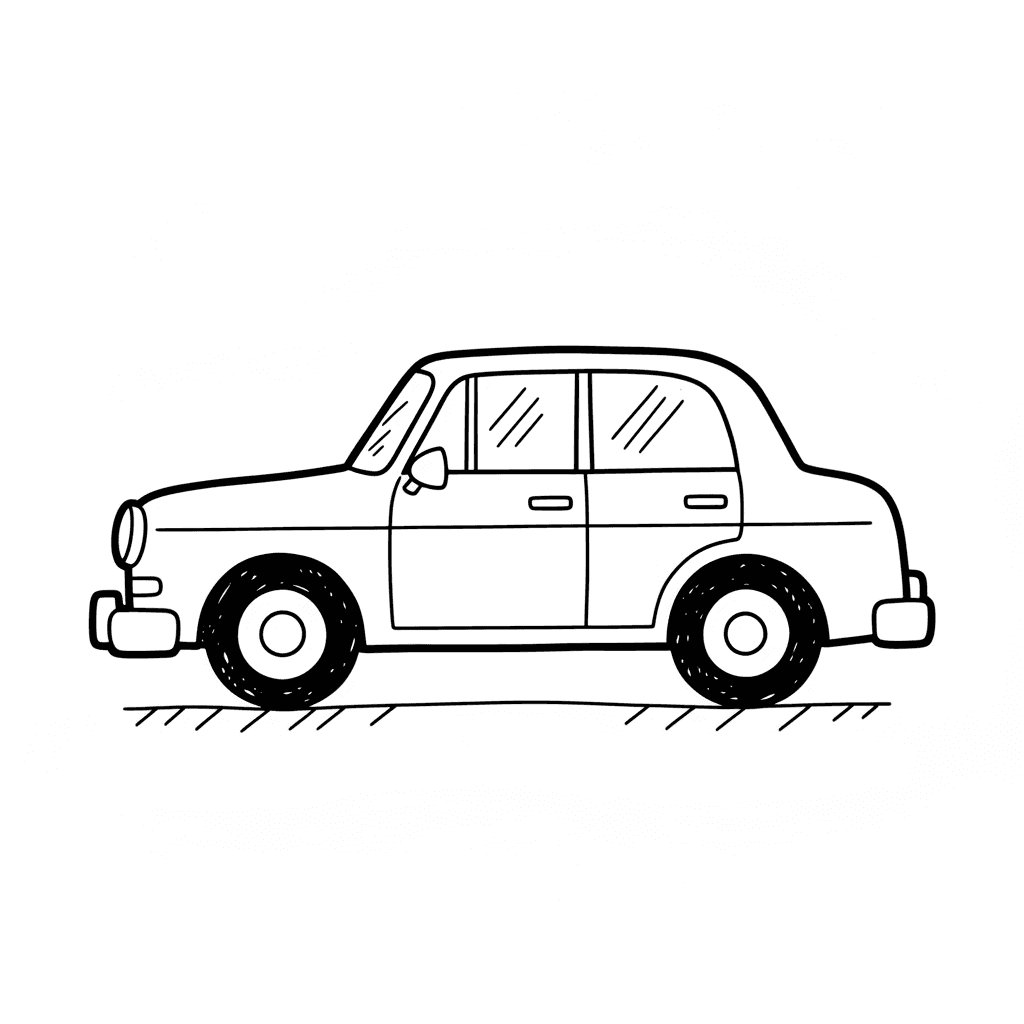

Step-by-step guide to draw a simple car
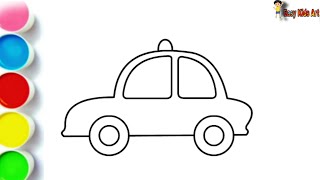
Easy Car Drawing for Kids | Learn How to Draw Step-by-Step
Step 1
Gather your materials and place them on a clear flat surface.
Step 2
Use your ruler to lightly draw a long horizontal rectangle for the car body.
Step 3
Draw a curved line across the top of the rectangle to form the car roof.
Step 4
Measure the bottom edge of the rectangle with your ruler and put a small mark at one third and two thirds for the wheel centers.
Step 5
Draw a circle around each mark to make the two wheels.
Step 6
Draw a smaller circle inside each wheel to make the hubcaps.
Step 7
Erase the rectangle lines that cross through the wheels so the wheels look like they sit outside the car body.
Step 8
Add small rectangles at the front and back ends of the body to make bumpers.
Step 9
Draw a thin vertical pillar line under the roof to split the front and rear window areas.
Step 10
Draw a slanted windshield shape in front of the pillar.
Step 11
Draw a rear or side window shape behind the pillar.
Step 12
Add a small rectangle for a door handle on the side of the car.
Step 13
Draw a little oval or rectangle near the front corner for a side mirror.
Step 14
Color the car body wheels windows and details using your colored pencils or crayons.
Step 15
Share your finished car drawing on DIY.org.
Help!?
What can we use if we don't have a ruler, compass, or colored pencils?
Use the straight edge of a hardcover book or cereal box as a ruler, trace coins or small cups for the wheels in step 4 instead of a compass, and substitute markers or washable paint for colored pencils or crayons when coloring in step 13.
My wheels look uneven or cut through the car body — how do I fix that?
If the wheels are uneven or overlapping the body, lightly erase and remeasure the bottom edge to place marks at one-third and two-thirds (step 3), redraw the wheel circles (step 4), and then use the eraser as in step 7 to remove rectangle lines that cross through the wheels so they sit outside the car body.
How can I adapt this activity for younger or older children?
For younger children, pre-draw the long horizontal rectangle and wheel center marks from steps 2 and 3 and let them complete simple wheels and color in step 13, while older children can add details like window pillars and slanted windshield proportions (steps 9–11), perspective, panel lines, and shading.
How can we extend or personalize the car drawing to make it more creative?
Extend or personalize the activity by adding headlights and a license plate near the bumpers from step 8, painting custom stripes or a logo on the car body before coloring in step 13, gluing on paper cutouts for mirrors or hubcaps from step 6, and then share the finished drawing on DIY.org as suggested.
Watch videos on how to draw a simple car
How to Draw a CAR - Easy Kids Drawings
4 Videos
How to Draw a CAR - Easy Kids Drawings

How to Draw a Car | Super Easy Step-by-Step Tutorial!
How to Draw a Car | Easy Drawing Tutorial for Beginners & Kids
🚕 Easy Car Drawing for Kids | Fun Coloring Tutorial Step by Step 🎨
Facts about drawing and basic shapes
🚗 Many car designers start by combining simple shapes—circles, rectangles and triangles—to sketch a full vehicle quickly.
✏️ A single pencil can draw a line about 35 miles (56 km) long — perfect for lots of practice strokes!
🔍 Most cars are roughly mirror-symmetric front-to-back along their centerline to look balanced and drive well.
🧭 One-point perspective (horizon + vanishing point) can make a flat car sketch appear three-dimensional.
🎨 Simple shading and a few highlights can make a flat drawing look like shiny metal or glass.
How do I teach my child to draw a simple car step by step?
What materials do I need to draw a simple car with my child?
What ages is drawing a simple car suitable for?
What are the benefits of teaching children to draw a car step by step?
