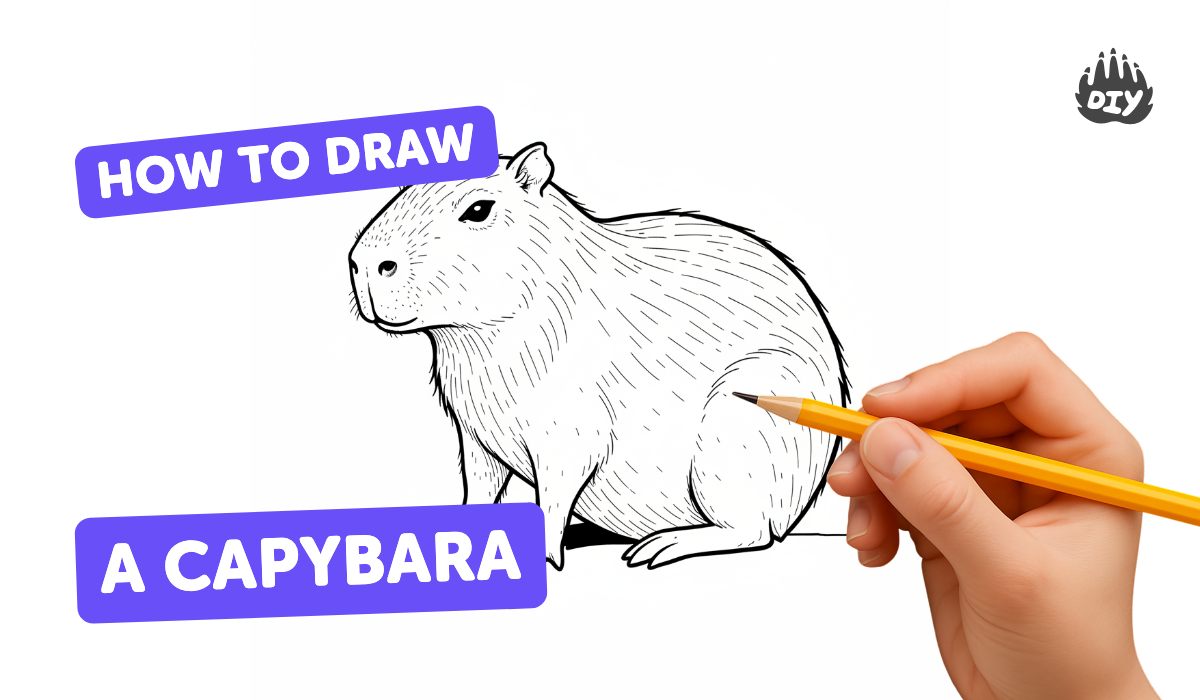
How to draw a capybara - a free capybara drawing guide
Learn to draw a friendly capybara step-by-step using simple shapes, shading, and texture practice to create a realistic animal sketch.

Drawing Apps
Photos of capybara drawing examples


Step-by-step guide to draw a capybara
How To Draw A Capybara Easy Tutorial Step By Step For Kids
Step 1
Make five light practice circles and short lines on your paper to warm up your hand.
Step 2
Lightly draw a big horizontal oval near the middle of the page for the capybara's body.
Step 3
Lightly draw a medium circle overlapping the front of the oval for the head.
Step 4
Add a slightly rounded rectangle or small oval at the front of the head for the snout.
Step 5
Draw two small rounded ears on top of the head.
Step 6
Draw a tiny stubby tail at the back of the body.
Step 7
Draw four short thick legs below the body with rounded feet.
Step 8
Trace over the best outer lines to smooth and strengthen the body head and leg shapes.
Step 9
Erase the extra light sketch lines that you no longer need.
Step 10
Draw two small round eyes a pair of tiny nostrils and a simple curved mouth on the snout.
Step 11
Add short gentle pencil strokes following the body curves to create fur texture.
Step 12
Shade under the belly behind the legs and under the chin with soft pencil pressure to make shadows.
Step 13
Gently blend the shaded areas with a tissue or blending stump to smooth the tones.
Step 14
Use your eraser to lift tiny highlights on the nose top of the head and the eyes to make them pop.
Step 15
Take a photo or scan your finished capybara and share your creation on DIY.org.
Help!?
What can we use instead of a blending stump or tissue to smooth shaded areas if we don't have them?
If you don't have a blending stump or tissue for the step that says 'Gently blend the shaded areas,' use a clean fingertip, a folded paper towel, or a cotton swab to softly smudge and smooth the pencil tones.
My capybara's head looks too big or the legs are lopsided—what step usually fixes this?
If proportions are off, go back to the warm-up and the steps to 'Lightly draw a big horizontal oval' and the 'medium circle overlapping the front of the oval' and erase and adjust those light sketch lines before you 'Trace over the best outer lines' to lock in the shape.
How can I change the guide to suit different ages or skill levels?
For preschoolers simplify by having them do just the big horizontal oval, medium head circle, and four short legs from the main steps, while older kids can follow the full sequence including 'short gentle pencil strokes' for fur, blended shadows, and lifted highlights for realism.
What are some fun ways to improve or personalize the finished capybara drawing?
After you 'Erase the extra light sketch lines' and finish shading, personalize your capybara by coloring it with colored pencils, adding a simple background or other capybaras at different sizes using the same body/head/leg steps, then photograph and share on DIY.org.
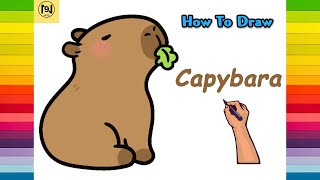
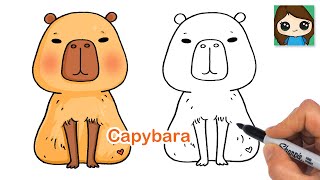
Watch videos on how to draw a capybara
How to draw a CUTE CAPYBARA | Art and doodles for kids
4 Videos
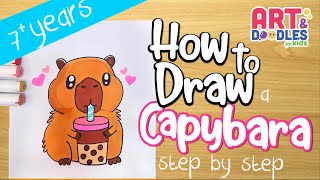
How to draw a CUTE CAPYBARA | Art and doodles for kids
How to Draw A Capybara Easy and Cute
How to Draw a Capybara | Animal Art

How to Draw a Cute Kawaii Capybara | Easy Step-by-Step Drawing | Beginner-Friendly Tutorial ✨
Facts about animal drawing for kids
🐹 Capybaras are the world's largest rodents — adults can weigh up to about 150 pounds (66 kg).
🌊 Capybaras are semi-aquatic and can stay submerged for up to five minutes to hide from predators.
🧩 Artists often block in a capybara's body with simple shapes (ovals and circles) to get the pose and proportions right.
🎨 Short pencil strokes and layering are great for creating the capybara's coarse, wiry fur texture.
👥 Capybaras are social animals that usually live in groups of 10–20 and sometimes gather in much larger herds.
How do I teach my child to draw a friendly capybara step-by-step?
What materials do I need to draw a realistic capybara with my child?
What ages is a step-by-step capybara drawing suitable for?
What are the benefits and safety tips for practicing shading and texture when drawing animals?
