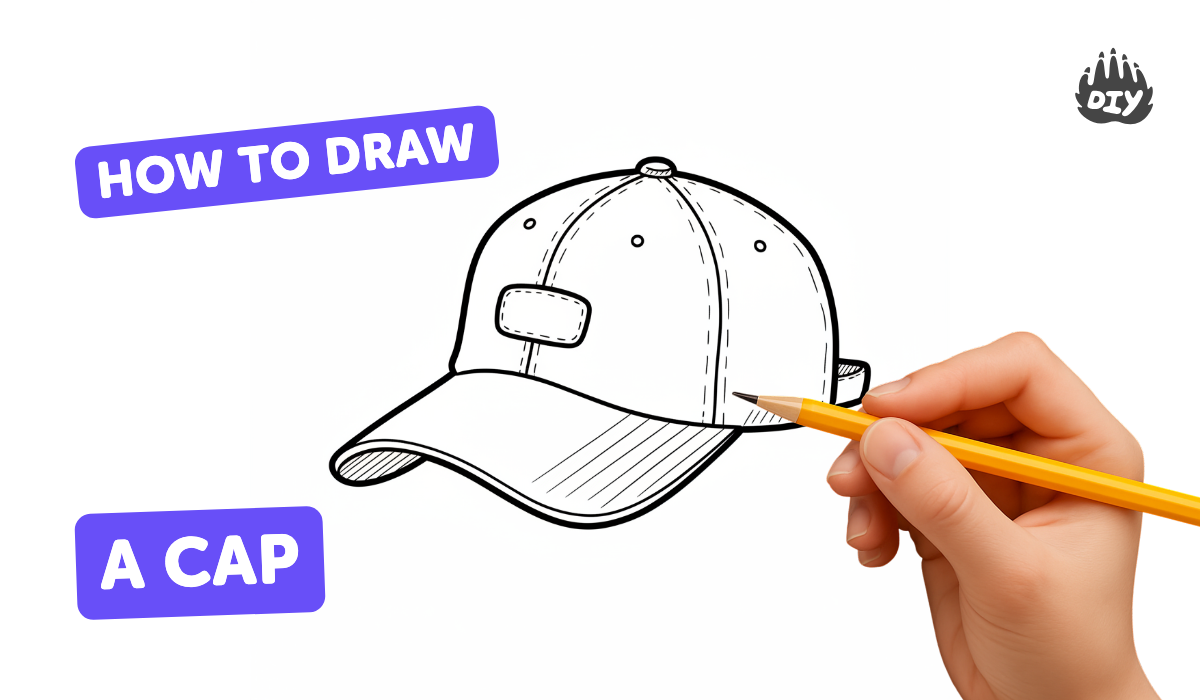
How to draw a cap - a free cap drawing guide
Draw a simple cap step by step using pencil, eraser, ruler, and colored pencils; practice shapes, perspective, proportions, and shading.

Drawing Apps
Photos of simple cap drawing examples


Step-by-step guide to draw a simple cap
How to Draw a Baseball Cap | Easy Step by Step for Beginners
Step 1
Place your paper landscape in front of you so you have plenty of room to draw.
Step 2
Lightly draw a horizontal guideline across the middle of the paper with your pencil and ruler.
Step 3
Lightly sketch an oval above the guideline to mark the size and position of the head.
Step 4
Draw a curved line across the front of the oval to mark where the cap will sit on the head.
Step 5
Draw the cap’s crown by sketching a rounded dome shape that sits on the curved base line.
Step 6
Draw the cap’s visor as a wide curved shape extending from the front of the crown.
Step 7
Add two short connector lines from the crown down to the visor edge to show where the visor attaches.
Step 8
Draw a center seam line from the front middle of the crown to the back to show the cap’s top seam.
Step 9
Draw two curved panel lines from the top center down toward each side to show the cap’s panels.
Step 10
Decide where the light is coming from (for example top-left) so you know where shadows will be.
Step 11
Lightly shade under the visor and on the side opposite the light source to create shadow with gentle pencil strokes.
Step 12
Erase the construction guidelines so only the clean cap drawing remains.
Step 13
Color the cap with colored pencils using darker tones where you shaded and lighter tones where the light hits.
Step 14
Share your finished cap drawing on DIY.org
Help!?
What can we use if we don't have a ruler or colored pencils?
If you don't have a ruler, use the straight edge of a book to draw your horizontal guideline, and replace colored pencils with crayons or markers for the final 'Color the cap' step.
My oval keeps looking lopsided—how can I fix it while following the steps?
If your oval or curved base line looks lopsided, lightly redraw it using the book-edge guideline and a gentle eraser so the crown, visor, and connector lines align symmetrically before adding seam and panel lines.
How can I adapt this activity for different age groups?
For younger kids use big ovals, thick crayons, and skip the center seam and panel lines, while older kids can add the center seam, two curved panel lines, careful directional shading ('Decide where the light is coming from') and layered colored-pencil blending for realism.
How can we personalize or improve the cap drawing once it's finished?
Personalize the cap by drawing a logo or patch on the crown, adding stitching details along the visor and panel lines, experimenting with patterned fills when you 'Color the cap', and then share the finished result on DIY.org.
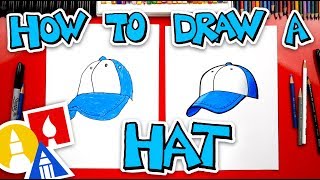
Watch videos on how to draw a simple cap
How to Draw a Baseball Hat - Very Easy - For kids
4 Videos
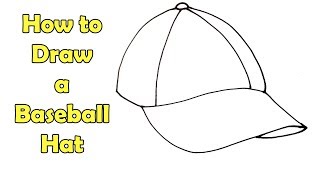
How to Draw a Baseball Hat - Very Easy - For kids
How To Draw A Baseball Hat
How to Draw an Easy Cap | Step-by-Step Tutorial | Kids Drawing and Coloring
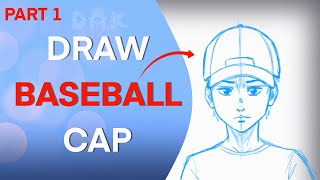
How to Draw a Baseball Cap Part 1 (Front View) | Procreate Digital Art
Facts about basic drawing techniques for kids
🧢 Many caps (like baseball caps) are made from six panels — that’s why you see seams meeting at the top!
✏️ Pencils are graded from hard (H) to soft (B); artists often use HB for outlines and softer B pencils for rich shading.
🎨 Colored pencils can be layered and lightly burnished to create smooth, new colors without paint.
📏 A ruler is a simple artist’s tool that helps keep brims and seams straight and proportions accurate.
🔆 Shading with one light source makes a flat drawing look 3D — tiny darks and lights show the cap’s curves.
How do I teach my child to draw a simple cap step by step?
What materials do I need to draw a cap with my child?
What ages is drawing a cap suitable for?
What are the benefits of drawing caps for children?
