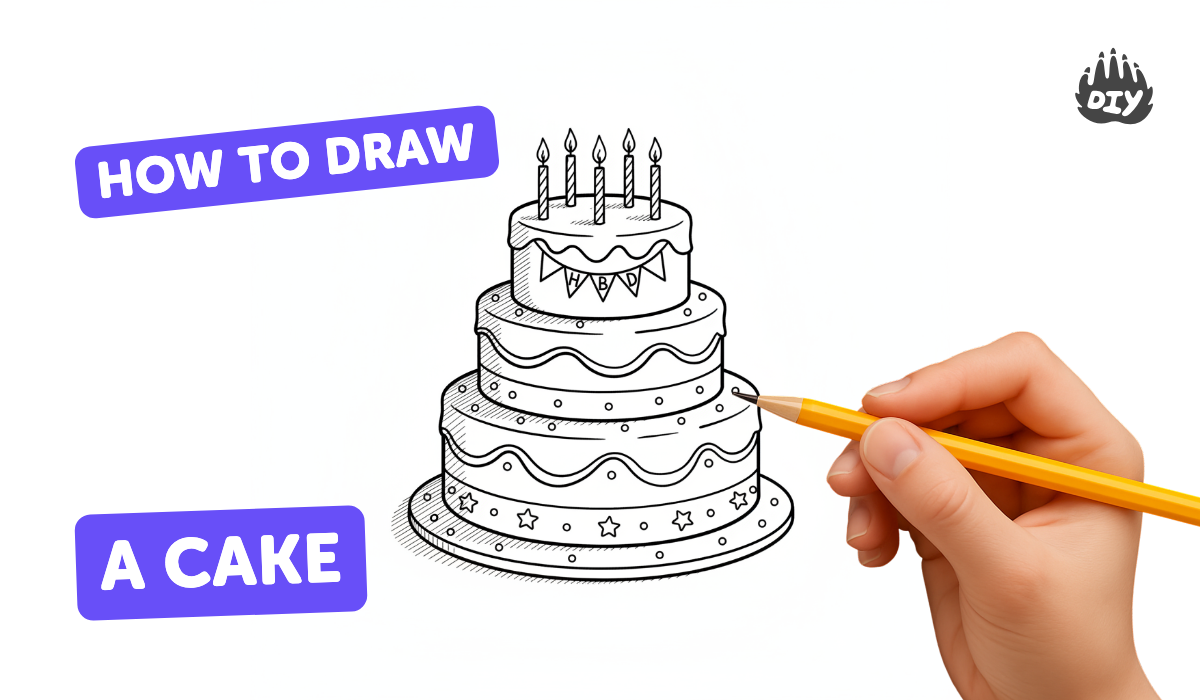
How to draw a cake - a free cake drawing guide
Learn to draw a birthday cake step-by-step using pencil and colored pencils, practicing shapes, layers, candles, and simple shading for a fun artwork.

Drawing Apps
Photos of birthday cake drawings


Step-by-step guide to draw a birthday cake
Cakewalk - Tutorial for Beginners in 11 MINUTES! [ FULL GUIDE 2024 ]
Step 1
Place your paper and all materials on a clean flat surface so everything is easy to reach.
Step 2
Lightly draw a horizontal oval near the top third of the paper for the top surface of the top cake layer.
Step 3
Draw two short vertical lines down from the left and right edges of that oval to make the sides of the top layer.
Step 4
Connect those vertical lines with a gentle curved line to finish the bottom edge of the top layer.
Step 5
Lightly draw a slightly larger oval below the first layer to mark the top of the bottom cake layer.
Step 6
Draw two vertical lines down from the left and right edges of the larger oval to make the sides of the bottom layer.
Step 7
Connect those vertical lines with a gentle curved line to finish the bottom edge of the lower layer.
Step 8
Draw a wavy line along the top oval edge to show frosting on the top layer.
Step 9
Draw a wavy line along the top of the bottom layer to show frosting between the layers.
Step 10
Draw thin rectangles on the top oval to make candles and space them across the top.
Step 11
Draw small teardrop shapes on top of each candle to make flames.
Step 12
Add fun decorations like dots stripes or little hearts on each cake layer.
Step 13
Shade the side of each layer with light pencil strokes to make the cake look round.
Step 14
Color your cake with colored pencils and gently blend areas with the tissue if you like.
Step 15
Take a picture of your finished birthday cake drawing and share it on DIY.org.
Help!?
What can we use if we don't have colored pencils or tissue for blending?
If you don't have colored pencils or tissue, use crayons or washable markers for color and a cotton ball or your finger to gently blend instead of the tissue.
My ovals and layer sides look uneven—how can I fix them while following the steps?
If your top oval or vertical lines look uneven, lightly erase and redraw the top oval and the two short vertical lines using gentle, light pencil strokes and check the curved bottom edge of each layer for alignment before darkening lines.
How can I adapt the drawing steps for younger children or older kids?
For younger children, simplify by drawing one big oval and fewer candle rectangles, while older kids can add more layers, detailed wavy frosting lines, and shading with light pencil strokes plus extra decorations like stripes and hearts.
What's a fun way to personalize or extend the birthday cake drawing after finishing the basic steps?
To personalize, write the birthday name or age in frosting, add a party background with balloons and confetti, color and gently blend areas with the tissue, then take a picture of your finished cake to share on DIY.org.
Watch videos on how to draw a birthday cake
Cakewalk - Tutorial for Beginners in 13 MINUTES! [ COMPLETE ]
4 Videos
![Cakewalk - Tutorial for Beginners in 13 MINUTES! [ COMPLETE ]](https://img.youtube.com/vi/elCWgILX50o/mqdefault.jpg)
Cakewalk - Tutorial for Beginners in 13 MINUTES! [ COMPLETE ]
How to Draw a Christmas Chocolate Baby Cake Easy
Easy Drawing And Painting Tutorials For Beginners
How To Draw Funny Chocolate Cake
Facts about drawing basics for kids
🎂 The idea of celebrating birthdays with cakes goes back to ancient Greece—bakers made round cakes to honor the moon goddess Artemis.
✏️ Pencils have grades like H (hard/light) and B (soft/dark); a B-pencil is great for darker outlines and smooth shading.
🖍️ Colored pencils come in wax- or oil-based cores—wax pencils blend more easily while oil pencils can give crisper marks.
🕯️ Candle flames are a teardrop shape—drawing that shape helps show the direction of light on your cake.
🎨 Simple shading from light to dark turns flat ovals and rectangles into rounded, 3D-looking cake layers and candles.
How do I teach my child to draw a birthday cake step-by-step?
What materials do I need to draw a birthday cake using pencil and colored pencils?
What ages is learning to draw a step-by-step birthday cake suitable for?
What are the benefits of teaching kids to draw a birthday cake and how can I vary the activity?
