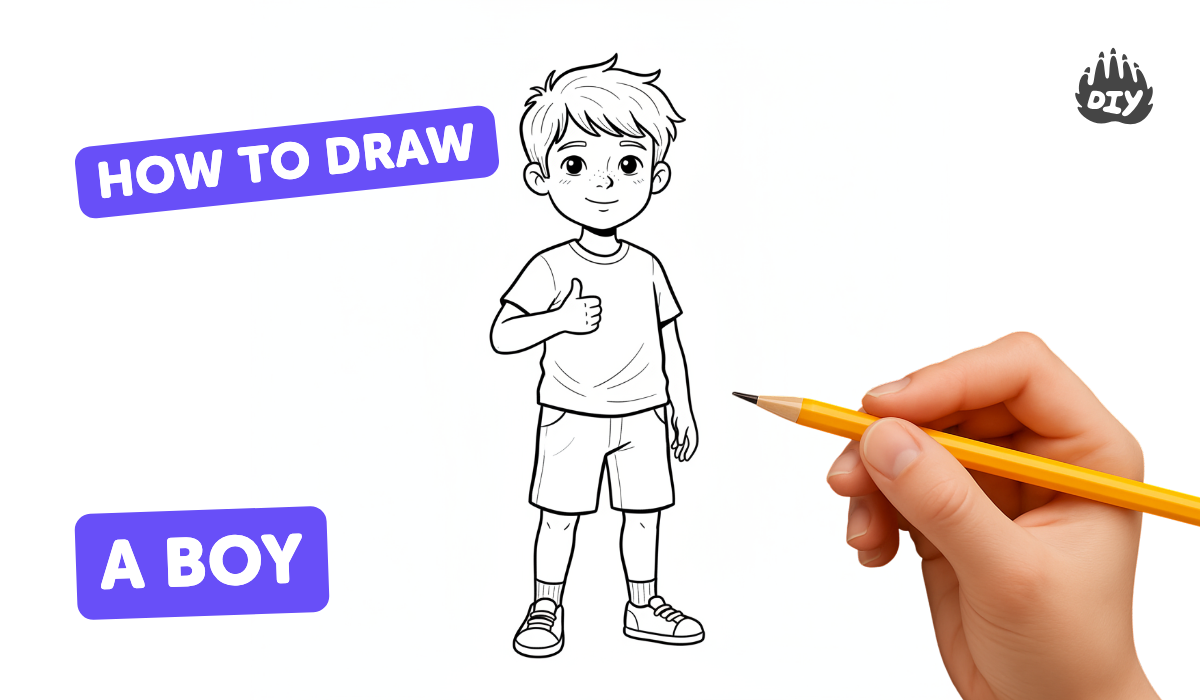
How to draw a boy - a free boy drawing guide
Follow step by step instructions to draw a boy using simple shapes, add facial features and clothing, and practice shading and proportions.

Drawing Apps
Photos of boy drawing examples


Step-by-step guide to draw a boy
How to Draw a Boy | Easy Boy Drawing for Kids | Step by Step Tutorial | KidsTube
Step 1
Place your paper portrait style on the flat surface and hold your pencil ready.
Step 2
Lightly draw a circle near the top third of the paper for the head.
Step 3
Draw a light vertical line through the middle of the circle and a light horizontal line across the center of the circle to guide the face.
Step 4
Sketch a gentle jawline and chin that connect under the circle to form the full face shape.
Step 5
Draw two short lines from the bottom of the jaw to make the neck.
Step 6
Draw a simple rectangle or oval under the neck for the torso.
Step 7
Draw two curved lines from each side of the top of the torso for shoulders and arms ending in small ovals for hands.
Step 8
Draw two long shapes from the bottom of the torso for legs and add ovals or simple shapes for feet.
Step 9
Add hair by drawing the hairline and a simple hairstyle that follows the top of the head.
Step 10
Draw the eyes on the horizontal guideline as small ovals add a nose on the vertical line and a smiling mouth below the nose.
Step 11
Add clothing details like a shirt neckline sleeves and pant or shorts lines on the torso and legs.
Step 12
Lightly erase the extra construction lines so only your boy drawing remains.
Step 13
Shade under the chin along one side of the nose and on one side of the body using light pencil strokes to show shadow.
Step 14
Trace over important lines darker and then colour your boy with your colouring materials.
Step 15
Take a photo and share your finished drawing on DIY.org
Help!?
What can we use if we don't have the exact colouring materials or a camera mentioned in the instructions?
If you don't have the colouring materials, use crayons, markers, colored pencils, or watercolor paints for the final 'colour your boy' step, and if you can't take a photo to 'share your finished drawing on DIY.org' ask an adult to scan it or photograph it with their phone.
My face looks lopsided after drawing—what likely went wrong and how can I fix it?
If the face is off-center, keep the light vertical and horizontal guideline lines from 'Draw a light vertical line...' and 'Draw a light horizontal line...' while placing the eyes and nose, then only erase those construction lines after you 'trace over important lines darker.'
How can I adapt this activity for different ages?
For younger children simplify by following only 'draw a circle for the head,' 'draw a simple rectangle or oval for the torso,' and making hands and feet ovals, while older kids can add 'hairline,' detailed 'clothing details,' and nuanced 'shade under the chin' shading.
What are some ways to enhance or personalize the finished drawing beyond the basic steps?
To personalize and enhance the drawing, add patterns or logos to the 'shirt neckline' in the clothing details step, draw a background scene around the boy, experiment with blended shading from the 'Shade under the chin...' step, and use rich colors before you 'take a photo and share your finished drawing on DIY.org.'
Watch videos on how to draw a boy
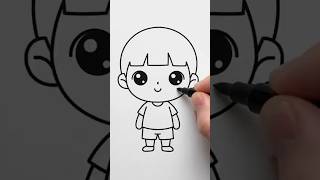
Super simple boy drawing for kids step by step👦
4 Videos

Super simple boy drawing for kids step by step👦
How to Draw a Boy Step by Step
How to Draw a Cute Little Boy | Easy Step-by-Step Drawing

How to draw a boy | Pencil sketch for beginners | Easy drawing for beginners | simple drawing
Facts about figure drawing for kids
🎨 Artists often begin drawings by using simple shapes—circles, ovals and rectangles—to build accurate figures.
👦 Many artists use the head as a measuring unit: an adult figure is commonly drawn about 7–8 head-heights tall.
🙂 The human face uses over 40 muscles to make expressions, which is why tiny changes in features change emotions so much.
✍️ Shading tricks like hatching, cross-hatching and blending help flat drawings look three-dimensional.
🧠 Practicing step-by-step drawing boosts hand-eye coordination and visual planning—skills that help in many other activities.
How do you draw a boy step by step?
What materials do I need to draw a boy?
What ages is this drawing activity suitable for?
What are the benefits of drawing a boy step by step?
