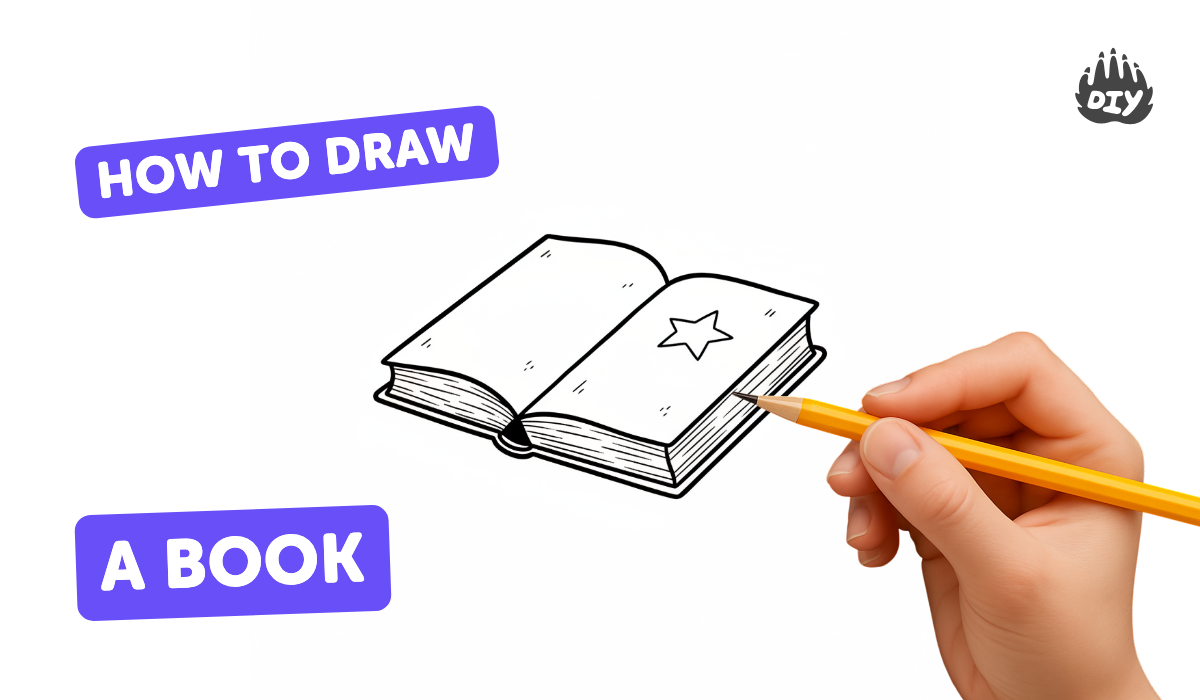
How to draw a book - a free book drawing guide
Learn to draw a simple open or closed book step by step using basic shapes, shading, and perspective, practicing lines and creativity.

Drawing Apps
Photos of book drawing examples


Step-by-step guide to draw a book
How to Draw a Book | Easy Drawing for Kids | Step by Step | KidsTube
Step 1
Choose whether you want to draw an open book or a closed book.
Step 2
Lightly draw a straight horizontal baseline where your book will sit.
Step 3
Sketch the outer shape: draw a rectangle for a closed book or draw a wide trapezoid with a center crease for an open book.
Step 4
Add the spine or center fold by drawing a thin rectangle on one side for a closed book or a vertical curved line in the middle for an open book.
Step 5
Draw the pages’ edge by making many short parallel lines along the book’s open or side edge.
Step 6
Add gentle curved lines inside the pages to show individual page shapes or page curls.
Step 7
Use your eraser to remove extra guide lines and make your drawing clean.
Step 8
Add shadow hatch marks under the cover edges and along the page sides to show depth.
Step 9
Colour the cover and pages, leaving small lighter spots for highlights.
Step 10
Share your finished book drawing on DIY.org
Help!?
What can we use if we don't have a ruler, colored pencils, or an eraser?
If you don't have a ruler, use the straight edge of a hardcover to draw the baseline and outer rectangle or trapezoid, substitute markers or watercolor for colouring, and use a soft rubber or kneaded eraser to remove guide lines.
My page edge lines look messy—how can I make the short parallel lines neater?
Lightly mark evenly spaced ticks along the book's open or side edge, then draw each short parallel line between ticks with a light hand and erase stray guides to keep the page edge clean.
How can I change the activity for younger or older kids?
For younger kids, simplify by tracing a large rectangle and adding a few chunky page lines with crayons, while older children can draw the wide trapezoid with a center crease, add gentle page curls, and hatch shadows under the cover for depth.
How can we extend or personalize the finished book drawing?
Personalize the cover by adding a title, patterns, or collage before colouring, accent highlights by leaving small lighter spots on the cover and pages as the instructions say, and then share a photo of the finished drawing on DIY.org.
Watch videos on how to draw a book
How To Draw A Book And Pencil 📖 ✏️
4 Videos
How To Draw A Book And Pencil 📖 ✏️

Our How To Draw Books
How to Draw a Book Easy | Cute Back to School Supplies
Back To School! How To Draw A Stack Of Books An Apple And Pencils
Facts about basic drawing techniques
📘 Books have been made for thousands of years—looking at old codices can give cool ideas for how pages fold and age.
✏️ Many book drawings begin with simple rectangles and a few guide lines; breaking things into shapes makes drawing easier!
🎨 Shading one side of a book and darkening the page crease can instantly make a flat sketch look three-dimensional.
🧭 Linear perspective uses vanishing points; even a single vanishing point helps pages and covers recede realistically.
👀 Changing line weight (thicker outer edges, thinner inner details) makes your book drawing feel lively and clear.
How do I teach my child to draw a simple open or closed book step by step?
What materials do I need to draw a simple book with my child?
What ages is this book-drawing activity suitable for?
What are the benefits of having my child draw books?
