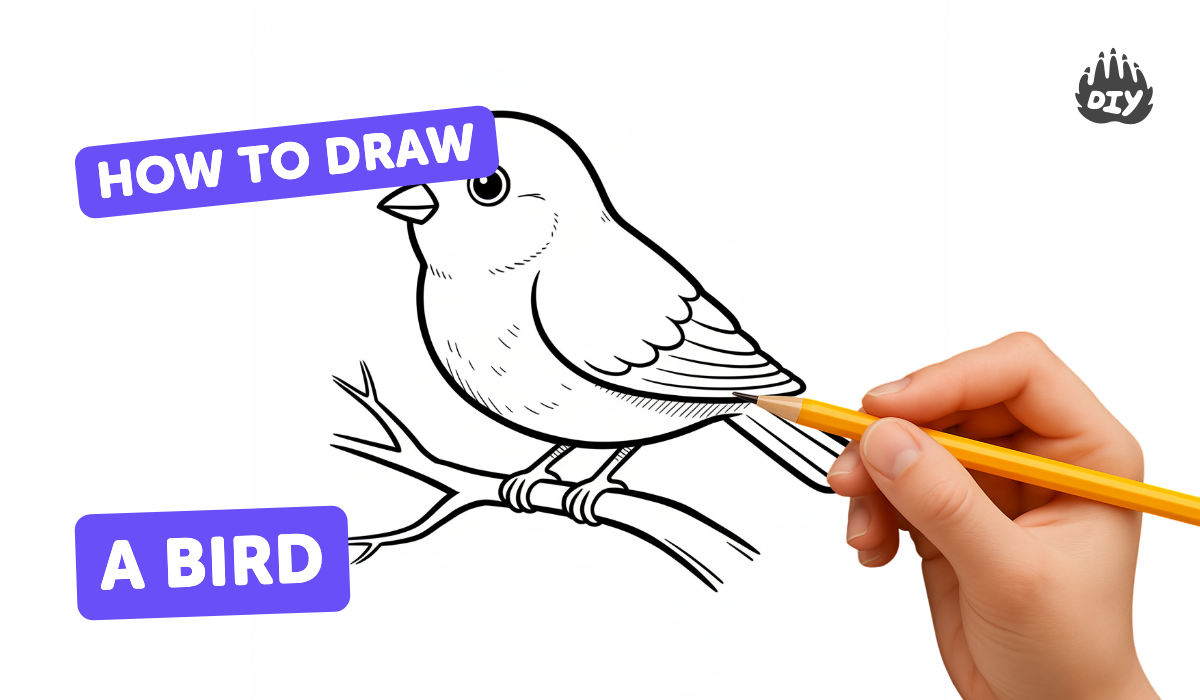
How to draw a bird - a free bird drawing guide
Draw a friendly bird step by step using pencil, eraser, and colored pencils, practicing basic shapes, proportions, wing details, and simple shading for realism.

Drawing Apps
Photos of friendly bird drawings


Step-by-step guide to draw a friendly bird
How to Draw a Simple Bird for Kids | Step-by-Step Easy Drawing Tutorial for Children
Step 1
Sit at a table and arrange your pencil eraser colored pencils and paper so they are easy to reach.
Step 2
Lightly draw a slightly tilted oval in the center of the page for the bird's body.
Step 3
Draw a smaller circle that overlaps the top of the oval for the bird's head.
Step 4
Draw a short guideline from the head pointing outward to mark where the beak will go.
Step 5
Sketch a small triangular beak at the end of the guideline.
Step 6
Draw a round eye on the head and keep a tiny white dot inside for a shiny highlight.
Step 7
Add a curved line across the body to show the wing's outer shape.
Step 8
Draw several short curved lines inside the wing to make feather details.
Step 9
Draw two thin legs under the body.
Step 10
Add simple three-toed feet at the ends of the legs.
Step 11
Erase extra overlapping construction lines so your bird looks neat.
Step 12
Shade lightly under the belly and below the wing with your pencil to give the bird roundness.
Step 13
Color your bird with colored pencils choosing at least two colors for the body and one for the beak.
Step 14
Take a photo or scan your finished bird and share it on DIY.org.
Help!?
What can we use instead of colored pencils, a pencil, or an eraser if we don't have them?
If you don't have colored pencils use crayons or markers for the 'Color your bird' step, and if you lack a pencil or eraser draw construction lines very lightly with a ballpoint pen or trace the shapes on thin paper so you can copy them and skip erasing.
My bird looks messy because of overlapping lines or smudges—how do I fix that?
If extra lines or smudges make the bird look messy, carefully follow the 'Erase extra overlapping construction lines' step using a clean eraser or a soft kneaded eraser and then redraw any lost outlines lightly before shading under the belly and wing.
How can I change the activity to suit different age groups?
For younger children simplify by pre-drawing the 'slightly tilted oval' and 'smaller circle' for them to trace and add sticker eyes, while older kids can add detailed feather lines, cross-hatching shading under the belly, and blend colors during the 'Color your bird' step.
How can we make the finished bird more creative or keep extending the project?
To enhance the activity personalize the bird by adding patterns to the wing, inventing a habitat background on the page before shading, experimenting with two or more body colors during the 'Color your bird' step, and then photograph the result to share a themed series on DIY.org.
Watch videos on how to draw a friendly bird
How To Draw A Bird And Feeder
4 Videos
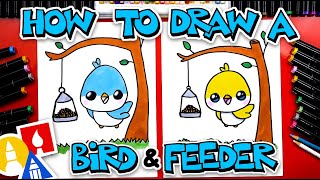
How To Draw A Bird And Feeder

How to draw a birds | Easy bird drawing tutorial | kids drawing
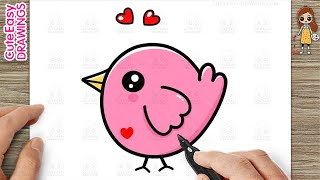
How to Draw a Cute Pink Bird, Easy Step-By-Step Drawing and Coloring for Kids and Toddlers
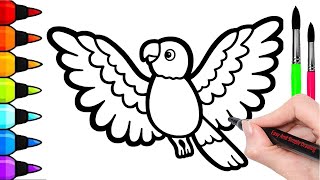
How to draw a bird for kids step by step !!
Facts about drawing basics for kids
🐦 Around 10,000 bird species exist worldwide, from tiny hummingbirds to huge ostriches.
✏️ A single pencil can draw an estimated 35 miles (56 km) of lines—plenty to sketch lots of birds!
🔷 Colored pencils mix by layering: combining just a few colors can create many new hues and textures.
◯ Artists often build drawings from simple shapes (circles, ovals, triangles) to get proportions right.
🌤️ Paying attention to light direction and using soft pencil shading can make a flat bird sketch look three-dimensional.
How do I teach my child to draw a friendly bird step by step?
What materials do I need to draw a friendly bird with my child?
What ages is drawing a friendly bird suitable for?
What are the benefits of drawing friendly birds for kids and how can I vary the activity?
