How to Draw a Basketball
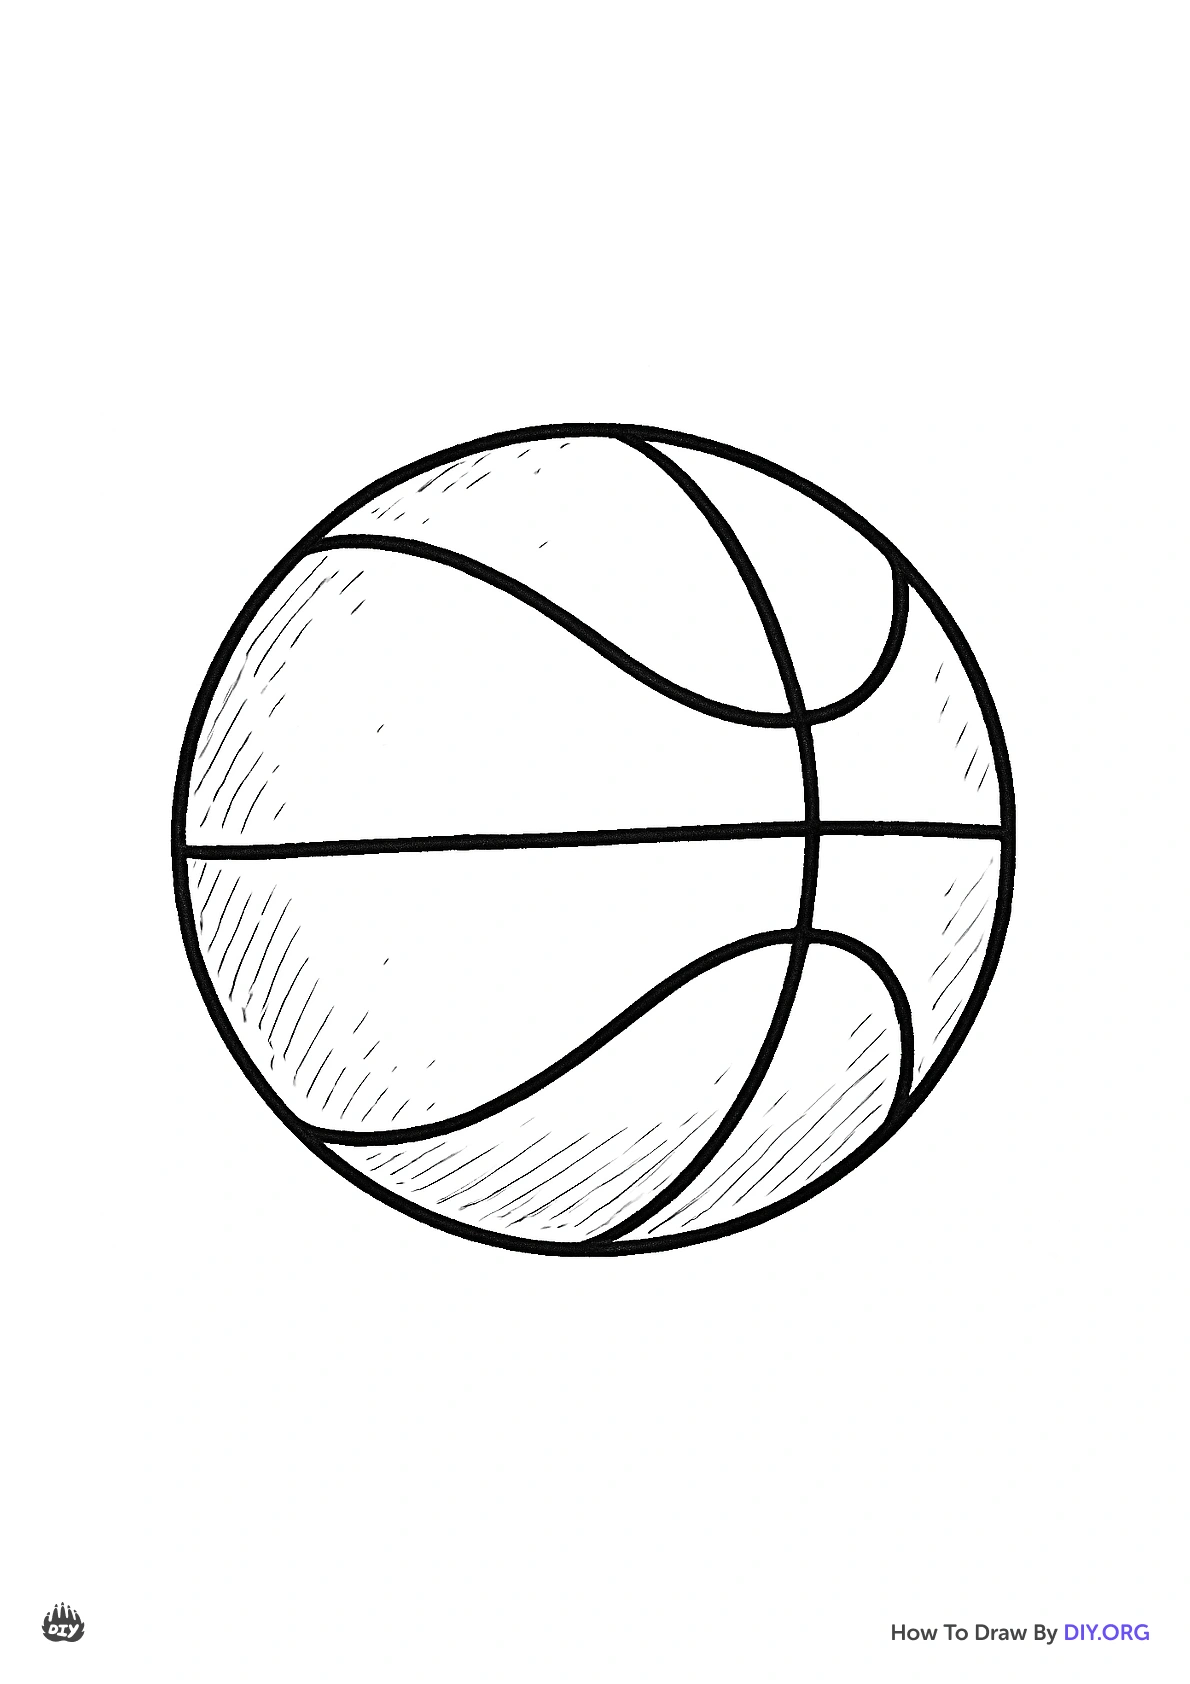
Draw a realistic basketball using circles, curved lines, and shading techniques. Practice proportions, symmetry, and simple shading to create depth.
About this tutorial
Draw a realistic basketball using circles, curved lines, and shading techniques. Practice proportions, symmetry, and simple shading to create depth.
What you need
Instructions
- 1
Step 1
Gather your materials and clear a flat spot to draw so you have lots of room.
- 2
Step 2
Place the round object on the paper and trace it or draw a large circle freehand to make the basketball outline.
- 3
Step 3
Lightly mark the center of the circle by drawing a faint vertical line and a faint horizontal line that cross at the middle.
- 4
Step 4
Draw a gently curved seam from the top edge to the bottom edge that bends slightly like an S and goes through the center.
- 5
Step 5
Draw another curved seam that wraps from left to right and crosses the first seam at the center to make the second main panel line.
- 6
Step 6
Add two shorter curved arcs on the left and right sides between the seams to form the ball panels.
- 7
Step 7
Erase the faint center guidelines so only the outer circle and the panel lines remain neat.
- 8
Step 8
Decide where the light is coming from and remember which side will be the brightest.
- 9
Step 9
Shade the side opposite the light with light pencil strokes to begin making the ball look round.
- 10
Step 10
Use a blending stump or a tissue to smooth the shading so the tones blend from dark to light.
- 11
Step 11
Darken the panel lines and add tiny dots or short strokes across the panels to suggest the pebbled texture.
- 12
Step 12
Erase a small crescent highlight on the side facing the light to show a shiny spot.
- 13
Step 13
Color the ball orange and keep your shaded areas darker and the highlight lighter to keep the round look.
- 14
Step 14
Share a photo of your finished basketball drawing on DIY.org.
Get inspired
Fun facts
How do I draw a realistic basketball step by step?
Start with a light, even circle using a compass or round object. Find the center and sketch a faint vertical and horizontal guide to help position the panels. Draw the curved panel lines as gentle, symmetrical arcs that wrap around the sphere. Refine the outer rim and clean up stray marks. Choose a light source, then add gradual shading: darker tones on the far side, softer midtones, and a small highlight. Finish by blending and darkening the groove lines.
What materials do I need to draw a realistic basketball?
You’ll need plain sketch paper, a light HB pencil for guidelines, and softer pencils (2B–4B) for darker lines and shading. An eraser and a sharpener are essential. Add a blending stump or tissue for smooth gradients and a ruler or compass to make a perfect circle. Optional: colored pencils or orange markers if you want a colored final, and a kneaded eraser to lift delicate highlights.
What ages is drawing a realistic basketball suitable for?
This activity suits children around 6 years and up, with adult help for younger kids. Ages 6–9 can practice basic circles and simple curved lines; 9–12 can work on proportion and shading; teens can refine realism and texture. For preschoolers, simplify to coloring a pre-drawn circle. Adapt complexity to each child’s fine-motor skills and attention span, offering shorter steps for younger artists.
What are the benefits of drawing a realistic basketball for kids?
Drawing a basketball improves observation, proportion, and line control while teaching simple shading and three-dimensional form. Kids develop fine motor skills, focus, and visual-spatial reasoning. It connects art with sports interest, boosting motivation and confidence. Practicing gradual shading also introduces light-source thinking and patience. Variations let children explore color, texture, or mixed media to extend learning and creativity.
Watch & Learn
Need help?
What can I use if I don't have a round object to trace?
If you don't have a round object, use a cup, plate, jar lid, or the rim of a bowl and follow step 2, which says to 'Place the round object on the paper and trace it or draw a large circle freehand'.
My seams look uneven or my shading is blotchy — how can I fix that?
Use the faint vertical and horizontal center guidelines from the instructions to realign and redraw the S-shaped seam and the left-right seam lightly, then smooth blotchy shading with the blending stump or a tissue mentioned in step 9 and lift excess graphite with your eraser before adding the small crescent highlight in step 12.
How can I adapt this drawing for younger or older kids?
For younger children have them trace a plate and draw just the big panel lines and color with crayons, while older kids can refine the curved seams, add the pebbled texture with tiny dots, practice smooth shading with a blending stump, and erase a precise crescent highlight before coloring the orange.
How can we extend or personalize the finished basketball?
Add a team logo or a name on one panel, draw a soft cast shadow beneath the ball to ground it, experiment with layered orange tones using colored pencils or markers for more depth, and then share a photo on DIY.org as the final step.