How to draw a baseball bat - a free baseball bat drawing guide
Learn to draw a realistic baseball bat step by step using simple shapes, shading, and proportion practice to build drawing skills and confidence.

Drawing Apps
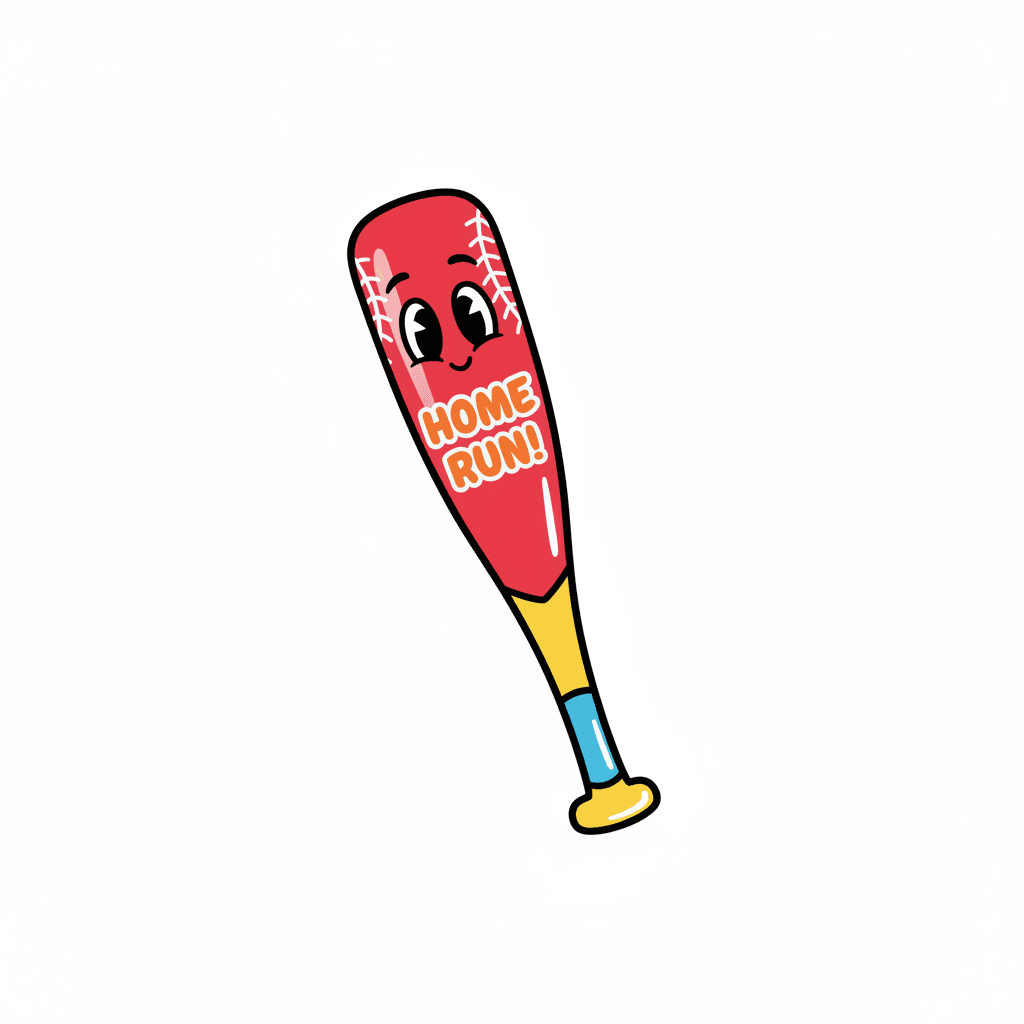
Photos of realistic baseball bat drawing examples
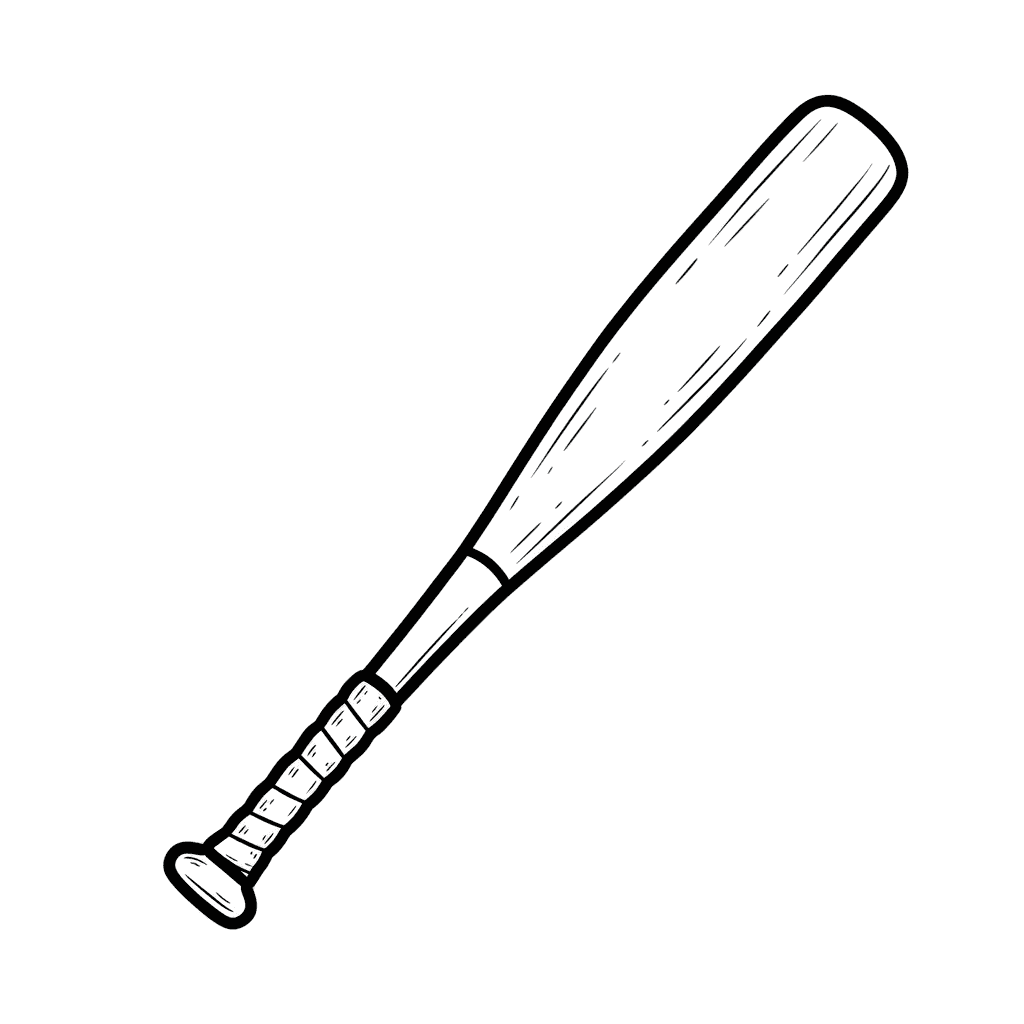

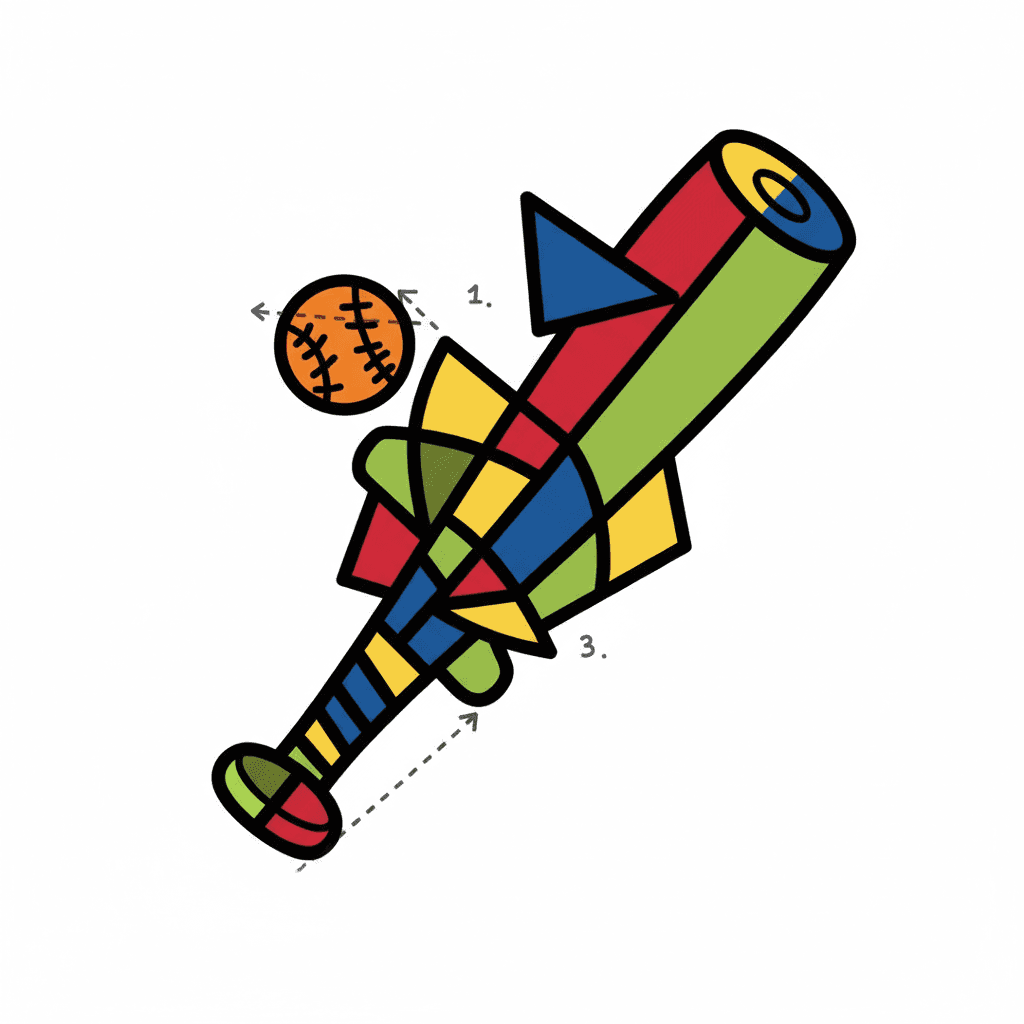
Step-by-step guide to draw a realistic baseball bat
How to Draw a Baseball Bat Step by Step Easy for Beginners/Kids - Simple Baseball Drawing Tutorial
Step 1
Place your paper in landscape orientation on a flat surface.
Step 2
Use your ruler to draw a light straight centerline down the middle of the paper.
Step 3
Make three light marks on the centerline for the top barrel the widest spot and the handle end.
Step 4
Draw two long slightly curved parallel lines along the centerline to form the bat’s outer edges.
Step 5
Connect the top ends with a rounded oval shape to create the barrel tip.
Step 6
Taper and connect the bottom ends into a narrower handle shape leaving space for the knob.
Step 7
Draw a small rounded knob at the very bottom of the handle.
Step 8
Erase the centerline inside the bat outline so only the bat shape remains.
Step 9
Add two or three thin wrap rings near the bottom of the handle to show the grip.
Step 10
Lightly draw curved wood grain lines along the barrel to add texture.
Step 11
Shade one side of the bat with your pencil to create a shadowed area while keeping a lighter strip for a highlight.
Step 12
Use a blending tool or cotton bud to smooth the shaded side gently.
Step 13
Lift a thin curved highlight with your eraser along the lighter strip to make it look shiny.
Step 14
Colour your bat using your colouring materials if you like.
Step 15
Share your finished drawing on DIY.org.
Help!?
What can we use instead of a ruler, blending tool (cotton bud), or eraser?
Use the straight edge of a book or cereal-box flap to draw the centerline, a tissue, folded paper, or your fingertip to smooth the shaded side in place of a cotton bud, and a kneaded eraser or clean tissue to lift the thin highlight and erase the centerline inside the bat.
My bat looks lopsided or uneven—how can I fix it while drawing?
Lightly re-check the three centerline marks for top barrel, widest spot and handle end and use them to guide two slightly curved parallel outer edges, correcting with light strokes and erasing before darkening lines so the rounded barrel and tapered handle match on both sides.
How can I adapt this activity for younger or older kids?
For younger children, pre-draw the centerline and outer bat shape for them to trace and add wrap rings and colour, while older kids can add detailed wood-grain lines, refined shading with a blending tool, and draw a baseball or background scene before sharing.
How can we extend or personalize the finished bat drawing before sharing it?
Personalize the barrel by sketching a team logo or engraved name before colouring, add scuff marks and motion lines during shading for realism, or cut and mount a second drawing on cardboard to make a simple 3D bat to photograph for DIY.org.
Watch videos on how to draw a realistic baseball bat
How to Draw a Baseball Bat - Step by Step Easy Drawing & Coloring
4 Videos

How to Draw a Baseball Bat - Step by Step Easy Drawing & Coloring

How To Draw Baseball And Bat
How to draw a baseball bat and ball step by step
How to Draw a Baseball Bat | full tutorial
Facts about drawing and sketching for kids
🪵 Most professional baseball bats are made from ash, maple, or birch — each wood changes a bat's weight and feel.
📏 Major League bats are usually 32–34 inches long; 34 inches is a very common choice for hitters.
✏️ Many artists begin with simple shapes (cylinders and rectangles) to quickly block in a realistic bat.
🎨 Shading with a single light source can turn a flat outline into a convincing 3D-looking bat.
📐 A bat's barrel is only a few times wider than its handle — practicing those proportions helps accuracy when drawing.
How do I teach my child to draw a realistic baseball bat step by step?
What materials do I need to draw a realistic baseball bat with my child?
What ages is learning to draw a baseball bat suitable for?
What are the benefits of drawing a realistic baseball bat for kids?
