Fletch an arrow
Make and fletch safe practice arrows with wooden dowels, feathers, glue, and tape; learn about flight while using blunt tips and adult supervision.


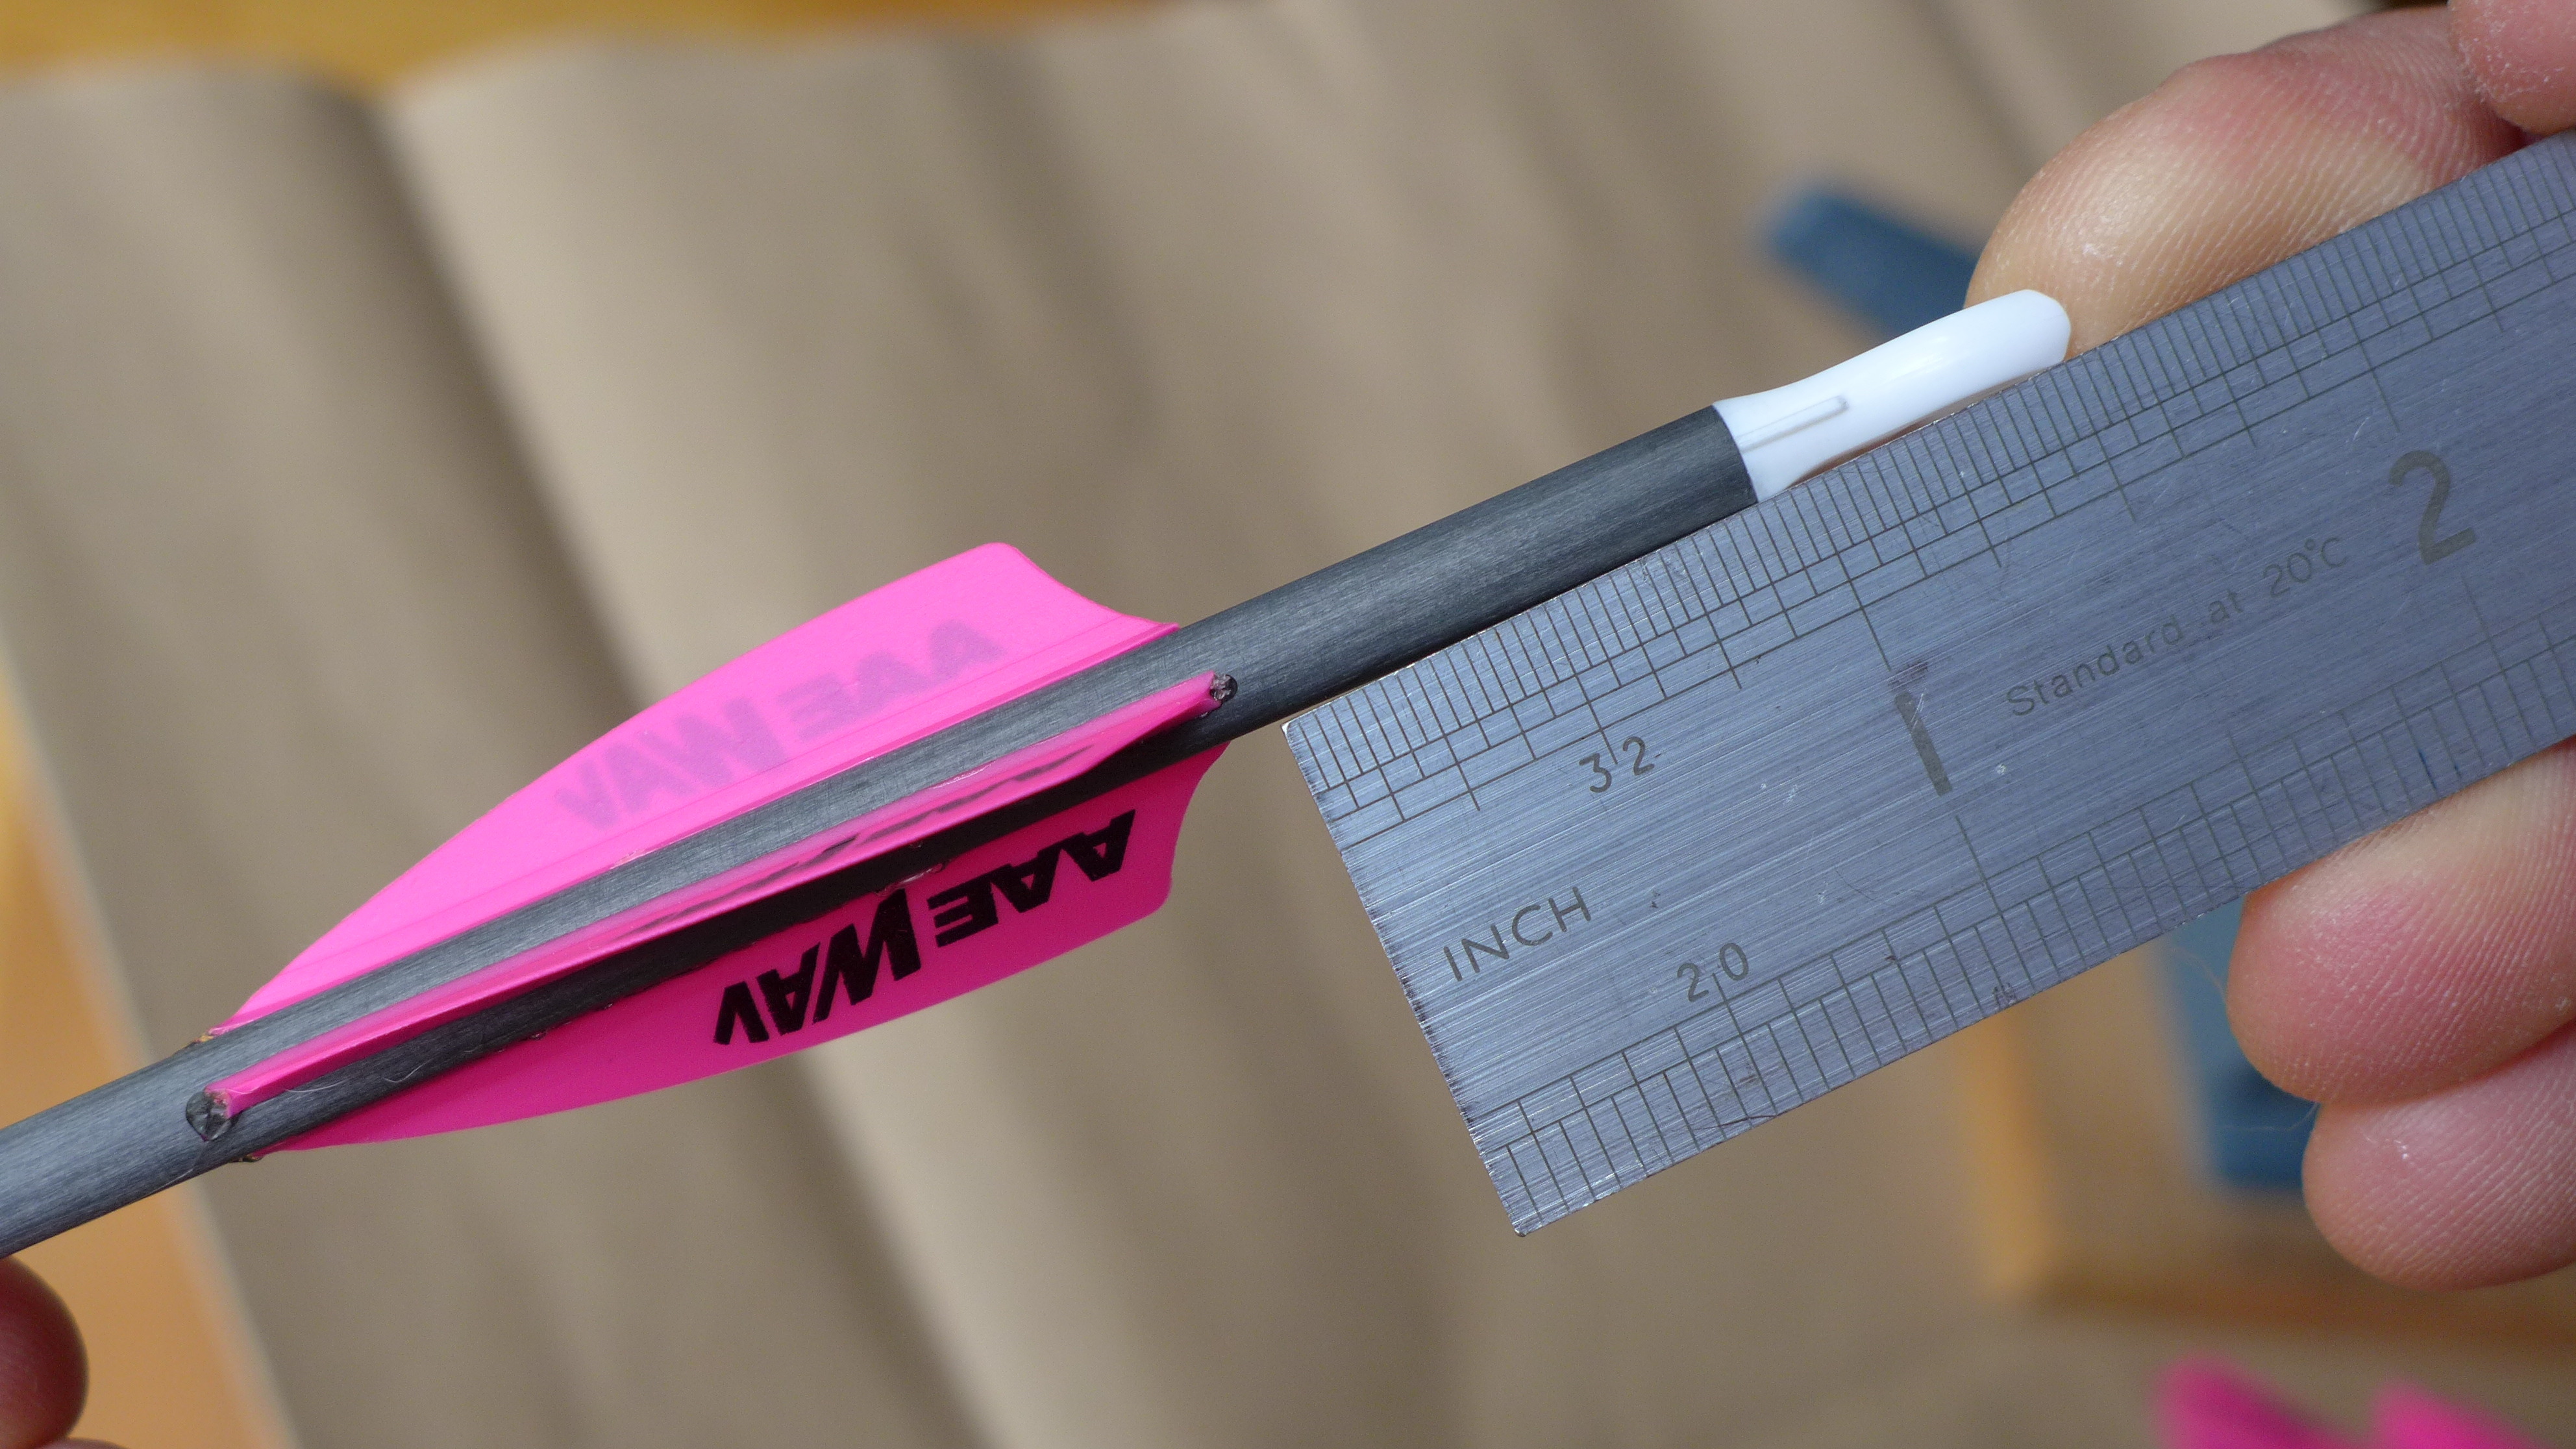

Step-by-step guide to fletch an arrow
How to Shoot a Bow and Arrow - My First Beginner Archery Lesson
Step 1
Gather all Materials Needed and set them on a flat workspace.
Step 2
Measure each wooden dowel to 18 inches with the ruler and mark the spot with the pencil.
Step 3
Ask an adult to cut the dowel at the mark so you have a straight practice arrow.
Step 4
Use sandpaper to smooth both cut ends of the dowel until they feel splinter-free.
Step 5
Push a blunt rubber tip onto one end or tape an eraser firmly to make a safe blunt arrow tip.
Step 6
Draw a pencil start line 2 inches from the opposite (back) end of the dowel to mark where the feathers will begin.
Step 7
Ask an adult to trim three feathers so they are the same length and have straight bases.
Step 8
Attach the first feather by putting a thin line of glue on its base and pressing it onto the start line on the dowel.
Step 9
Attach the second feather by pressing it onto the dowel about one-third turn from the first feather so they are spaced evenly.
Step 10
Attach the third feather by pressing it onto the dowel about one-third turn from the second feather so all three are evenly spaced.
Step 11
Wrap small pieces of masking tape around the base of each feather to hold them flat while the glue dries.
Step 12
Let the glue dry with the arrow resting flat for 30 minutes without touching it.
Step 13
Find the balance point by sliding your finger along the shaft until the arrow balances and mark that spot lightly with the pencil.
Step 14
With adult supervision and in a clear open area, gently toss the arrow to test its flight and make tiny tape or feather adjustments if needed.
Step 15
Share a photo or description of your finished safe practice arrow on DIY.org.
Help!?
What can we use if real feathers or blunt rubber tips are hard to find?
If you can't find real feathers, cut fletchings from paper or craft foam or use strips of duct tape for the fletching, and substitute a pencil eraser firmly taped or glued on as the blunt tip (step 5 and feather-trimming steps).
The feathers keep peeling off or the arrow wobbles when we throw it — how do we fix that?
Make sure the feather bases and dowel are clean and lightly sanded, reapply a thin line of glue, press each feather at the one-third-turn spacing, then wrap masking tape around the bases and let the glue dry longer before testing (steps 7–11 and 13).
How can I adapt this activity for younger or older kids?
For younger children have an adult pre-cut the dowel and pre-trim feathers and use stick-on fletchings and a taped eraser so the child can assemble and tape (steps 2, 5–9), while older kids can measure the 18-inch dowel themselves, sand both ends, trim and space feathers precisely, find the balance point, and fine-tune flight (steps 2–4 and 12–14).
What are some ways to extend or personalize the finished practice arrow?
Personalize by painting or coloring the dowel before attaching feathers, trimming feathers into shapes or using different colors, adding a small nock cut by an adult for better rest on a bow, and making a cardboard tube quiver to carry them to the clear open area and share a photo on DIY.org (steps 2, 6, 13 and 14).
Watch videos on how to fletch an arrow
Teaching kids Archery in 4 QUICK and EASY steps. #archerytips #Tradlife
4 Videos
Teaching kids Archery in 4 QUICK and EASY steps. #archerytips #Tradlife
Quick Start Guide to Archery | Archery Basics
How to shoot arrows into the turn (Quick tutorial for every bow and archery style)

New to Archery? | 5 Tips for your First Day of Shooting Archery
Facts about archery safety and flight
🪶 Feathers make arrows spin like a tiny helicopter blade — that spin steadies flight and improves aim.
🏹 Fletching has been used for thousands of years; ancient archers relied on feathers to stabilize arrows.
🪵 Wooden dowels are perfect for practice arrows because they're easy to cut, light, and come in many kid-friendly sizes.
🌬️ Small changes to fletch shape or angle can noticeably change an arrow's path — a hands-on way to see aerodynamics.
🔒 Using blunt tips, a safe backstop, and adult supervision makes DIY arrow practice much safer and more fun.
How do I make and fletch safe practice arrows with my child?
What materials do I need to fletch practice arrows?
What ages is fletching practice arrows suitable for?
What safety precautions should we follow when making and using practice arrows?
