Finger knit a garment
Finger knit a cozy scarf or wristband using chunky yarn and simple stitches, measure length, join ends, and personalize with decorations.
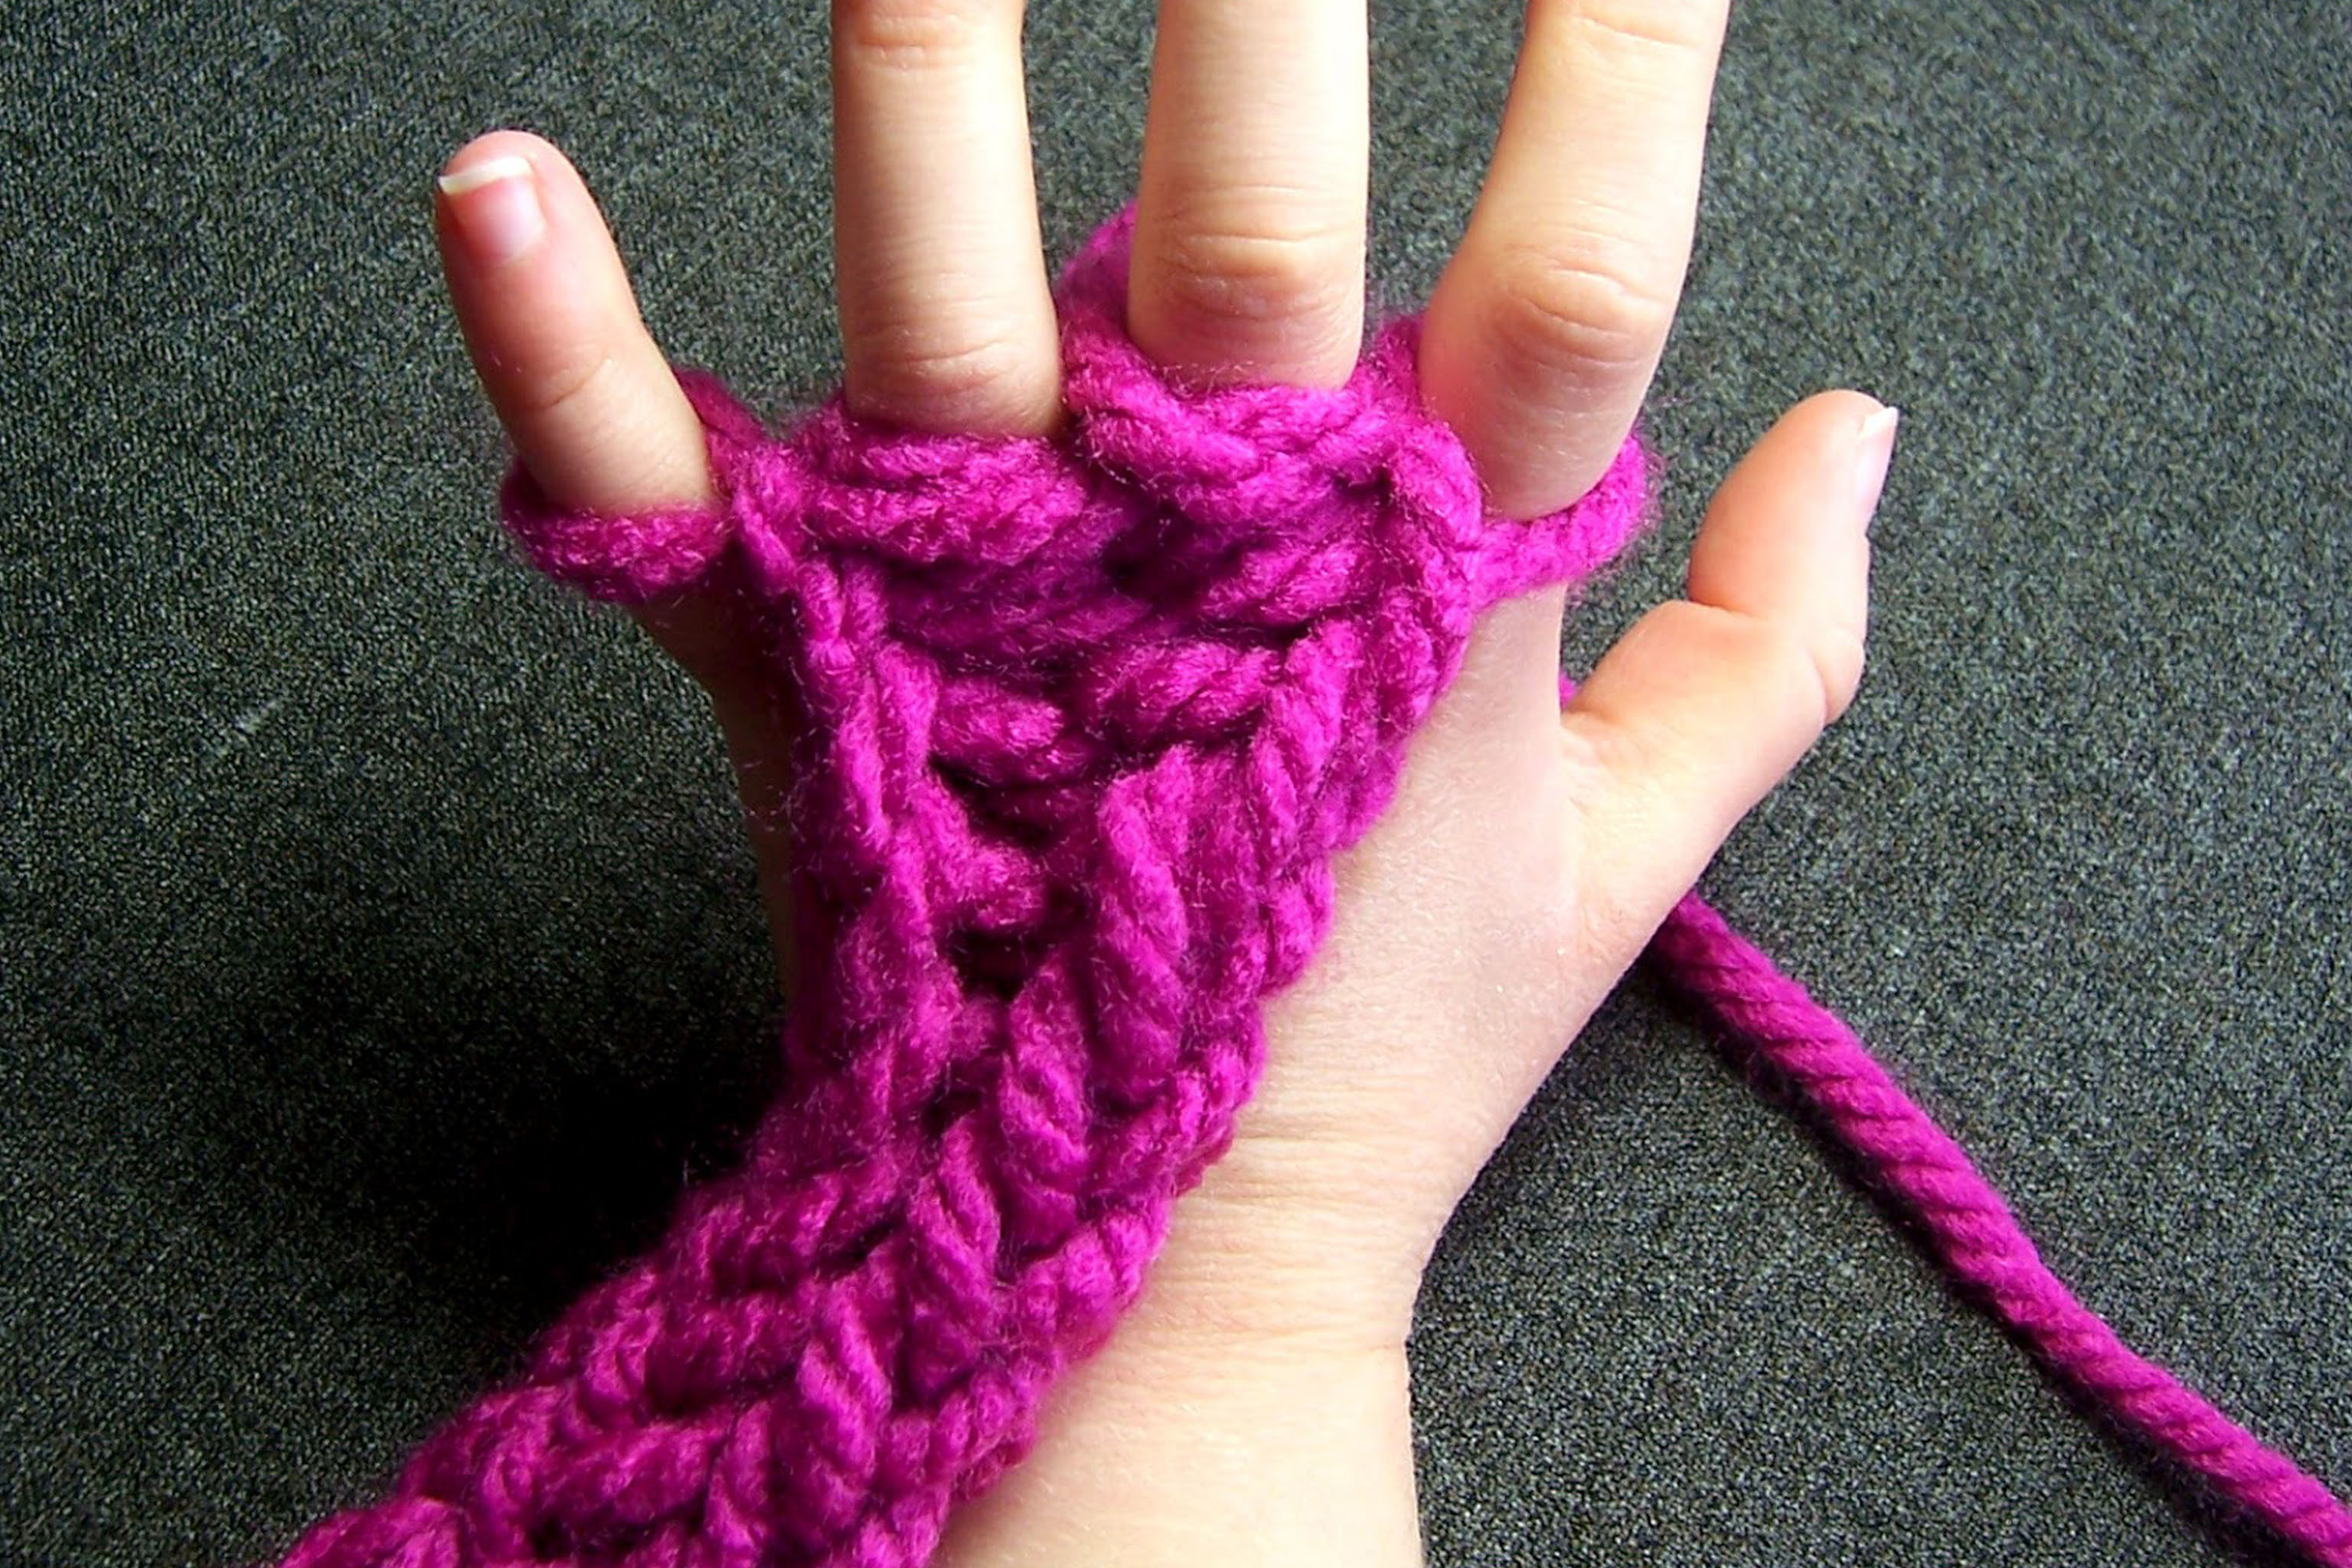
About this activity
Finger knit a cozy scarf or wristband using chunky yarn and simple stitches, measure length, join ends, and personalize with decorations.
What you need
Step by step
- 1
Step 1
Decide whether you will make a scarf or a wristband.
- 2
Step 2
Measure the length you want by wrapping the tape measure around your neck for a scarf or around your wrist for a wristband and remember the number.
- 3
Step 3
Make a slip knot with the yarn and place that knot on your index finger to start your knitting.
- 4
Step 4
Spread the four fingers of your knitting hand apart so each finger has space for a loop.
- 5
Step 5
Hold the working yarn with your other hand and wrap it around each finger from index to pinky so there is one loop on every finger.
- 6
Step 6
Use your thumb to lift the bottom loop on each finger up and over the top loop and off the finger starting at the index finger and moving to the pinky.
- 7
Step 7
Wrap the yarn around each finger again to make new top loops.
- 8
Step 8
Lift the bottom loops over the top loops on every finger to form the knitted stitch.
- 9
Step 9
Repeat Steps 7 and 8 until the knitted tube reaches the length you measured in Step 2.
- 10
Step 10
Stop wrapping and lift the bottom loops over the top loops until only one loop remains then pull the yarn tail through that loop and pull tight to secure the end.
- 11
Step 11
Thread the yarn needle and use it to sew the starting tail and ending tail together neatly to close the tube or to hide any loose ends.
- 12
Step 12
Sew on buttons beads or attach pom-poms to personalize your scarf or wristband.
- 13
Step 13
Share a photo of your finished scarf or wristband on DIY.org.
Fun facts
How do I finger knit a cozy scarf or wristband using chunky yarn?
Start with a slip knot and place the loop over your index finger. Use chunky yarn and wrap loops around your four fingers, then pull the bottom loop over the top loop with your thumb to form the basic stitch. Keep repeating the wrap-and-pull rhythm until the tube reaches your desired length. Measure against the child, then finish by threading the yarn through remaining loops and pulling tight. Join ends for a wristband or sew/tie and tuck tails for a scarf.
What materials do I need to finger knit a scarf or wristband?
You need super-bulky (chunky) yarn, child-safe scissors, a tape measure or ruler, and a tapestry/yarn needle to weave in or join ends. Optional: pom-poms, felt shapes, buttons, beads (use with supervision), and small clips to hold the starting tail. If you want a cleaner finish, have a blunt darning needle and matching thread. Keep a scrap of paper for patterns or color plans.
What ages is finger knitting chunky yarn suitable for?
Finger knitting suits children around 4 years and up for simple wristbands with adult help; ages 6+ can usually complete a short scarf independently. Younger kids enjoy wrapping and pulling loops with supervision, while older children can manage measuring, finishing, and decorations. Always supervise scissors and small embellishments, and adapt the length and complexity to the child’s fine-motor skills and attention span.
What are safety tips and fun variations for finger knitting?
Safety first: supervise small beads and scissors, avoid loose long loops that could tangle, and check for yarn allergies. Keep tension gentle to prevent strain. Variations: use stripes or two-tone yarn, make wristbands, headbands or a braided tube by knitting three strips and plaiting them, add pom-poms, buttons, or fringe, or make a looped infinity scarf. Encourage personalization with color patterns and sewn-on felt shapes.
Watch & Learn
Need help?
What can we use if we don't have a tape measure, yarn, or yarn needle?
If you don't have a tape measure use a piece of string to wrap around your neck or wrist and mark it (Step 2), if you lack suitable yarn use super-bulky acrylic or hold two regular strands together for easier loops (Steps 3–8), and if you don't have a yarn needle use a blunt tapestry/plastic sewing needle or a crochet hook to weave the tails together (Step 11).
My loops are too tight and I can't lift the bottom loop over the top loop — how do I fix that?
Loosen the tension by gently pulling the working yarn before you wrap (Step 5), spread your four fingers a bit wider and use thicker yarn so the bottom loop lifts up and over the top loop more easily when you perform the move in Steps 6–8.
How can I adapt this finger-knitting activity for different ages?
For preschoolers have an adult tie the slip knot (Step 3), use super-bulky yarn and make a short wristband for a quick project, while older kids can follow Steps 3–10 independently and try color changes or longer scarves for more challenge.
How can we personalize or extend the finished scarf or wristband?
After securing the end and sewing the tails (Step 11), personalize by sewing on buttons, beads, or pom-poms (Step 12), embroidering initials with the yarn needle, adding tassels, or creating color stripes by switching yarn between rows (Steps 7–8).