Fill the Jars of Fear
Create and decorate several fear jars to hold written worries and brave action ideas, then practice coping strategies by picking one jar's slip daily.
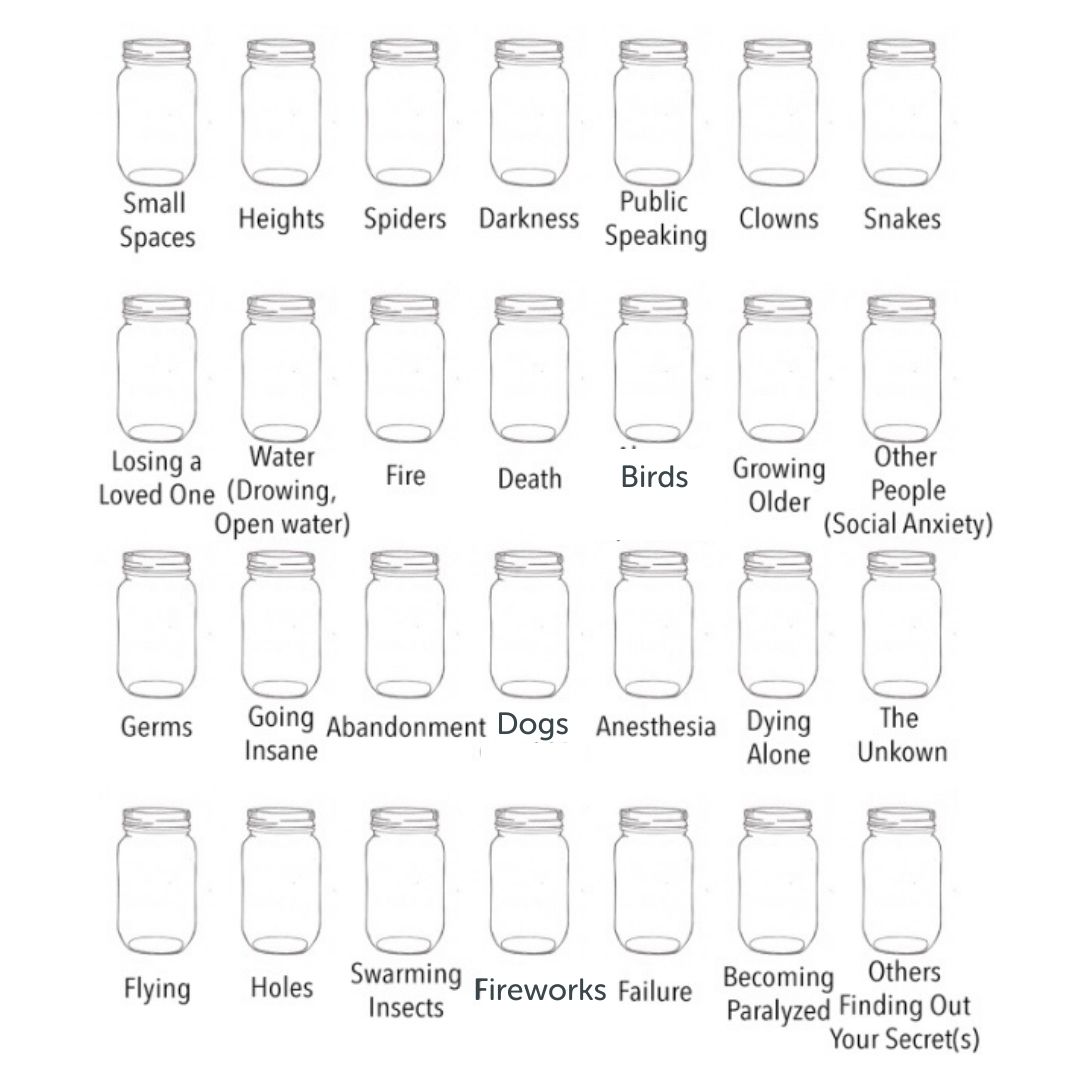
About this activity
Create and decorate several fear jars to hold written worries and brave action ideas, then practice coping strategies by picking one jar's slip daily.
What you need
Step by step
- 1
Step 1
Gather all your materials and bring them to a clean table.
- 2
Step 2
Decide how many jars you want to make.
- 3
Step 3
Choose a short purpose name for each jar like Worries Brave Actions or Calm Ideas.
- 4
Step 4
Wash and dry the jars so they are clean and safe to decorate.
- 5
Step 5
Write each jar’s name on a label or masking tape.
- 6
Step 6
Stick the correct label onto each jar.
- 7
Step 7
Decorate each jar using colouring materials stickers ribbons or buttons.
- 8
Step 8
Cut or tear paper into lots of small slips for writing.
- 9
Step 9
Write one worry or fear on each slip of paper.
- 10
Step 10
Drop each worry slip into the jar that matches that worry.
- 11
Step 11
Write one brave action idea on each separate slip of paper.
- 12
Step 12
Put each brave action slip into the jar labeled for brave actions.
- 13
Step 13
Each morning pick one slip from any jar you choose.
- 14
Step 14
Try the idea or coping strategy written on the slip for that day.
- 15
Step 15
Share your finished jar collection and how you used it on DIY.org
Fun facts
How do you do the Fill the Jars of Fear activity?
To run Fill the Jars of Fear, set up several jars and let your child decorate and label them (for example, “Worries,” “Small Steps,” “Brave Ideas”). Help your child write worries on slips and matching coping steps on others, fold them, and place them in the right jars. Each day pick one slip, read it, and practice the action—deep breaths, role-play, or a small real-world step—then reflect briefly on the outcome.
What materials do I need for Fill the Jars of Fear?
Materials needed: several clean jars or containers, paper or index cards for slips, pens or pencils, stickers/paint/markers for decorating, labels or masking tape, and a small tray or box for lids. Optional items: a timer, a calming object (stress ball), and a printed list of coping strategies. Use child-safe scissors and non-toxic supplies, and choose containers appropriate to your child’s dexterity and age.
What ages is the Fill the Jars of Fear activity suitable for?
Suitable ages: Best for preschool and elementary children (about 4–11 years) with adult help for younger kids. Ages 4–6 need parent support writing slips and simplifying actions; ages 7–9 can contribute ideas and practice strategies with supervision; ages 10–11 can plan more complex steps and record reflections. For older teens, adapt the concept into a private journal or goal jars and increase autonomy.
What are the benefits of doing Fill the Jars of Fear?
Benefits: The activity builds emotional literacy by naming worries, promotes coping by turning anxiety into small, actionable steps, and creates a calm daily routine. It empowers children through achievable ‘brave’ actions, improves problem-solving and parent-child communication, and gradually increases resilience. Done consistently and supportively, it makes discussing difficult feelings safer and more constructive for the whole family.
Watch & Learn
Need help?
What can we use if we don't have glass jars?
Use clean plastic containers (like yogurt tubs or baby food jars) or empty tin cans—just follow the 'Wash and dry the jars' step and attach a masking tape label so they're safe to decorate.
My labels or decorations keep falling off—how can we fix that?
Press masking tape labels firmly, cover them with clear packing tape or a thin layer of craft glue, and use stronger adhesives for stickers or ribbons so the 'Stick the correct label' and 'Decorate each jar' steps stay intact.
How can we adapt this activity for younger or older kids?
For younger children, use picture slips instead of written words during the 'Cut or tear paper' and 'Write one worry' steps, while older kids can write longer entries, add date-stamped brave actions, or create challenge-level slips to drop into the jars.
How can we extend or personalize the jars once they're finished?
Turn it into a 'Fear-to-Brave' project by color-coding jars and slips, adding a reward sticker system when a brave action is tried, and photographing the decorated jars and slips to 'Share your finished jar collection' on DIY.org.