Dye leather
Dye a small leather bracelet or bookmark using safe fabric dye, brushes, and masking tape. Learn color mixing and protect surfaces with adult supervision.

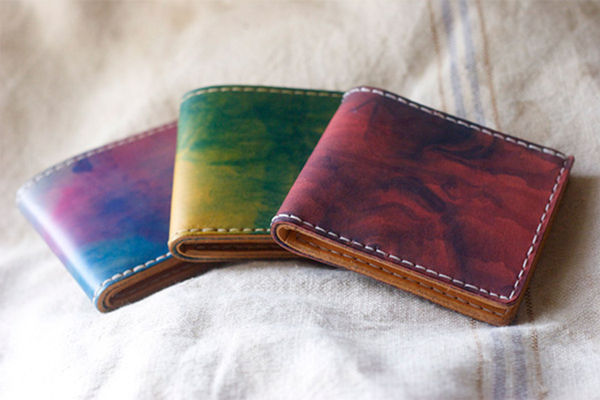

Step-by-step guide to dye a leather bracelet or bookmark
Choosing and Dyeing Leather | Beginner's Guide to Leather Craft Ep. 01
Step 1
Cover your work surface with the plastic sheet or newspaper.
Step 2
Ask an adult to be with you for help and safety.
Step 3
Put on disposable gloves.
Step 4
Lay the leather bracelet or bookmark flat on the covered surface.
Step 5
Use masking tape to cover any areas you do not want dyed and to make patterns.
Step 6
Squeeze small amounts of the dye colors you want into separate small cups.
Step 7
Mix a little of two colors in a clean cup to make a new shade.
Step 8
Dip a paintbrush into the mixed color.
Step 9
Paint one taped section of the leather using even strokes.
Step 10
Rinse or wipe your brush before switching to a different color.
Step 11
Repeat dipping and painting to add more colors or details as you like.
Step 12
Let the dyed leather dry completely until it is not wet to the touch, about 20 to 30 minutes.
Step 13
Slowly peel off the masking tape to reveal your design.
Step 14
Ask an adult to help apply a leather sealer or conditioner if you have one and let it dry.
Step 15
Share your finished creation on DIY.org
Help!?
What can we use if disposable gloves or leather dye are hard to find?
If you can't find disposable gloves use kitchen rubber gloves or have an adult handle the dyeing, and if leather dye is unavailable try acrylic leather paint or diluted fabric dye poured into the small cups noted in the instructions.
What should we do if the dye bleeds under the masking tape or the paint looks streaky?
To prevent bleeding and streaks, press the masking tape edges firmly to the leather, use even strokes with a lightly loaded brush, wipe or rinse the brush between colors as the instructions say, and apply thinner coats letting each dry 20–30 minutes before adding more.
How can this activity be adapted for different age groups?
For younger kids use a pre-cut leather bookmark, wider paintbrushes and simple taped patterns with an adult handling tape placement and the sealer, while older kids can follow the full steps to mix shades in clean cups and paint detailed designs on a bracelet.
How can we extend or personalize the dyed leather project after finishing the basic steps?
After the dyed leather dries and you peel off the masking tape, personalize by mixing two colors in a clean cup for gradient effects, add stamped initials or metallic highlights with a fine brush, then ask an adult to apply the leather sealer or conditioner before sharing on DIY.org.
Watch videos on how to dye a leather bracelet or bookmark
Master the Skill of Leather Dyeing Like a Pro
4 Videos
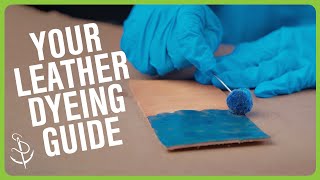
Master the Skill of Leather Dyeing Like a Pro
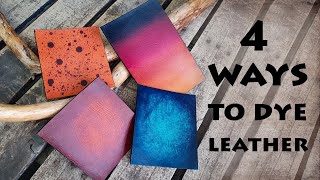
How to DYE Leather | 4 Leather Dyeing Techniques
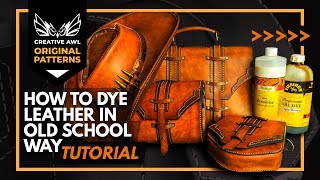
How to dye leather in old school way. Dyeing vegetable leather method
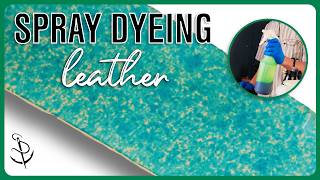
Custom Ways to Dye Leather (With a $5 Spray Bottle)
Facts about leathercraft for kids
🐄 Leather comes from animal hides and people have been turning hides into useful leather goods for thousands of years.
🎨 Leather dye soaks into the material, so colors often last longer and feel more natural than surface paints.
🌈 You can mix the three primary colors (red, blue, yellow) to make lots of new shades for your bracelet or bookmark.
🧪 Synthetic dyes became widely used after the mid-1800s, bringing many brighter, longer-lasting colors to crafts.
🏷️ Masking tape was invented in 1925 to help painters get clean edges — great for making crisp dye patterns!
How do you dye a small leather bracelet or bookmark step-by-step?
What materials do I need to dye a leather bracelet or bookmark?
What ages is leather dyeing suitable for?
What safety tips should I follow when dyeing leather with kids?
