Draw something upside down
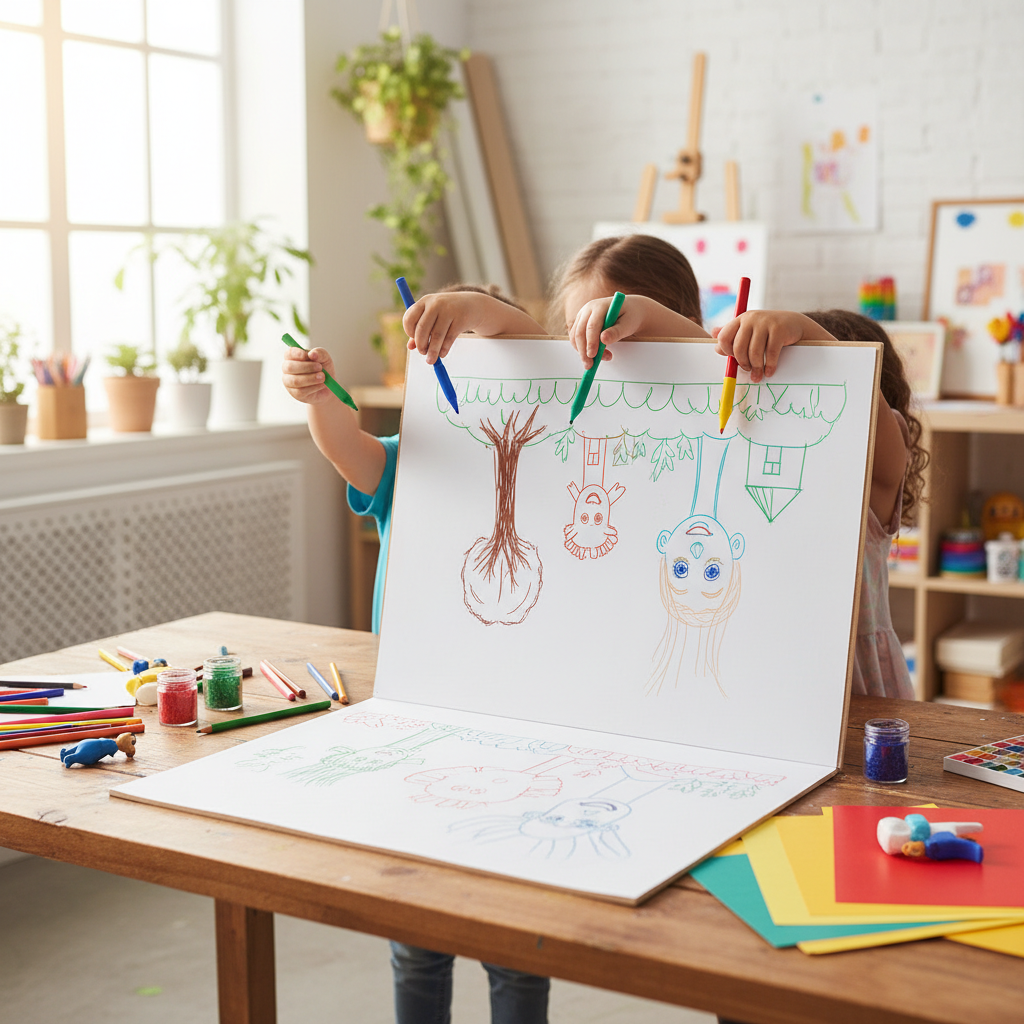
Draw an object or scene upside down to train observation and hand eye coordination, then flip the paper to compare accuracy and improve drawing skills.
About this activity
Draw an object or scene upside down to train observation and hand eye coordination, then flip the paper to compare accuracy and improve drawing skills.
What you need
Step by step
- 1
Step 1
Place your blank paper and pencil on the table in front of you.
- 2
Step 2
Choose a simple picture or small object you want to draw.
- 3
Step 3
Turn that reference picture or object upside down so it looks flipped.
- 4
Step 4
Tape the upside-down reference to the table or clip it so it does not move.
- 5
Step 5
Look only at the upside-down reference and notice the basic shapes and lines you see.
- 6
Step 6
Lightly draw the biggest shapes you see onto your paper using simple lines.
- 7
Step 7
Draw the medium shapes that connect the big shapes you already placed.
- 8
Step 8
Add the small details you observe in the upside-down reference.
- 9
Step 9
Gently erase or adjust any lines that look wrong.
- 10
Step 10
Flip your drawing paper right-side-up to reveal the image.
- 11
Step 11
Compare your drawing to the original right-side-up reference and spot the differences.
- 12
Step 12
Add color and any finishing touches you want.
- 13
Step 13
Share your finished creation on DIY.org.
Fun facts
How do you do the upside-down drawing activity?
Choose a simple photo or line drawing and turn it upside down. Tape the reference where the child can see it, then place a blank paper below. Ask the child to copy the lines, shapes, and angles exactly as they appear, not what the object is. Encourage slow observation, tracing imaginary lines with a finger first, then drawing with a pencil. When finished, flip the drawing and reference to compare, discuss differences, and try again.
What materials do I need for upside-down drawing?
You only need basic supplies: plain paper, pencils, a soft eraser, and a clipboard or tape to hold the reference picture upside down. Optional items: colored pencils or markers for finishing, a ruler for straight lines, and printed photos or simple line art. Good lighting and a flat surface help. Keep reference images clear and not too detailed for younger children to avoid frustration.
What ages is upside-down drawing suitable for?
This activity works for preschoolers through teens with simple adjustments. Ages 3–5 benefit from large, simple shapes and close adult guidance. Ages 6–9 can copy more detailed images independently and focus on line observation. Ages 10+ can tackle complex pictures and shading. Adapt difficulty by choosing simpler or more detailed references and offering time limits or tracing aids for younger children.
What are the benefits of upside-down drawing?
Drawing upside down builds observation skills, hand–eye coordination, and visual-spatial reasoning by forcing the brain to focus on lines and relationships instead of familiar labels. It reduces symbolic drawing (drawing what you think something looks like) and improves accuracy. It’s low-cost and low-risk, encourages patience and concentration, and can boost confidence as children see measurable improvement with practice.
Watch & Learn
Need help?
What can I use if I don't have tape, a clip, or blank paper for this upside-down drawing activity?
If you don't have tape or a clip to secure the upside-down reference, weight it down with a heavy book or paperweight, and if you lack blank paper or a pencil use a sketchbook page and a crayon or pen (noting pens can't be erased) or display a photo of the object upside-down on a phone or tablet.
I'm accidentally drawing what I think the object looks like instead of copying the upside-down reference—how do I fix that?
Cover your drawing with a scrap of paper or a sticky note so you can 'look only at the upside-down reference' as instructed in step 5, draw the biggest shapes lightly first in step 6, and then reveal and adjust lines during step 8.
How can I modify this activity for a 4-year-old versus a 10-year-old?
For a 4-year-old use larger paper, thick crayons, and have them focus only on copying the biggest shapes from the taped upside-down reference while an adult holds it, whereas a 10-year-old can use finer pencils, add medium and small shapes in steps 7–8, and practice shading or detailed color in step 11.
What are simple ways to extend or personalize the finished drawing after comparing it to the original?
Extend the activity by creating a mini gallery of different upside-down objects, timing yourself to improve observation, experimenting with mixed media when you 'Add color and any finishing touches', and writing a short caption before you 'Share your finished creation on DIY.org'.