Draw some planets with DIY Star @1nfinity
Draw colorful planets and a DIY star using paper, pencils, and simple templates; learn about sizes, colors, and orbital order while making a space poster.

Drawing Apps
Step-by-step guide to draw colorful planets and make a DIY star
Step 1
Gather all your materials and find a flat table or floor space to work on.
Step 2
Pick a large sheet of paper to be your space poster and decide where you want the star to go.
Step 3
Use round objects or templates to trace eight circles of different sizes on scrap paper from smallest to largest to represent the planets.
Step 4
Cut out the traced circles carefully with scissors.
Step 5
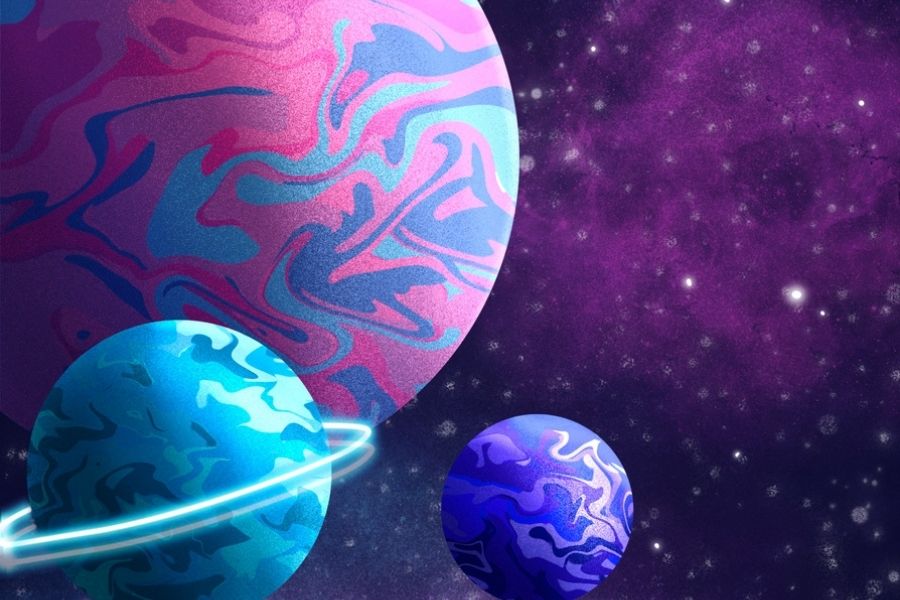
Color and decorate each circle to make each planet look unique with stripes spots or rings.
Step 6
Fold a small piece of paper and cut out a star shape for your DIY star.
Step 7
Color and decorate your star to make it bright and shiny.
Step 8
Place the star on your poster where you decided and press it gently to test the layout.
Step 9
Lightly draw orbit rings around the star with a pencil using a round object or ruler to guide you.
Step 10
Arrange the planet cutouts on the orbit rings in order from closest to the star to farthest: Mercury Venus Earth Mars Jupiter Saturn Uranus Neptune.
Step 11
Glue each planet onto its correct orbit spot on the poster.
Step 12
Write each planet’s name and one fun fact beside it with a black marker.
Step 13
Share your finished space poster and DIY star on DIY.org
Help!?
What can I use if I don't have a large sheet of paper or round templates for the space poster and planets?
If you don't have a large sheet of paper for your space poster or round templates, use a flattened cereal box or tape together printer paper for the poster and trace plates, jar lids, or coins as round objects.
My planet circles tore or won't stay glued—what should I do during the cut-out and glue steps?
If the traced circles tear or the planet cutouts won't stay on the poster after you glue them, trim jagged edges carefully, use a stronger glue or double-sided tape, and press each glued planet under a heavy book until dry.
How can I adapt the cutting, decorating, and labeling steps for different ages?
For toddlers skip scissors by giving pre-cut paper plates or foam circles to color, for school-age kids have them cut eight circles and write each planet's name and fun fact, and for teens add a ruler or compass to draw more accurate orbit rings and research extra facts.
How can we extend or personalize the poster and DIY star after following the basic instructions?
To enhance the project, make the DIY star shiny with glitter or glow-in-the-dark paint, add cotton or aluminum-foil rings to Saturn, and attach battery LED fairy lights around the star on your poster before sharing on DIY.org.
Watch videos on how to draw colorful planets and make a DIY star
DIY Planets And Space Crafts For Kids Compilation | Make Your Own Solar System | Kids Space Facts
4 Videos
DIY Planets And Space Crafts For Kids Compilation | Make Your Own Solar System | Kids Space Facts
How to Draw the SOLAR SYSTEM! | Step by Step Easy Drawing for Kids | Learn Planet Names and Colors
How to Draw Planets🌎| Solar System Drawing | Drawing and Coloring for Kids | HooplaKidz How To
How to Draw Saturn Planet Super Easy step by step | Art tutorial
Facts about planets and the solar system
🪐 Jupiter is so huge its volume is about 1,321 times Earth's — you could pack a lot of toy planets inside!
☀️ The Sun contains about 99.86% of all the mass in the Solar System — it's the heavyweight champion!
🌍 Earth is the only known planet with stable liquid water on its surface, which helps life thrive here.
⭐ Our Sun is a medium-sized star called a yellow dwarf — there are both much bigger and much smaller stars out there.
🔭 Pluto was reclassified as a dwarf planet in 2006, so now there are eight official planets in our Solar System.
How do I make a space poster by drawing planets and a DIY star with DIY Star @1nfinity?
What materials do I need to draw planets and make a DIY star for a space poster?
What ages is the Draw some planets with DIY Star @1nfinity activity suitable for?
What are the benefits of making a space poster with planets and a DIY star?
