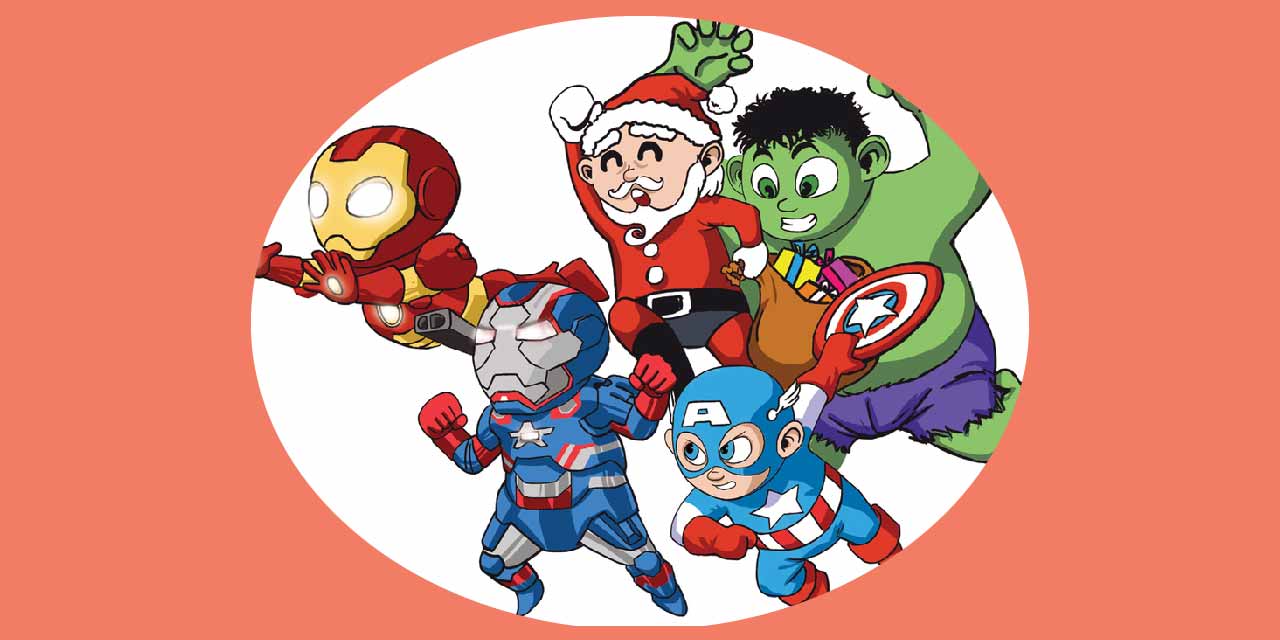
Draw Marvel Heroes Chibi Style
Draw chibi style Marvel heroes using simple shapes, bold lines, and bright colors. Practice proportions, facial expressions, and character poses while creating fun mini superheroes.
About this tutorial
Draw chibi style Marvel heroes using simple shapes, bold lines, and bright colors. Practice proportions, facial expressions, and character poses while creating fun mini superheroes.
What you need
Instructions
- 1
Step 1
Choose one Marvel hero you want to draw as a cute chibi.
- 2
Step 2
Find a picture of that hero to look at while you draw.
- 3
Step 3
Place your paper and lightly draw a large circle near the top for the head and a small oval under it for the body.
- 4
Step 4
Draw a vertical center line and a horizontal eye line inside the head circle to guide the face.
- 5
Step 5
Draw two big simple eyes on the eye line and add a tiny nose and a small smiling mouth.
- 6
Step 6
Sketch the hero’s mask or hair shape on the head using simple rounded shapes.
- 7
Step 7
Draw short stubby arms and legs attached to the small body to make a chibi pose.
- 8
Step 8
Block in the costume shapes and draw the hero’s emblem using simple shapes.
- 9
Step 9
Add a small prop or motion lines like a tiny shield or a lightning bolt to show action.
- 10
Step 10
Trace your best pencil lines with a black marker or fine liner and let the ink dry.
- 11
Step 11
Gently erase the leftover pencil marks after the ink is dry.
- 12
Step 12
Color your chibi hero with bright colors staying inside the bold outlines.
- 13
Step 13
Add simple shading with a slightly darker color and a small white highlight in the eyes or shiny areas.
- 14
Step 14
Take a photo of your finished chibi Marvel hero and share it on DIY.org
Fun facts
How do I draw Marvel heroes chibi style?
Start with a large circle for the head and a much smaller rectangle or oval for the body to capture chibi proportions. Sketch simple facial guidelines, add oversized eyes and expressive mouths. Block in costume shapes and signature details (masks, emblems) using basic geometric shapes. Ink bold outlines, erase pencil lines, then color with bright, flat tones. Keep poses dynamic and practice simplifying complex costumes into readable mini forms.
What materials do I need to draw chibi Marvel heroes?
You only need basic art supplies: plain paper or a sketchbook, a soft pencil for sketching, an eraser, and a fine black pen or marker for bold outlines. For color, use colored pencils, washable markers, or water-based markers. Optional: a lightbox or printed references of Marvel characters, a ruler for guidelines, and a protective mat to prevent marker bleed-through. Keep supplies non-toxic and child-safe.
What ages is drawing Marvel chibi heroes suitable for?
Chibi drawing suits a wide age range: preschoolers (4–6) can join with very simple shapes and coloring, elementary kids (7–10) can follow proportions and add details, and tweens/teens can refine expressions and poses. Adjust complexity: offer tracing or stencils for younger children and encourage original poses for older kids. Supervise marker use and small tools for younger artists.
What are the benefits of drawing Marvel heroes in chibi style?
Chibi drawing builds fine motor skills, observational ability, and an understanding of simplified proportions and stylization. It encourages creativity, storytelling through poses and expressions, and confidence when children complete recognizable characters. Repeating the process improves line control and color choices, while being a fun, low-pressure way to practice character design and visual problem-solving.
Watch & Learn
Need help?
What can I use if I don't have a black marker or fine liner for step 10?
Use a black gel pen, a fine-point permanent marker (Sharpie), or a dark colored pencil to trace your best pencil lines in step 10 and let the ink or graphite settle before erasing.
My chibi's eyes look uneven after erasing — how can I avoid that?
Keep the vertical center line and horizontal eye line from step 4 lightly visible while placing the two big eyes on the eye line in step 5, and if an eye is off, redraw it lightly before inking.
How can I adapt this activity for different ages?
For preschoolers, make the head circle and eyes extra large and skip inking in step 10 so they color inside pencil lines, for early elementary simplify the costume shapes in step 8, and for older kids add detailed emblems and shading from step 13 plus dynamic motion lines in step 9.
How can we personalize or extend the finished chibi beyond the instructions?
Add a simple background scene, draw other chibi teammates interacting with the small prop from step 9, apply metallic or glitter highlights when coloring in step 13, or photograph multiple poses to create a mini comic before sharing on DIY.org in step 14.