Draw Kawaii Characters w/ DIY Star RainbowLillie
Draw cute kawaii characters using a DIY star rainbow technique, learning simple shapes, color blending, and step-by-step drawing skills with Lillie.

Drawing Apps
Step-by-step guide to draw kawaii characters with DIY star rainbow (with Lillie)
Step 1
Place a sheet of paper on a flat surface.
Step 2
Lightly draw a large circle or oval near the top center for your kawaii character's head.
Step 3
Draw a small rounded bean shape under the head for the body.
Step 4
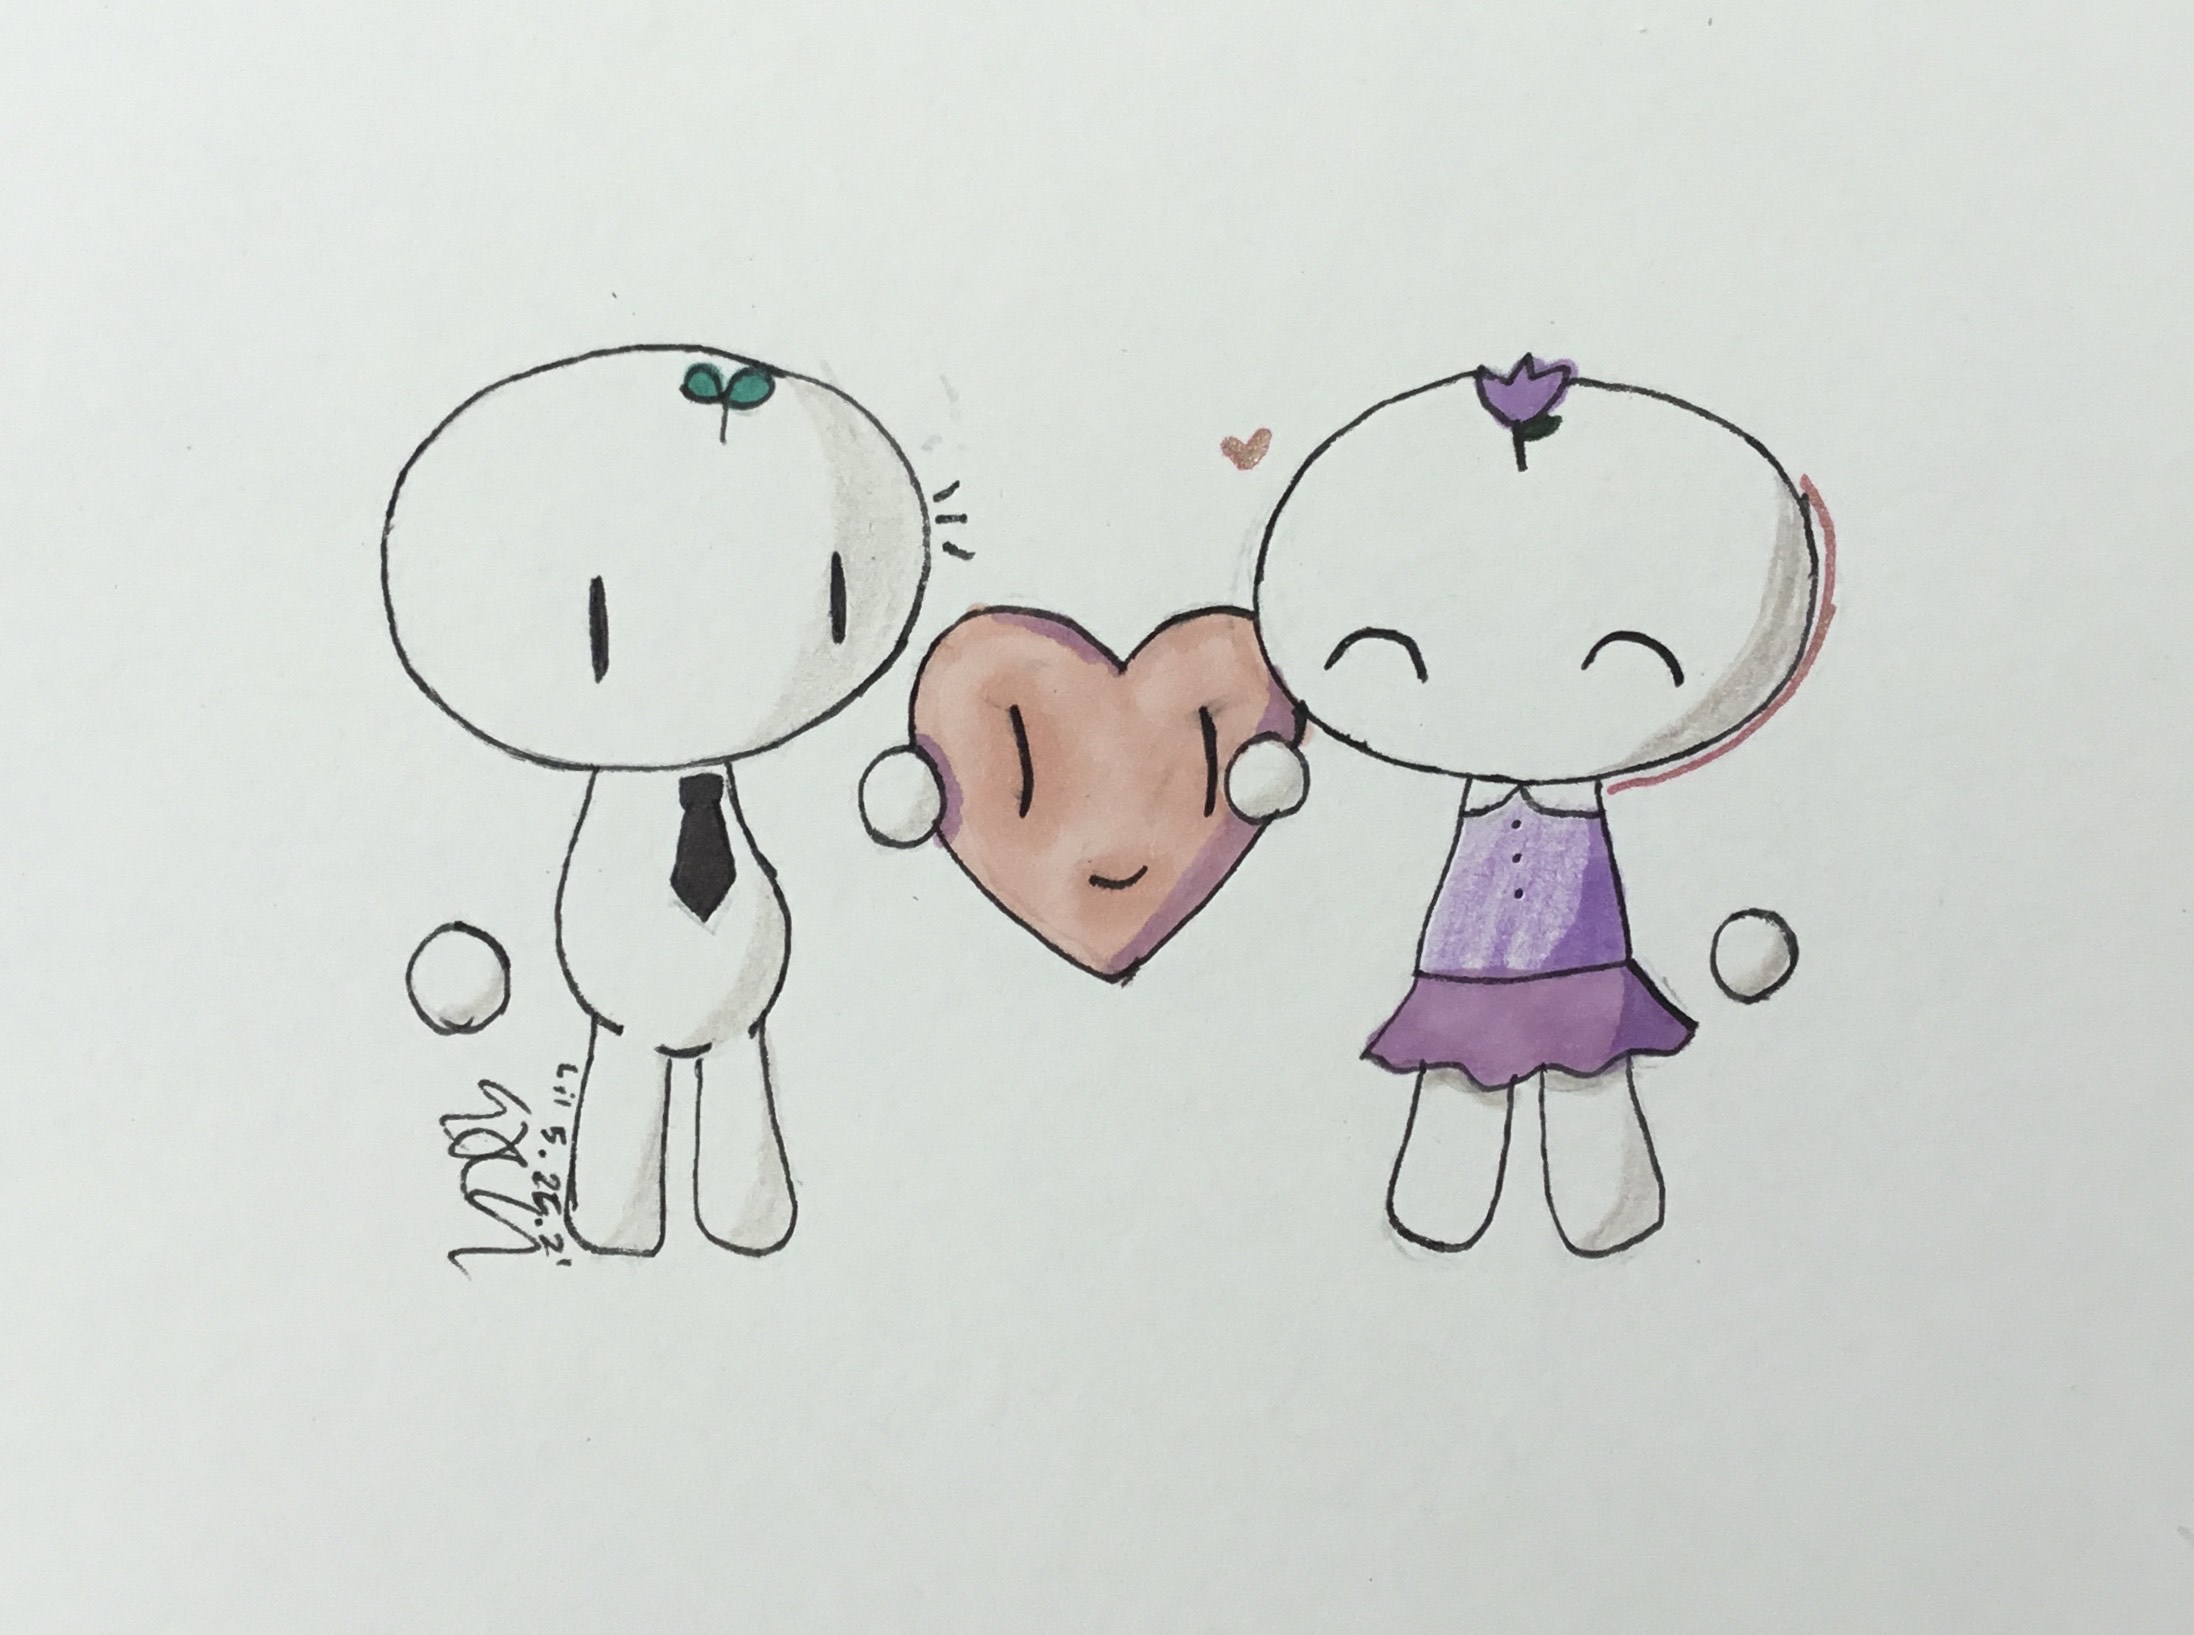
Add two big rounded eyes inside the head.
Step 5
Draw a tiny smiling mouth below the eyes.
Step 6
Add two small circles on the cheeks for rosy blush.
Step 7
Draw short stubby arms and little feet on the body.
Step 8
Sketch a small five-point star near your character as the rainbow's starting point.
Step 9
From the star draw three to five wide curved bands arcing across the page to make the star rainbow.
Step 10
Trace over your pencil lines with a black fineliner or marker.
Step 11
Gently erase remaining pencil marks after the ink is dry.
Step 12
Color your whole drawing using your coloring materials.
Step 13
Blend the rainbow bands by layering colors with light strokes and using a cotton swab or blending stump to smooth transitions.
Step 14
Add tiny white highlights on the eyes and rainbow with a white gel pen or white colored pencil to make everything pop.
Step 15
Share your finished kawaii star rainbow creation on DIY.org.
Help!?
What can I use if I don't have a black fineliner, cotton swab, or white gel pen?
If you don't have a black fineliner, trace with a dark ballpoint pen or a well-sharpened pencil, blend the rainbow bands using a tissue or fingertip in place of a cotton swab or blending stump, and add highlights with a white colored pencil or a tiny dab of white acrylic paint instead of a white gel pen.
My rainbow colors look blotchy when I try to blend—what should I do?
Layer colors with light strokes as the instructions say, gently smooth transitions with a cotton swab or fingertip, then reapply and lightly blend again before adding the white highlights to make the bands look even.
How can I adapt this activity for younger children or older kids?
For younger kids, pre-draw the head, body, star, and wide rainbow bands and let them color with crayons, while older kids can add extra bands, detailed facial expressions, shading with a blending stump, and patterns before inking and erasing pencil lines.
How can we make the finished kawaii star rainbow extra special?
Personalize the finished drawing by adding glitter glue or metallic pen on the star and rainbow bands, drawing a background like clouds or a night sky around your character, or cutting and mounting the piece on cardstock to turn it into a card to share on DIY.org.
Watch videos on how to draw kawaii characters with DIY star rainbow (with Lillie)
10 DIY KAWAII CHARMS - POLYMER CLAY TUTORIAL
4 Videos
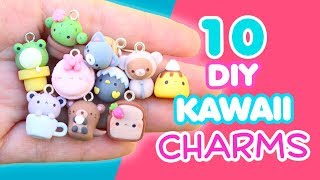
10 DIY KAWAII CHARMS - POLYMER CLAY TUTORIAL
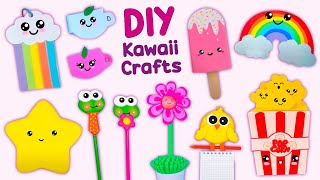
12 DIY KAWAII CRAFTS YOU WILL LOVE - School Supplies - Paper Crafts and more...
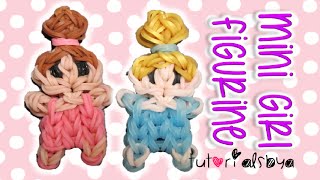
Cute Mini Baby Girl Person Charm / Figurine Rainbow Loom Tutorial | How To
7 EASY DIY Kawaii Stickers You Can Make at Home
Facts about drawing and coloring for kids
🎀 "Kawaii" means "cute" in Japanese and grew into a huge pop-culture style in Japan starting around the 1970s.
✏️ Many kawaii characters are built from simple shapes like circles, ovals, and rounded rectangles — great for beginners!
🌈 Blending colors for a starry rainbow often works best by layering light tones and using tiny circular strokes to smooth transitions.
👀 Oversized heads and big eyes use the "baby schema" trick: features that resemble babies make characters look extra adorable.
⭐ Tiny highlights, sparkles, or star-shaped glints make eyes and accessories pop and feel more magical.
How do I draw kawaii characters using the DIY Star RainbowLillie technique?
What materials do I need to draw kawaii characters with a star rainbow technique?
What ages is drawing Kawaii Characters with DIY Star RainbowLillie suitable for?
What are the benefits of drawing kawaii characters and using the star rainbow technique?
