Draw Facial Features
Learn to draw facial features by sketching eyes, noses, mouths, and ears step-by-step, practicing proportions, expressions, and shading with simple pencils.

Drawing Apps
Step-by-step guide to draw facial features
Step 1
Gather your materials and find a comfy spot to draw.
Step 2
Lightly draw a circle to mark the top of the head.
Step 3
Draw a vertical center line down the middle of the circle to mark the face center.
Step 4
Draw a horizontal eye line across the circle halfway down to place the eyes.
Step 5
Sketch two almond-shaped eyes on the eye line spaced about one eye-width apart.
Step 6
Draw round irises in each eye and darken the pupils leaving a small white highlight.
Step 7
Draw curved eyebrows above the eyes to show the expression you want.
Step 8
Mark a short vertical guideline from the eye line down to where the nose will end.
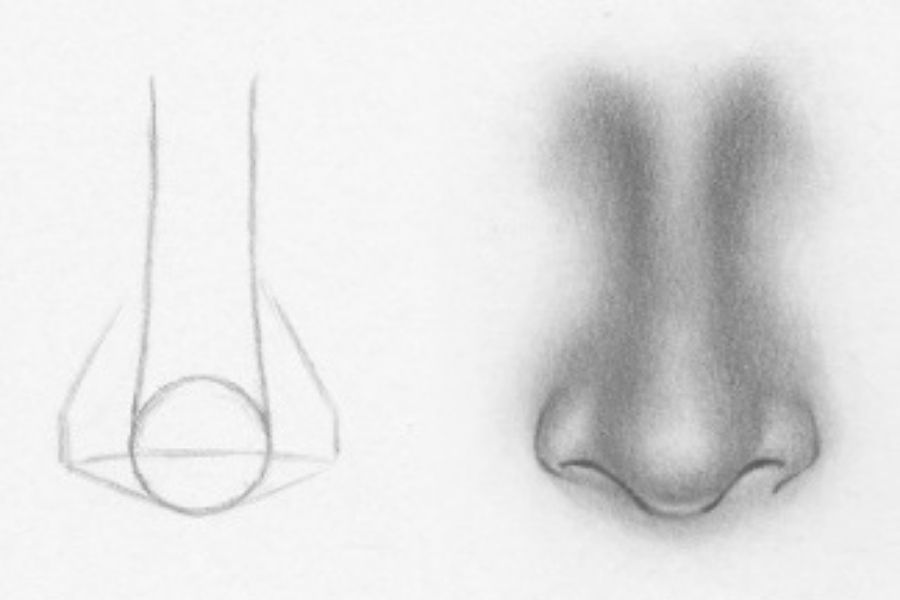
Step 9
Sketch the nose shape using the guideline and add two small nostrils.
Step 10
Draw a light horizontal line halfway between the nose tip and the chin to mark the mouth center.
Step 11
Sketch the mouth shape along that line for a smile a frown or a neutral look.
Step 12
Draw ears on each side between the eye line and the bottom of the nose.
Step 13
Add two simple neck lines under the jaw to finish the head shape.
Step 14
Choose a light direction and softly shade the opposite areas with gentle pencil strokes then blend with a tissue or blending stump.
Step 15
Take a photo of your finished facial feature sketch and share it on DIY.org.
Help!?
What can I use if I don't have a blending stump or a sketching pencil?
If you don't have a blending stump or tissue, use a folded clean tissue, cotton swab, or your fingertip to blend the shading and substitute an HB or 2B pencil (or soft charcoal) for sketching the guidelines and features.
My eyes look crooked—how do I fix them so they match the instructions?
Keep the vertical center line and horizontal eye line from the instructions, lightly measure one eye-width with your pencil to space the almond-shaped eyes, then erase and redraw the smaller eye until both align.
How can I adapt this drawing activity for different ages?
For younger kids, pre-draw the circle, vertical center line, and eye line and let them trace eyes and add simple mouth shapes with crayons, while older children can follow all steps and focus more on the light shading and blending with a tissue or blending stump before photographing their sketch for DIY.org.
What are simple ways to extend or personalize the finished facial feature sketch?
After completing the eyebrows, nose, and mouth as instructed, personalize the sketch by changing eyebrow curves and mouth expression, adding hair and color with colored pencils or markers, and creating several variations to photograph and share on DIY.org.
Watch videos on how to draw facial features
How to Draw a Face for Kids
4 Videos

How to Draw a Face for Kids
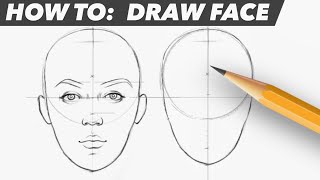
How To: Draw Face | Easy Beginner Proportion Tutorial
How to Draw Facial Features (Shapes & Lines)
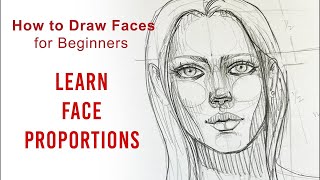
How to Draw Faces: Learn Face Proportions (Drawing for Beginners) Step-by-Step Tutorial
Facts about portrait drawing for kids
👀 Eyes usually sit about halfway down the head — placing them too high makes faces look off!
🙂 Tiny changes to the mouth or eyebrows can make the same face look happy, surprised, or curious.
📏 A common drawing tip: a face is about five eye-widths across (one eye space between the eyes).
✏️ Many artists start with a light 'block-in' sketch to map feature placement before adding details and shading.
🖼️ Portrait artists like Leonardo da Vinci studied facial proportions for years to make faces look lifelike.
How do I teach my child to draw facial features step-by-step?
What materials do I need to draw facial features with my child?
What ages is this drawing activity suitable for?
What are the benefits of practicing drawing facial features for kids?
