Draw Cute Woodland Creatures
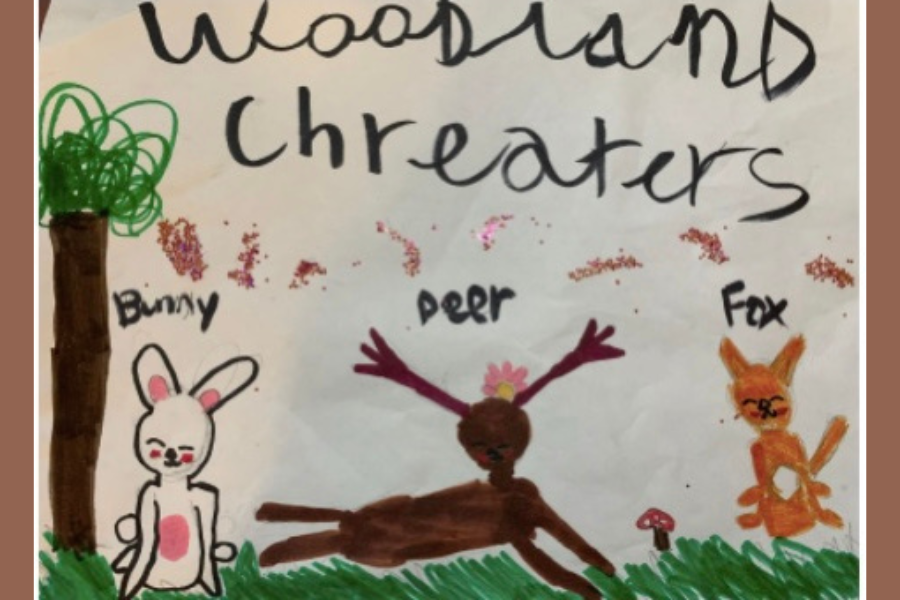
Draw and color several cute woodland creatures like foxes, owls, and squirrels using simple shapes, practicing observation, proportions, and expressive details.
About this tutorial
Draw and color several cute woodland creatures like foxes, owls, and squirrels using simple shapes, practicing observation, proportions, and expressive details.
What you need
Instructions
- 1
Step 1
Warm up your hand by drawing six simple shapes like circles squares triangles and ovals across the top of the paper.
- 2
Step 2
Lightly plan where each creature will sit by sketching three spaced ovals or circles to mark their places.
- 3
Step 3
Sketch a fox in one marked spot using simple shapes: a round head a teardrop body and a big curved tail.
- 4
Step 4
Sketch an owl in another spot using simple shapes: a round head a rounded body and two big round eyes.
- 5
Step 5
Sketch a squirrel in the last spot using simple shapes: a small round head a compact body and a bushy curled tail.
- 6
Step 6
Add facial features to each creature by drawing eyes noses mouths and eyebrows to give them unique expressions.
- 7
Step 7
Add texture details like short fur strokes feather lines whiskers and ear tufts to make each creature look fluffy or feathery.
- 8
Step 8
Draw a few simple forest items like leaves mushrooms a log or a small branch around your creatures to set the scene.
- 9
Step 9
Trace your favorite lines with a black pen or fine liner to make the characters bold and clear and wait for the ink to dry.
- 10
Step 10
Gently erase the pencil guidelines so only the clean inked drawing remains.
- 11
Step 11
Color each creature and the background using your coloring materials choosing warm colors for the fox soft browns for the squirrel and natural shades for the owl.
- 12
Step 12
Add simple shading and small highlights by using a slightly darker color for shadows and a lighter color or white for highlights.
- 13
Step 13
Take a photo or scan your finished woodland scene and share your creation on DIY.org.
Fun facts
How do I help my child draw cute woodland creatures like foxes, owls, and squirrels?
Start by showing your child photos or books of foxes, owls and squirrels to observe shapes and proportions. Have them lightly sketch basic shapes—circles for heads, ovals for bodies, triangles for ears—then refine outlines, add eyes, beaks, tails and fur texture. Encourage erasing and adjusting for correct proportions. Once happy, ink or darken lines and color with pencils or markers. Keep sessions short and praise attempts to build confidence.
What materials do I need to draw and color woodland creatures with my child?
You'll need plain drawing paper, a set of pencils (HB and softer), an eraser and a sharpener. Add colored pencils, markers or crayons for coloring, plus watercolor or gouache if you want painting. Provide reference photos or printed templates, a pencil ruler for proportions, and a smock or protective mat. Optional: blending stump for shading, white gel pen for highlights, and stickers for decoration. Organize tools so children can reach them safely.
What ages is drawing cute woodland creatures suitable for?
This activity suits preschoolers through tweens with adjustments. Ages 3–5 can practice simple shapes and coloring with adult guidance. Ages 6–9 can work on proportion, basic textures and expressive faces independently. Ages 10–12+ can add detail, shading and compositional skills. Tailor complexity, time and materials to the child's attention span and fine motor ability. Always encourage creativity rather than perfection to keep it fun and motivating.
What are the benefits of drawing and coloring woodland creatures?
Drawing and coloring woodland creatures improves fine motor skills, hand-eye coordination and observational ability as children study shapes and proportions. It builds creativity, storytelling and emotional expression by letting kids personalize characters. Repeated practice strengthens attention, patience and confidence. Group or family sessions boost social skills and language when kids describe their animals. This low-cost, screen-free activity also produces keepsakes that encourage pride and
Watch & Learn
Need help?
What can we use instead of a black pen or fine liner if we don't have one?
If you don't have a black pen or fine liner for the step to "Trace your favorite lines," trace with a thin permanent marker, a dark ballpoint pen, or carefully with a sharpened colored pencil for a softer line.
My ink smudges when I try to erase the pencil lines—how can I stop that?
Make sure to follow the "wait for the ink to dry" step and let the ink dry fully before gently erasing the pencil guidelines with a clean, soft eraser to avoid smudging.
How can I adapt this drawing activity for a 4-year-old versus a 10-year-old?
For a 4-year-old, pre-sketch the three spaced ovals and let them fill shapes and color with chunky crayons or washable markers, while a 10-year-old can focus on adding the texture details, shading, and extra forest items from steps 6–11 for more challenge.
How can we make the woodland scene more unique or advanced?
To enhance the scene, add mixed-media textures (like cotton for fluffy fur), use the shading and highlight tips from step 11 to create depth, invent a short backstory for the creatures, and then photograph the finished drawing to share on DIY.org as suggested.