Draw an Object in Your House
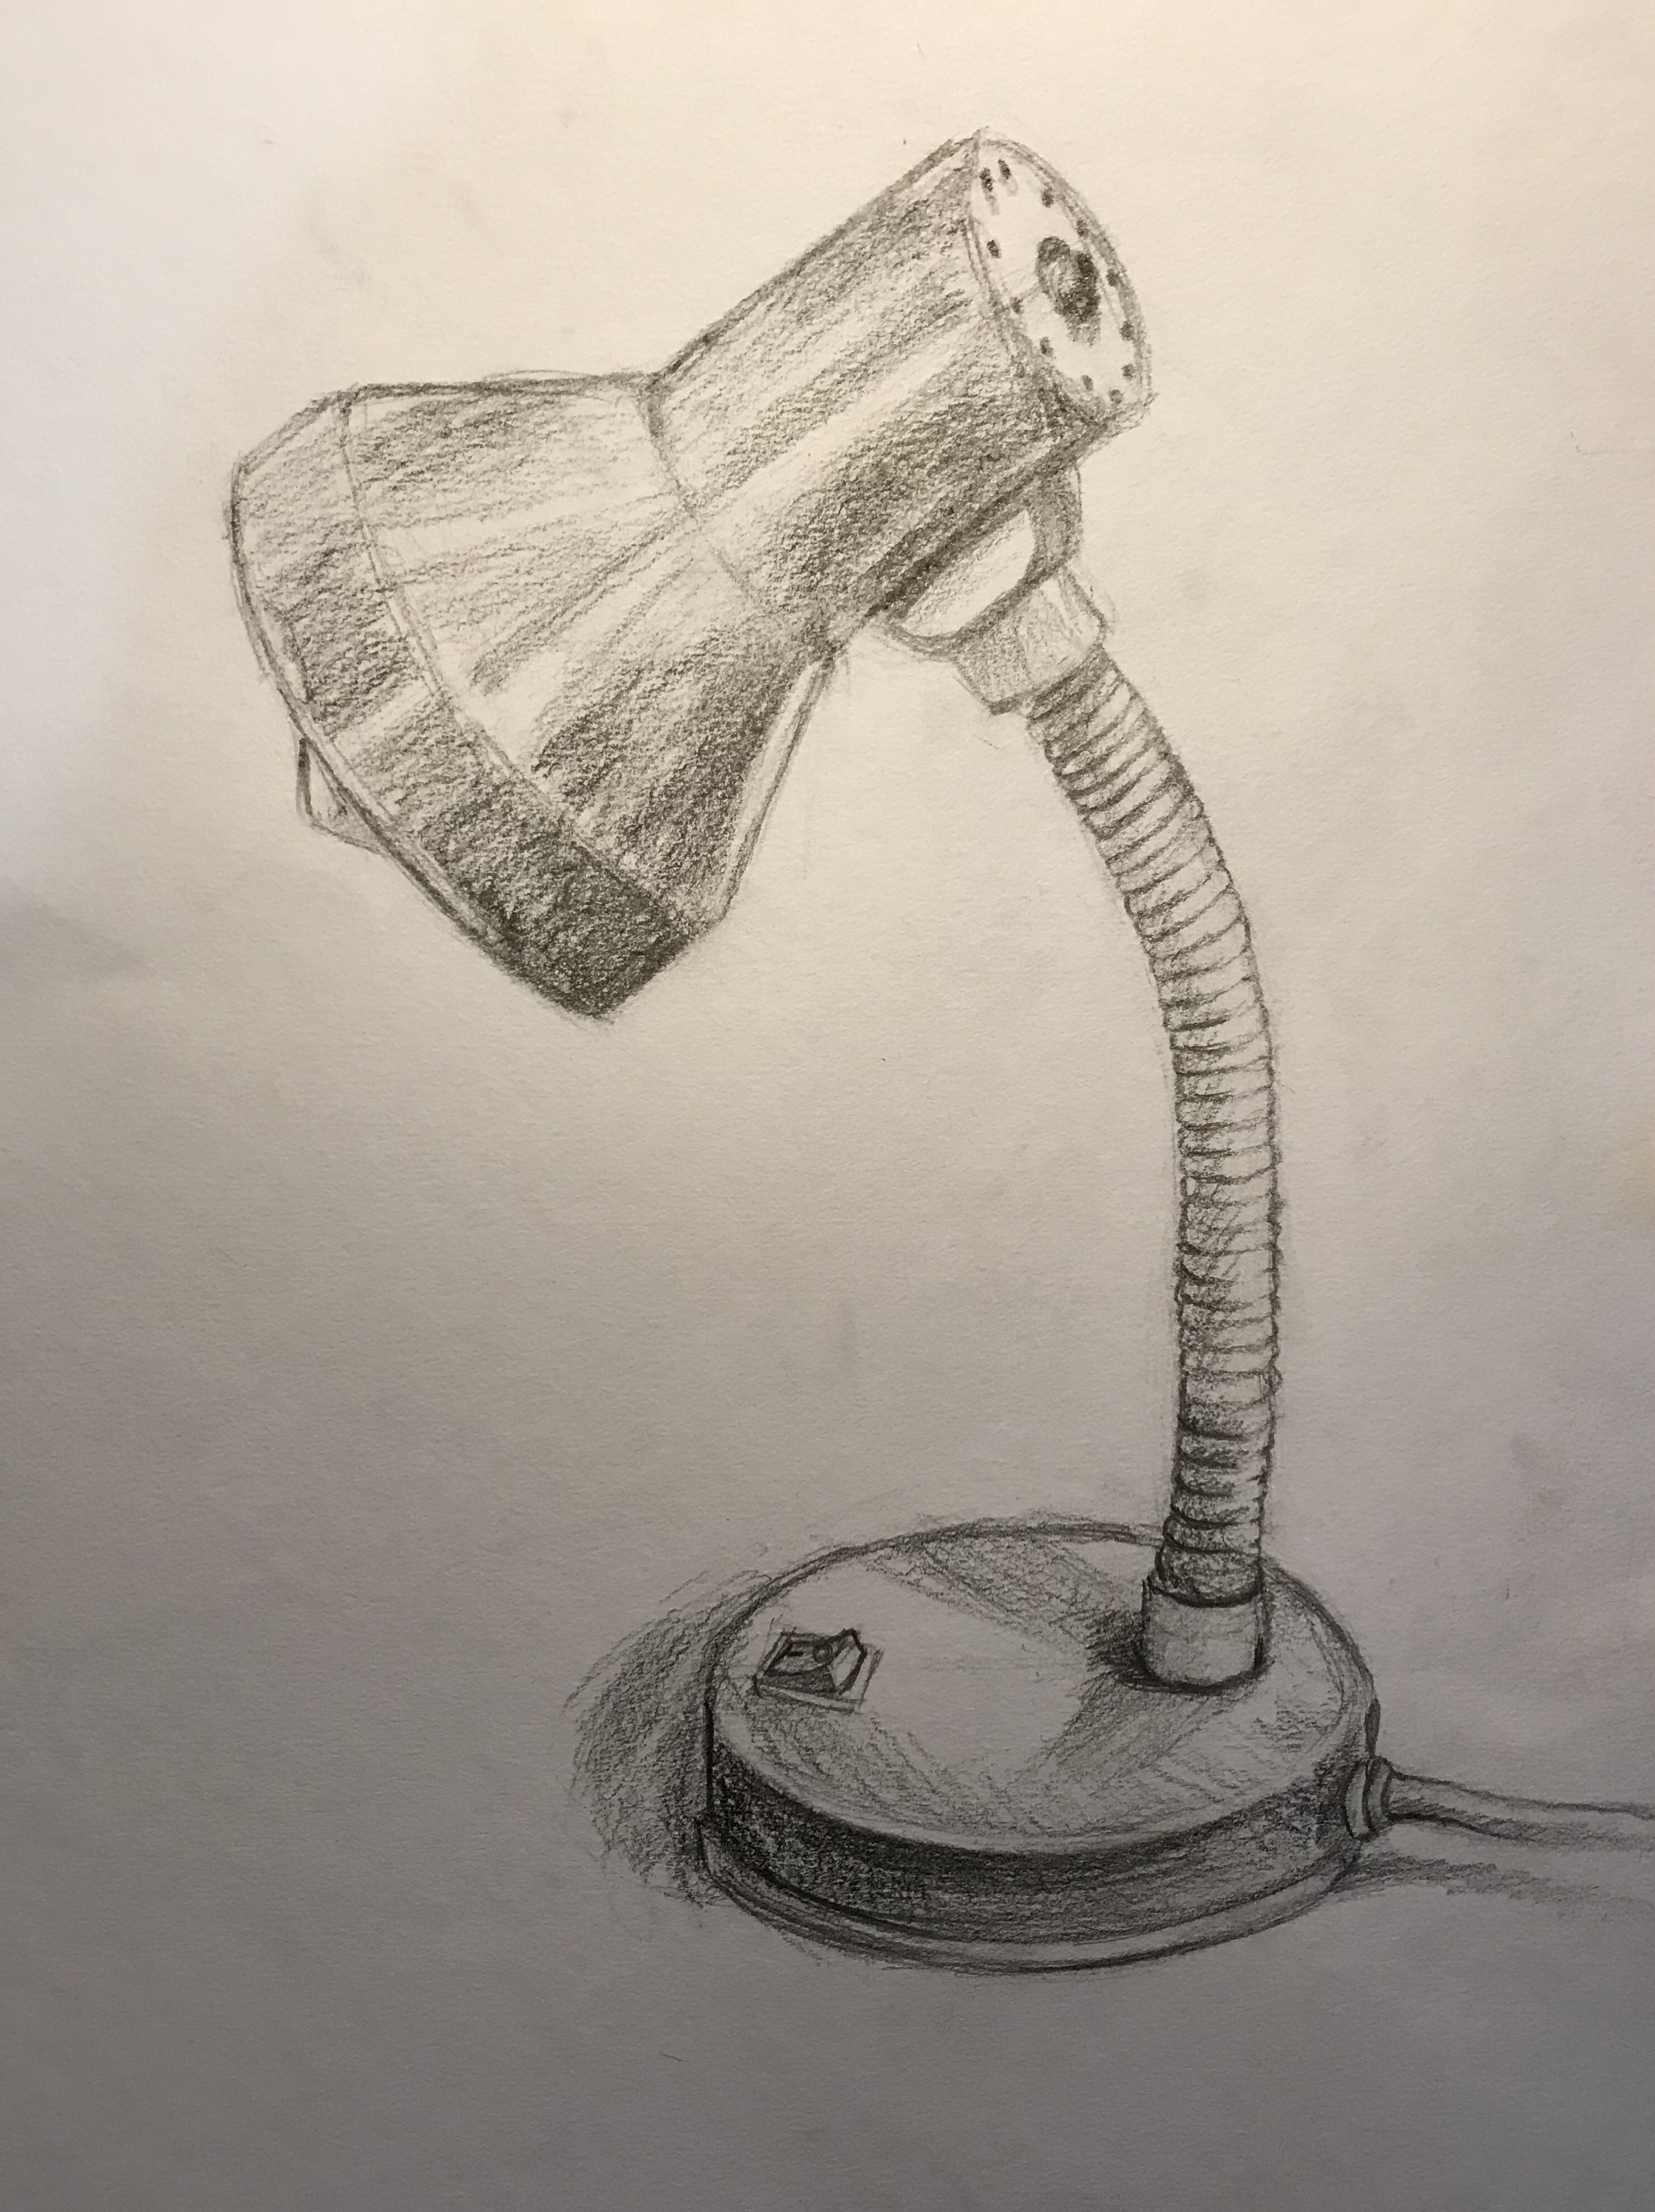
Choose an object from your house, observe its shapes and shadows, then draw it with pencils or crayons, practicing careful observation and shading.
About this tutorial
Choose an object from your house, observe its shapes and shadows, then draw it with pencils or crayons, practicing careful observation and shading.
What you need
Instructions
- 1
Step 1
Choose one small object from your house that looks interesting to draw.
- 2
Step 2
Put the object on a table where you can see it easily.
- 3
Step 3
Place a lamp nearby or sit by a sunny window so the object creates clear light and shadow.
- 4
Step 4
Study the object for one minute to find its biggest shape.
- 5
Step 5
Lightly sketch the main outline of that big shape on your paper using simple lines.
- 6
Step 6
Compare your sketch to the object to spot any parts that look different.
- 7
Step 7
Erase or change one line that looks wrong to make the outline closer to the object.
- 8
Step 8
Add smaller details inside the outline like handles bumps or patterns.
- 9
Step 9
Lightly mark the shadow areas you see on the object onto your drawing.
- 10
Step 10
Shade the marked shadow areas with your pencil using soft strokes.
- 11
Step 11
Blend the pencil shading gently with your finger or a tissue if you want softer shadows.
- 12
Step 12
Use crayons or colouring materials to add color and texture following your shapes and shadows.
- 13
Step 13
Erase stray pencil marks to clean up your picture and then sign your name.
- 14
Step 14
Share your finished creation on DIY.org
Fun facts
How do I draw an object from my house step-by-step?
Start by choosing a simple household object (mug, toy, fruit). Place it on a table with a single light source to create clear shadows. Take a minute to look—note basic shapes, edges, and where shadows fall. Lightly sketch the outline, then map shadow areas with soft pencil or crayon. Build midtones and highlights by layering and blending; keep checking proportions and adjust. Finish with darker accents and erase stray marks.
What materials do I need to draw a household object?
You’ll need drawing paper or a sketchbook, a range of pencils (HB, 2B, 4B), a kneaded and/or white eraser, pencil sharpener, crayons or colored pencils (optional), a small lamp or window light to create shadows, a hard surface or clipboard, and a blending stump or cotton swab (optional). A towel or tray prevents rolling objects. Keep materials simple and safe for kids.
What ages is this household object drawing activity suitable for?
Generally suitable for children ages 4–12 with adjustments: 3–5 focus on simple shapes and bold crayon marks, 6–8 practice proportion and basic shading with pencils, 9–12 refine shadow observation, blending, and detail. Provide supervision for under-5s when using sharp pencils or small tools. Adapt session length—short bursts for younger kids, longer for older children. Encourage process over perfection.
What are the benefits of drawing objects from around the house?
Drawing household objects strengthens observation, concentration, and fine motor control. It teaches children about shapes, proportions, light and shadow (value), and spatial thinking. Regular practice improves handwriting and drawing confidence, patience, and problem solving. It’s a low-cost activity that promotes calm focus and creativity; parents can turn it into a short, screen-free routine. Praise effort, not perfection, to build resilience.
Watch & Learn
Need help?
What can we use if we don't have a lamp, crayons, or a tissue for blending?
Use a phone flashlight or a desk lamp to create clear light and shadow, substitute colored pencils or markers for crayons, and blend pencil shading with your finger, a cotton ball, or a scrap of paper instead of a tissue.
My outline doesn't match the object—how do we fix it without ruining the paper?
Compare your sketch to the object as instructed, hold your pencil at arm's length to check proportions, then gently erase or change the one line that looks wrong as described in the erase/change step to preserve the rest of the drawing.
How can we adapt this drawing activity for different ages?
For toddlers simplify steps 4–6 by tracing the biggest shape and using chunky crayons, for elementary kids follow steps 7–11 to add details and shade shadows with soft strokes, and for teens add fine shading, blending with a tissue, and colored textures in step 11.
How can we extend or personalize the finished drawing before sharing it on DIY.org?
Arrange a small still life of two or three objects, experiment with moving the lamp in step 3 to change shadow shapes, add patterns or mixed-media textures in step 11, then clean stray marks, sign your name, and share the finished picture on DIY.org as the final step.