Draw an Epic Monster
Draw your own epic monster using pencils and markers; design features, habitat, and a backstory to practice creativity and observation skills.
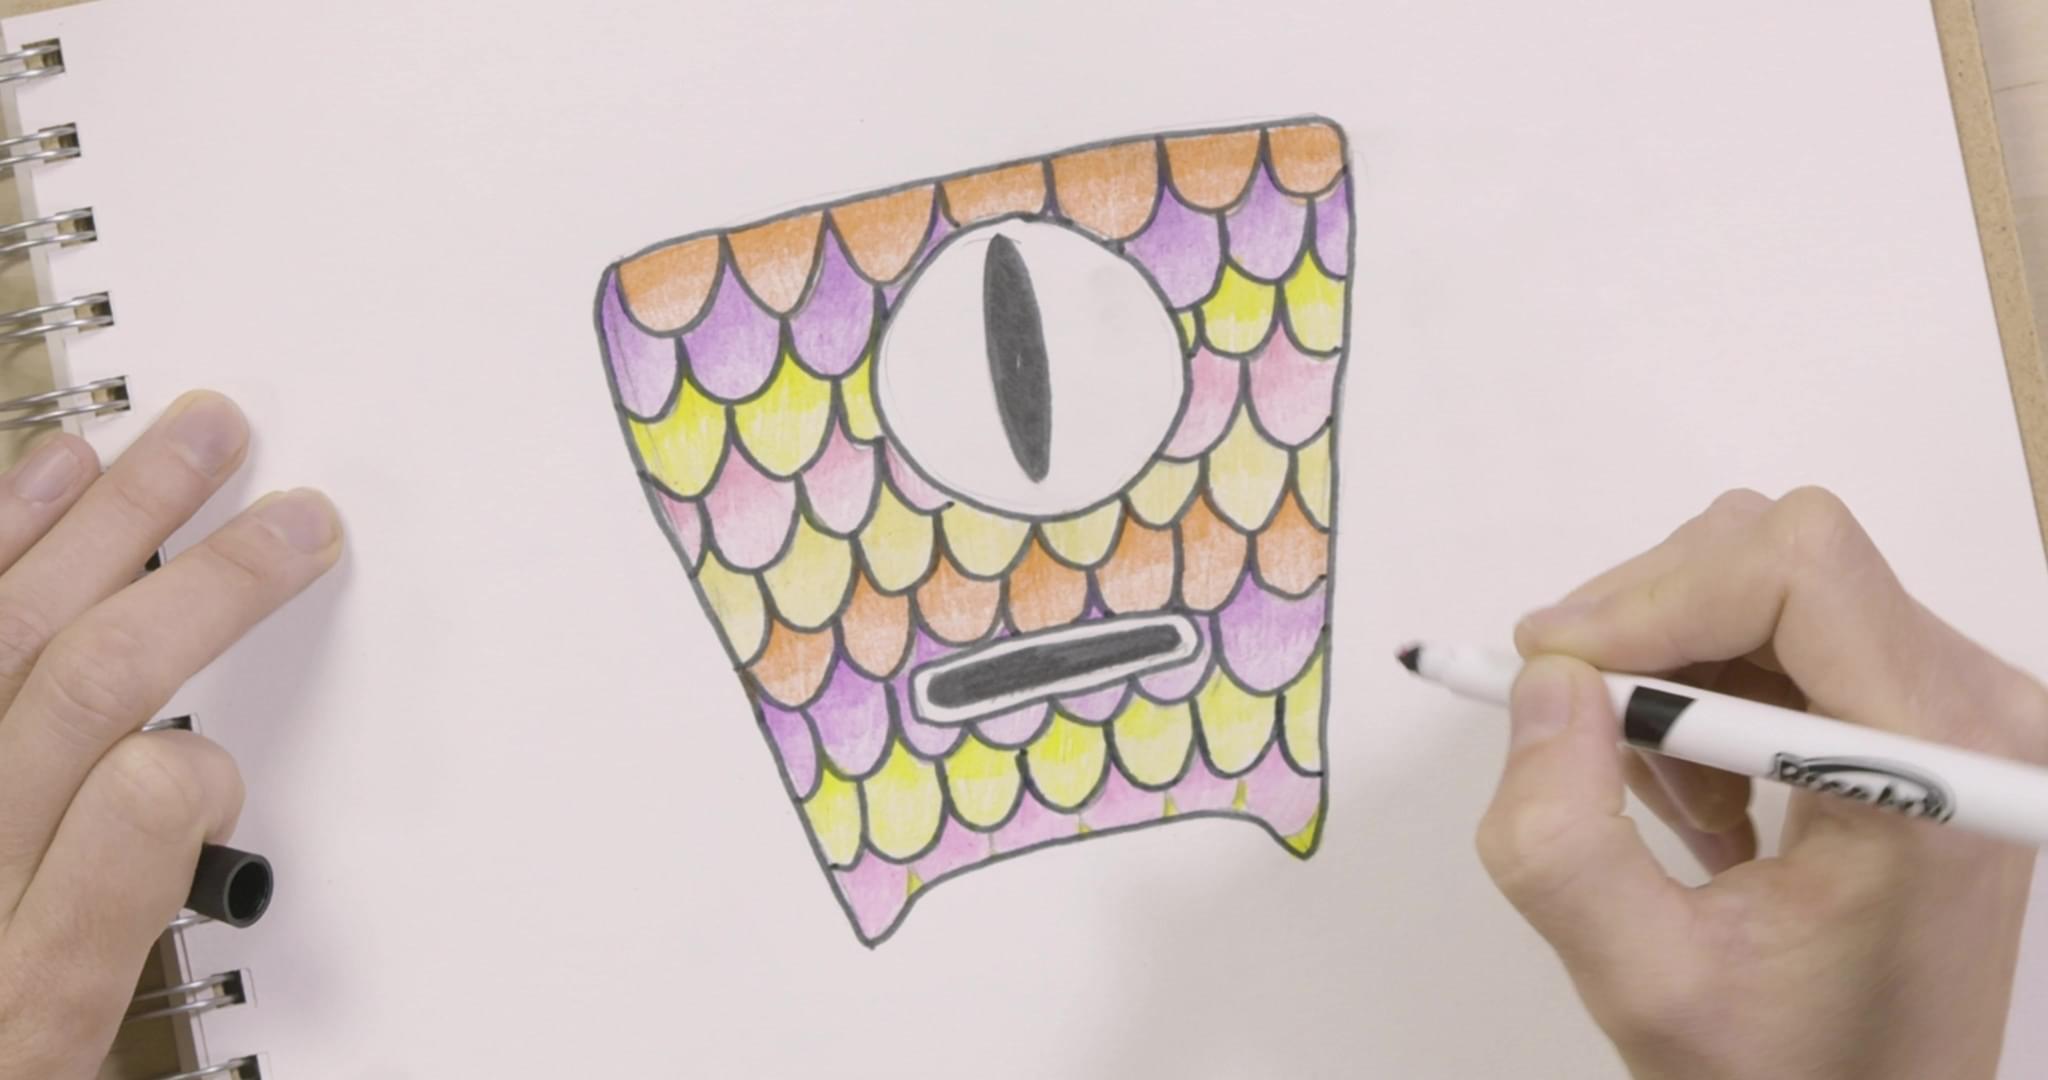
About this tutorial
Draw your own epic monster using pencils and markers; design features, habitat, and a backstory to practice creativity and observation skills.
What you need
Instructions
- 1
Step 1
Gather all your materials and clear a flat workspace so you can draw comfortably.
- 2
Step 2
Pick the habitat where your monster lives like a forest ocean volcano or city.
- 3
Step 3
Decide the monster’s size and basic shape such as round tall long or squishy.
- 4
Step 4
Lightly sketch the monster’s silhouette with your pencil to map its body.
- 5
Step 5
Draw the monster’s main features like eyes mouth limbs and one bold special feature (horns wings tentacles etc.).
- 6
Step 6
Add skin texture and patterns such as scales fur spots or spikes to make it unique.
- 7
Step 7
Sketch a few habitat elements around the monster like trees rocks waves or lava to show where it lives.
- 8
Step 8
Give the monster a pose or facial expression that shows its personality or mood.
- 9
Step 9
Trace your final pencil lines with the black fine-tip marker and wait for the ink to dry.
- 10
Step 10
Gently erase the pencil lines so only the clean marker drawing remains.
- 11
Step 11
Color your monster and the habitat using markers and colored pencils to bring it to life.
- 12
Step 12
Write a short backstory on the page that includes the monster’s name favorite food and one superpower.
- 13
Step 13
Share your finished epic monster on DIY.org so others can see your wild creation.
Fun facts
How do you draw an epic monster?
Start by brainstorming your monster’s personality, abilities, and habitat. Lightly sketch basic shapes with a pencil to block out the body, head, limbs, and any special features. Refine lines, add textures (scales, fur, armor) and details like eyes, claws, or wings. Draw the habitat around it—trees, caves, or sky—then write a short backstory explaining where it lives and why. Ink with markers and add color to finish.
What materials do I need to draw an epic monster?
You’ll need basic art supplies: drawing paper or a sketchbook, pencils (HB and softer), a good eraser, fine liners or black markers for outlining, and colored markers or pencils for shading. Optional extras: blending stumps, gel pens for highlights, reference images, and stickers. Household alternatives like crayons or watercolor can work too. Use washable, non-toxic supplies for young children.
What ages is drawing an epic monster suitable for?
This activity suits a wide range: ages 4–6 enjoy simple shapes and imaginative prompts with adult help; ages 7–10 can design features, habitats, and a short backstory independently; tweens and teens can add complex textures, perspective, and storytelling. Adapt expectations and materials to motor skill level—provide thicker markers for younger kids and finer tools or digital apps for older children.
What are the benefits and safe variations for monster drawing?
Drawing monsters boosts imagination, observation, vocabulary, fine motor skills, and storytelling. It encourages creative problem-solving when designing habitats and features. For safety, use non-toxic, washable art supplies and supervise small children with markers or scissors. Variations: group collage monsters, make a 3D clay model, create a comic strip featuring the monster, or try a digital drawing app to explore layers and textures.
Watch & Learn
Need help?
What can we use if we don't have a black fine-tip marker or colored pencils?
If you don't have a black fine-tip marker, carefully trace your final pencil lines with a dark ballpoint or gel pen, and if you lack colored pencils, use crayons or washable markers to color after you gently erase the pencil lines.
My pencil lines smudge or the marker bled—how do I fix that?
If ink smudges or bleeds, blot gently with scrap paper, test the marker on a spare sheet first, wait longer after tracing with the black fine-tip marker before you erase, and use a softer eraser so you don't lift the ink.
How can I adapt the steps for younger or older kids?
For younger kids, simplify Step 4 by pre-drawing a silhouette and let them pick bold features and use chunky washable markers, while older kids can add complex skin textures in Step 6, detailed habitat elements in Step 7, and write a longer backstory in Step 12 before sharing on DIY.org.
How can we make the monster drawing more special or turn it into a bigger project?
To enhance the activity, add mixed media like glued-on fabric scales while you color with markers and colored pencils, build a cardboard diorama for the habitat elements you sketched, create movable limbs with brads to change the pose, and expand the short backstory into a mini-comic to post on DIY.org.