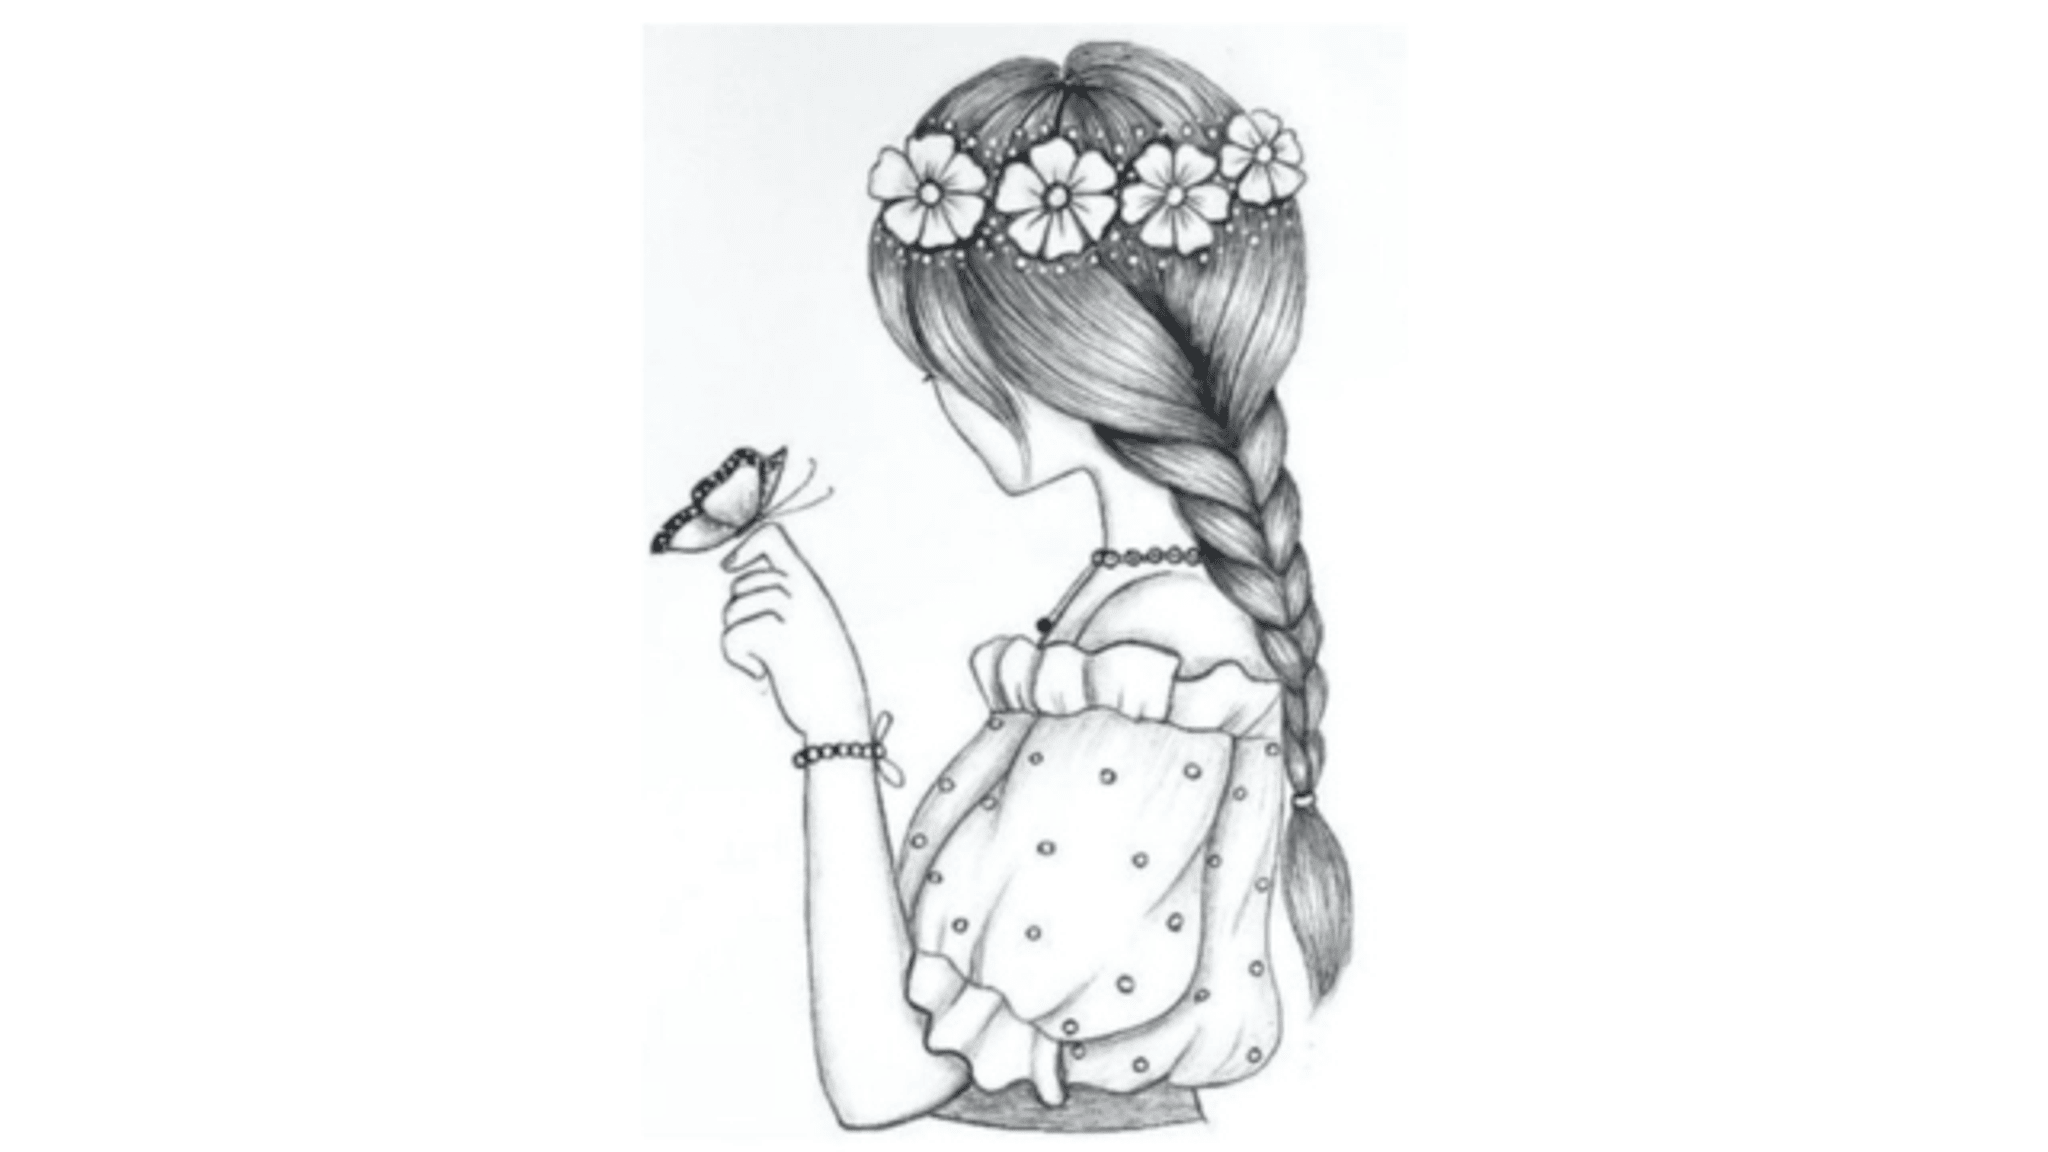
Draw a self portrait #DTIYS
Draw a self-portrait by observing yourself in a mirror or photo, sketching proportions, then adding color and details to express your personality.

Step-by-step guide to draw a self-portrait
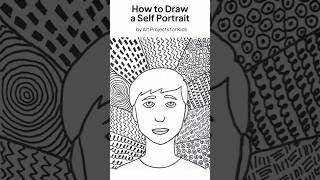
How To Draw a Quick, Simple, and Easy Self-Portrait
Step 1
Sit where you can clearly see your face in the mirror or your photo and look at your whole face for a few seconds.
Step 2
Lightly draw a simple oval for your head and a short line for your neck on the paper.
Step 3
Draw a light vertical line down the middle of the oval and a horizontal line halfway for the eyes.
Step 4
Put small marks where the eyes the bottom of the nose the mouth and the top of the ears should go.
Step 5
Sketch the eyes the nose the mouth and the ears using the marks as guides.
Step 6
Draw the shape of your hair and the outline of your neck shoulders and clothes.
Step 7
Erase the extra guideline lines so only the main facial features hair and outline remain.
Step 8
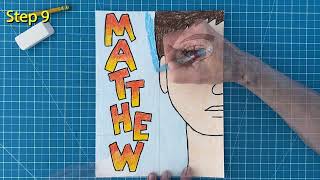
Add personality details like glasses freckles a favorite shirt pattern or your usual expression.
Step 9
Color your portrait using your coloring materials choosing the colors you see or that express you.
Step 10
Add light shading or darker lines to show depth like shadows under the chin or darker hair strands.
Step 11
Write your name and the date neatly on the front or back of your portrait.
Step 12
Share your finished portrait on DIY.org
Final steps
You're almost there! Complete all the steps, bring your creation to life, post it, and conquer the challenge!


Help!?
What can we use if we don’t have a mirror or specific coloring materials?
Use a clear selfie photo on a phone or tablet instead of a mirror, and substitute colored pencils, markers, or crayons for the 'coloring materials' step while drawing the 'simple oval' on any paper you have.
My face looks out of proportion—what step likely went wrong and how do I fix it?
Follow the instructions to keep the oval and the vertical/horizontal guideline lines very light, double-check the small marks for eyes, nose, mouth and ears, then gently erase and reposition marks before sketching the final features.
How can I adapt this self-portrait activity for different ages?
For younger children pre-draw the oval and guideline lines or let them use stickers for the placement marks, while older kids can omit guides and spend more time on the 'Add personality details' and 'Add light shading' steps for realism.
What are simple ways to extend or personalize the portrait after finishing the basic steps?
After erasing guidelines and coloring as instructed, add a patterned background or mixed-media details, make a series showing different expressions or outfits, write your name and date as directed, and then share your favorites on DIY.org.
Watch videos on how to draw a self-portrait
How to draw a Self Portrait with Patterns
4 Videos
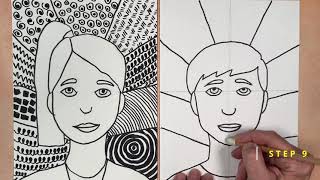
How to draw a Self Portrait with Patterns

How to Paint a Self-Portrait: Tips and Techniques with Helen Van Wyk
How to Draw a Self Portrait
How to Draw a Self Portrait
Facts about portrait drawing for kids
🧑🎨 Rembrandt painted nearly 90 self-portraits over his life, so you can study how an artist's style and face change over time.
🪞 A mirror flips left and right but not top and bottom — that’s why your parting looks reversed when you draw from a reflection.
👀 A handy portrait shortcut: the eyes usually sit about halfway down the head — use that to get proportions quickly.
🎭 Frida Kahlo painted many self-portraits to explore her identity and emotions, making her face a powerful symbol in her art.
📱 #DTIYS (Draw This In Your Style) is a popular art challenge where people redraw a prompt in their own style to learn and share creativity.
How do I draw a self-portrait by looking in a mirror or photo?
What materials do I need to draw a self-portrait?
What ages is drawing a self-portrait suitable for?
What are the benefits of drawing self-portraits for kids?


