Draw a Monster
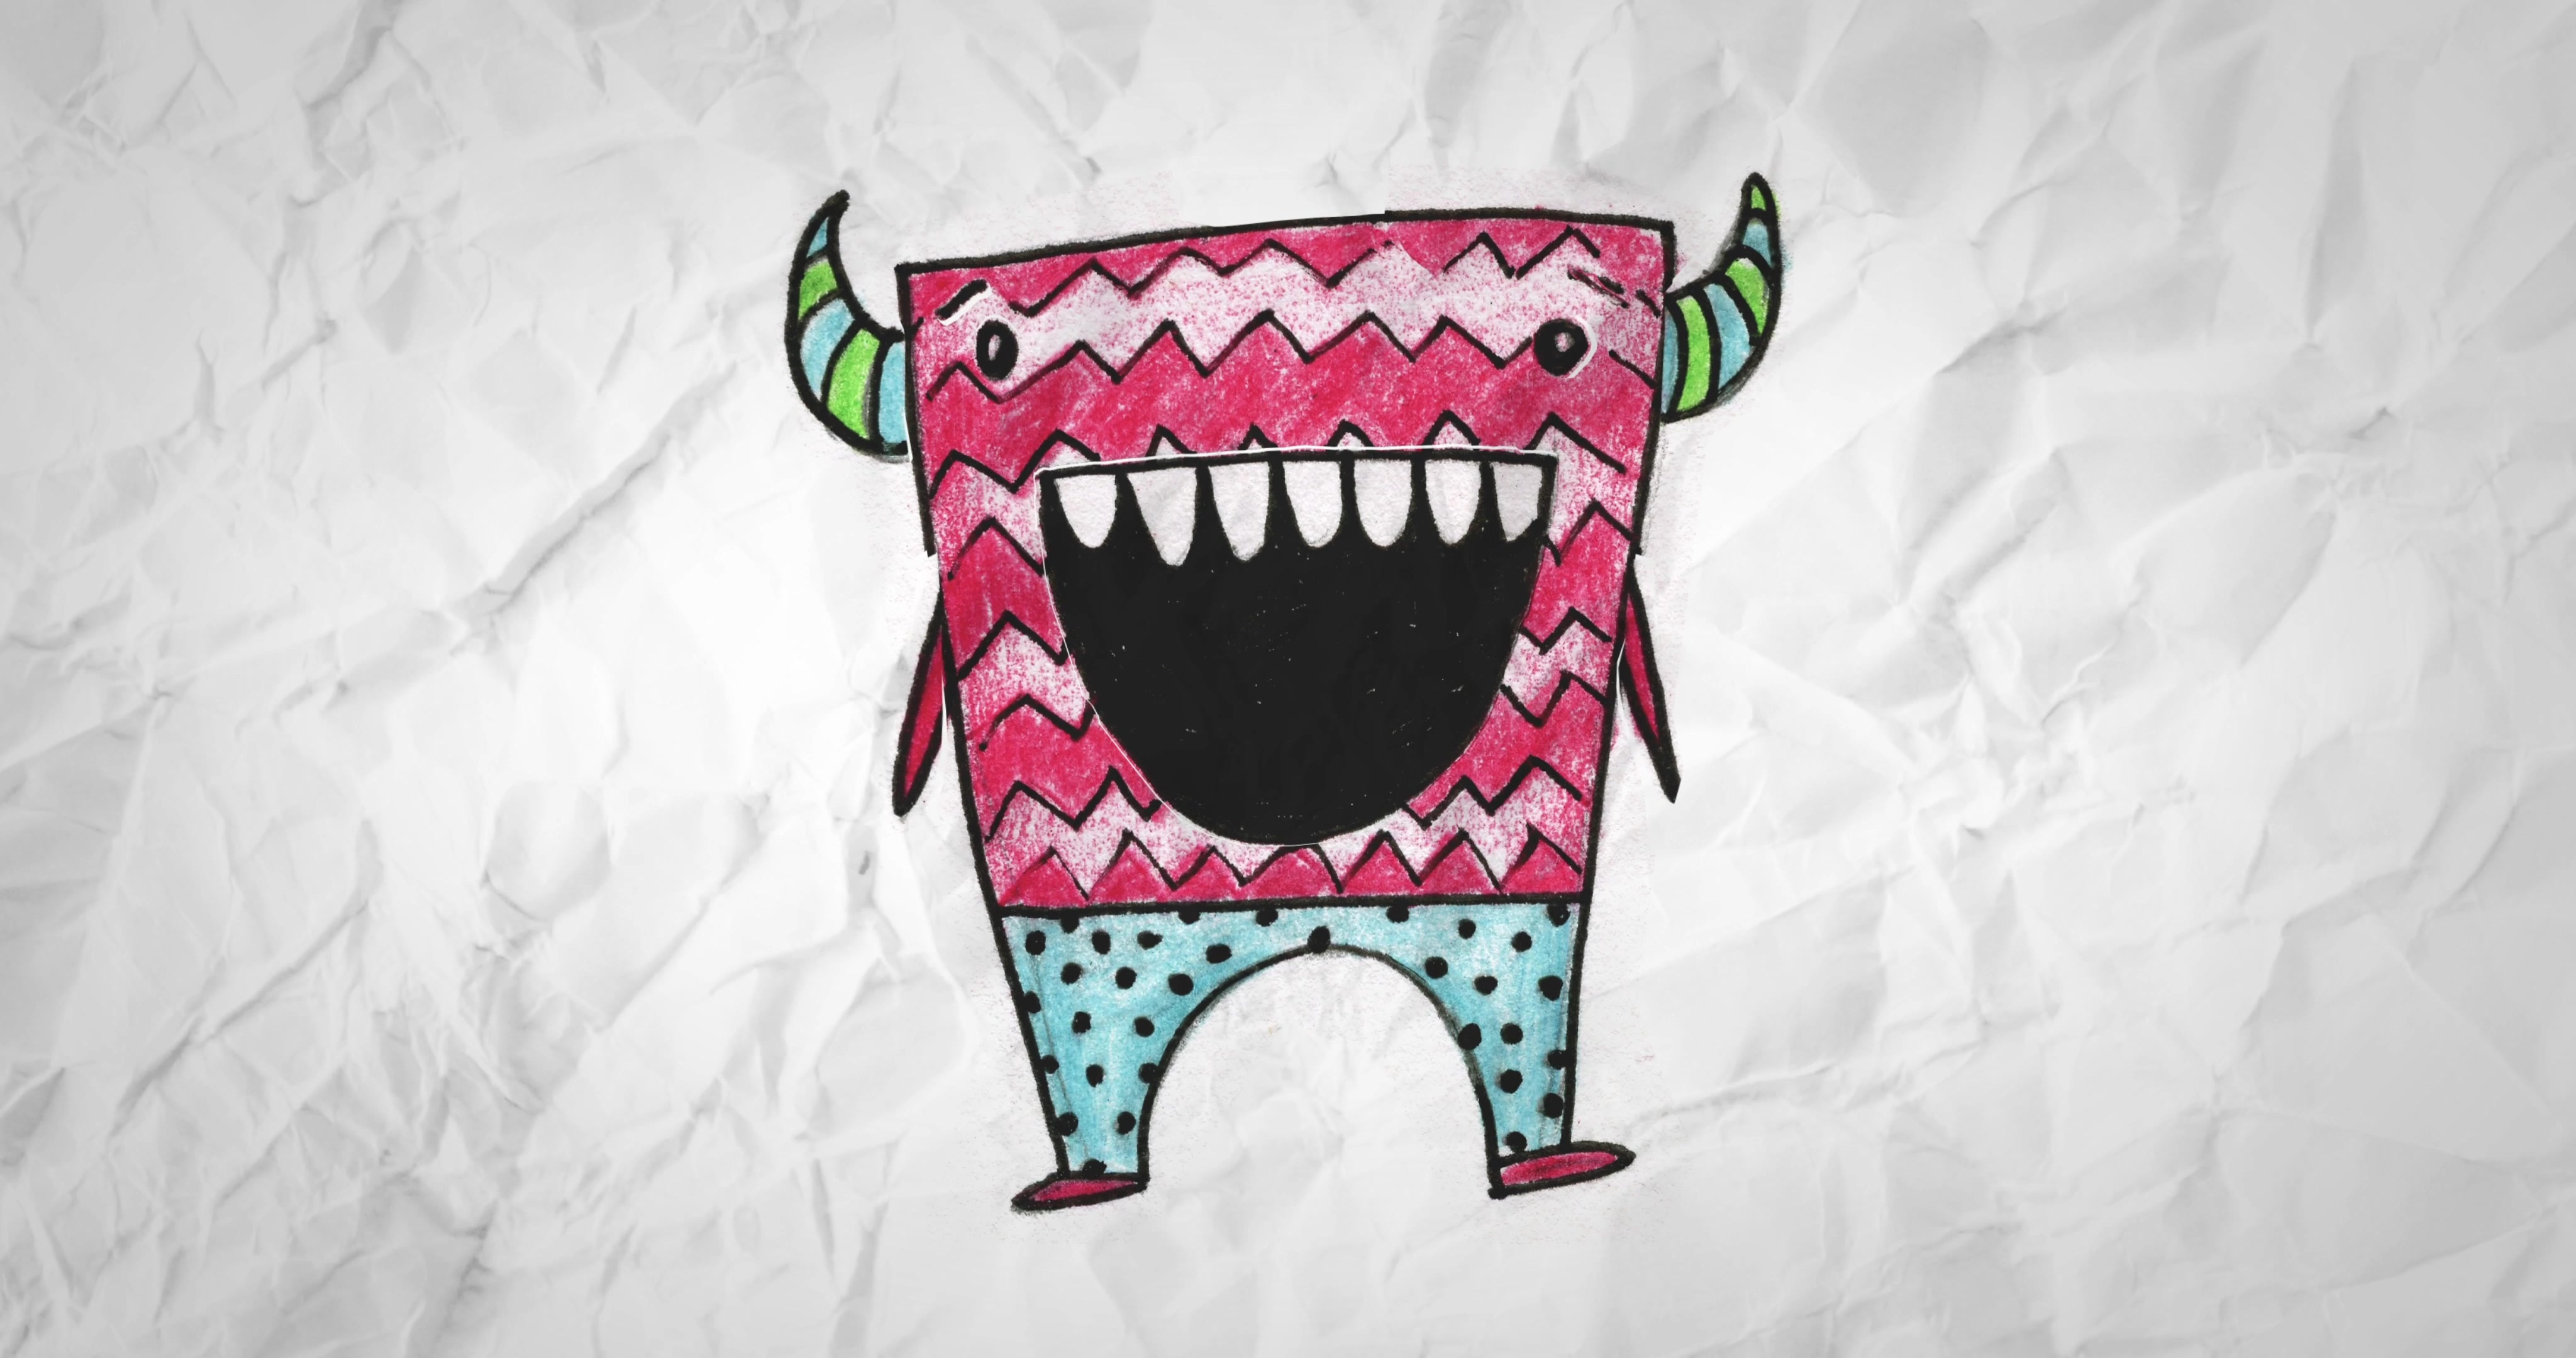
Draw and color your own monster using pencil, markers, and paper. Create features, give it a name, and tell its short backstory.
About this tutorial
Draw and color your own monster using pencil, markers, and paper. Create features, give it a name, and tell its short backstory.
What you need
Instructions
- 1
Step 1
Gather your paper pencil eraser and markers so everything is ready to draw.
- 2
Step 2
Close your eyes for a moment and imagine whether your monster is friendly silly spooky or super goofy.
- 3
Step 3
Decide two special features your monster will have like wings three eyes or a sparkly tail.
- 4
Step 4
Draw a big simple shape for the monster’s body using your pencil.
- 5
Step 5
Add the monster’s face by drawing eyes a nose and a mouth with your pencil.
- 6
Step 6
Draw arms legs or other limbs such as tentacles claws or wings.
- 7
Step 7
Add extra details like horns spots scales fur or funny teeth to make your monster unique.
- 8
Step 8
Draw any accessories like a hat cape backpack or a pair of boots.
- 9
Step 9
Trace your pencil lines with the black marker to make the outlines bold.
- 10
Step 10
Wait a moment for the marker to dry so it does not smudge.
- 11
Step 11
Gently erase the pencil lines leaving only the marker outline.
- 12
Step 12
Color your monster using markers crayons or colored pencils to make it bright and fun.
- 13
Step 13
Write your monster’s name clearly on the picture.
- 14
Step 14
Write a short backstory in one or two sentences about where your monster lives and what it likes to do.
- 15
Step 15
Share a photo of your finished monster and its backstory on DIY.org.
Fun facts
How do you draw and color your own monster step by step?
Start by sketching a basic body shape with pencil—circle, blob, or tall triangle. Add eyes, mouth, arms, legs, horns and fun textures like fur or scales. Erase and refine lines, then outline with markers. Color in with markers or colored pencils, layering shades for depth. Give your monster a name and write a one- or two-sentence backstory about where it lives and what it likes. Display or make a mini book.
What materials do I need to draw and color a monster?
You'll need paper, a pencil and eraser for sketching, and a black marker or fineliner to outline. Add color with markers, colored pencils, or crayons. Optional extras: stickers, glitter glue, googly eyes, scissors and glue for collage features, a ruler for patterns, and scrap cardboard if you want to mount the finished monster. Keep washable or non-toxic supplies for younger kids.
What ages is drawing and coloring monsters suitable for?
This activity suits preschoolers through elementary kids. Ages 3–5 enjoy simple shapes and stickers with adult help for scissors and fine details. Ages 6–9 can draw features, add color, and invent stories independently. Ages 10–12 can experiment with shading, mixed media, and longer backstories. Adjust complexity, time, and materials for each child’s skill and attention span, and supervise scissors or small decorations for safety.
What are the benefits of having children draw and name their own monsters?
Drawing and coloring monsters boosts creativity, fine motor skills, and visual planning. Inventing names and backstories grows language, narrative thinking, and emotional expression—kids can make friendly or silly monsters to explore feelings. The activity encourages problem solving when designing features and builds confidence when artworks are shared. It’s low-cost, adaptable for groups or solo play, and helps parents engage through storytelling and positive feedback.
Watch & Learn
Need help?
If I don't have a black marker to trace the outlines, what can I use instead?
Use a dark ballpoint pen, a fine-tip permanent marker, or a dark crayon to trace the pencil outlines so the outline stays bold before you erase the pencil lines.
My marker smudged when I tried to erase the pencil lines—what should I do?
Let the black marker dry completely (a minute or two) and if there is excess ink blot it gently with a paper towel before carefully erasing the pencil lines to avoid smudging the bold outline.
How can I adapt this monster drawing for different age groups?
For younger kids, stick to the step 'Draw a big simple shape' and use thick markers and large features, while older kids can add detailed 'extra details' like scales and a longer 'backstory' and trace with a fine-tip marker.
What are some ways to enhance or personalize the finished monster drawing?
Add mixed-media like glued-on fabric, googly eyes, or glitter to the 'accessories' and 'extra details', draw a habitat around your colored monster, give it a unique name, and then share the photo and backstory on DIY.org.