Draw a Magical Tree
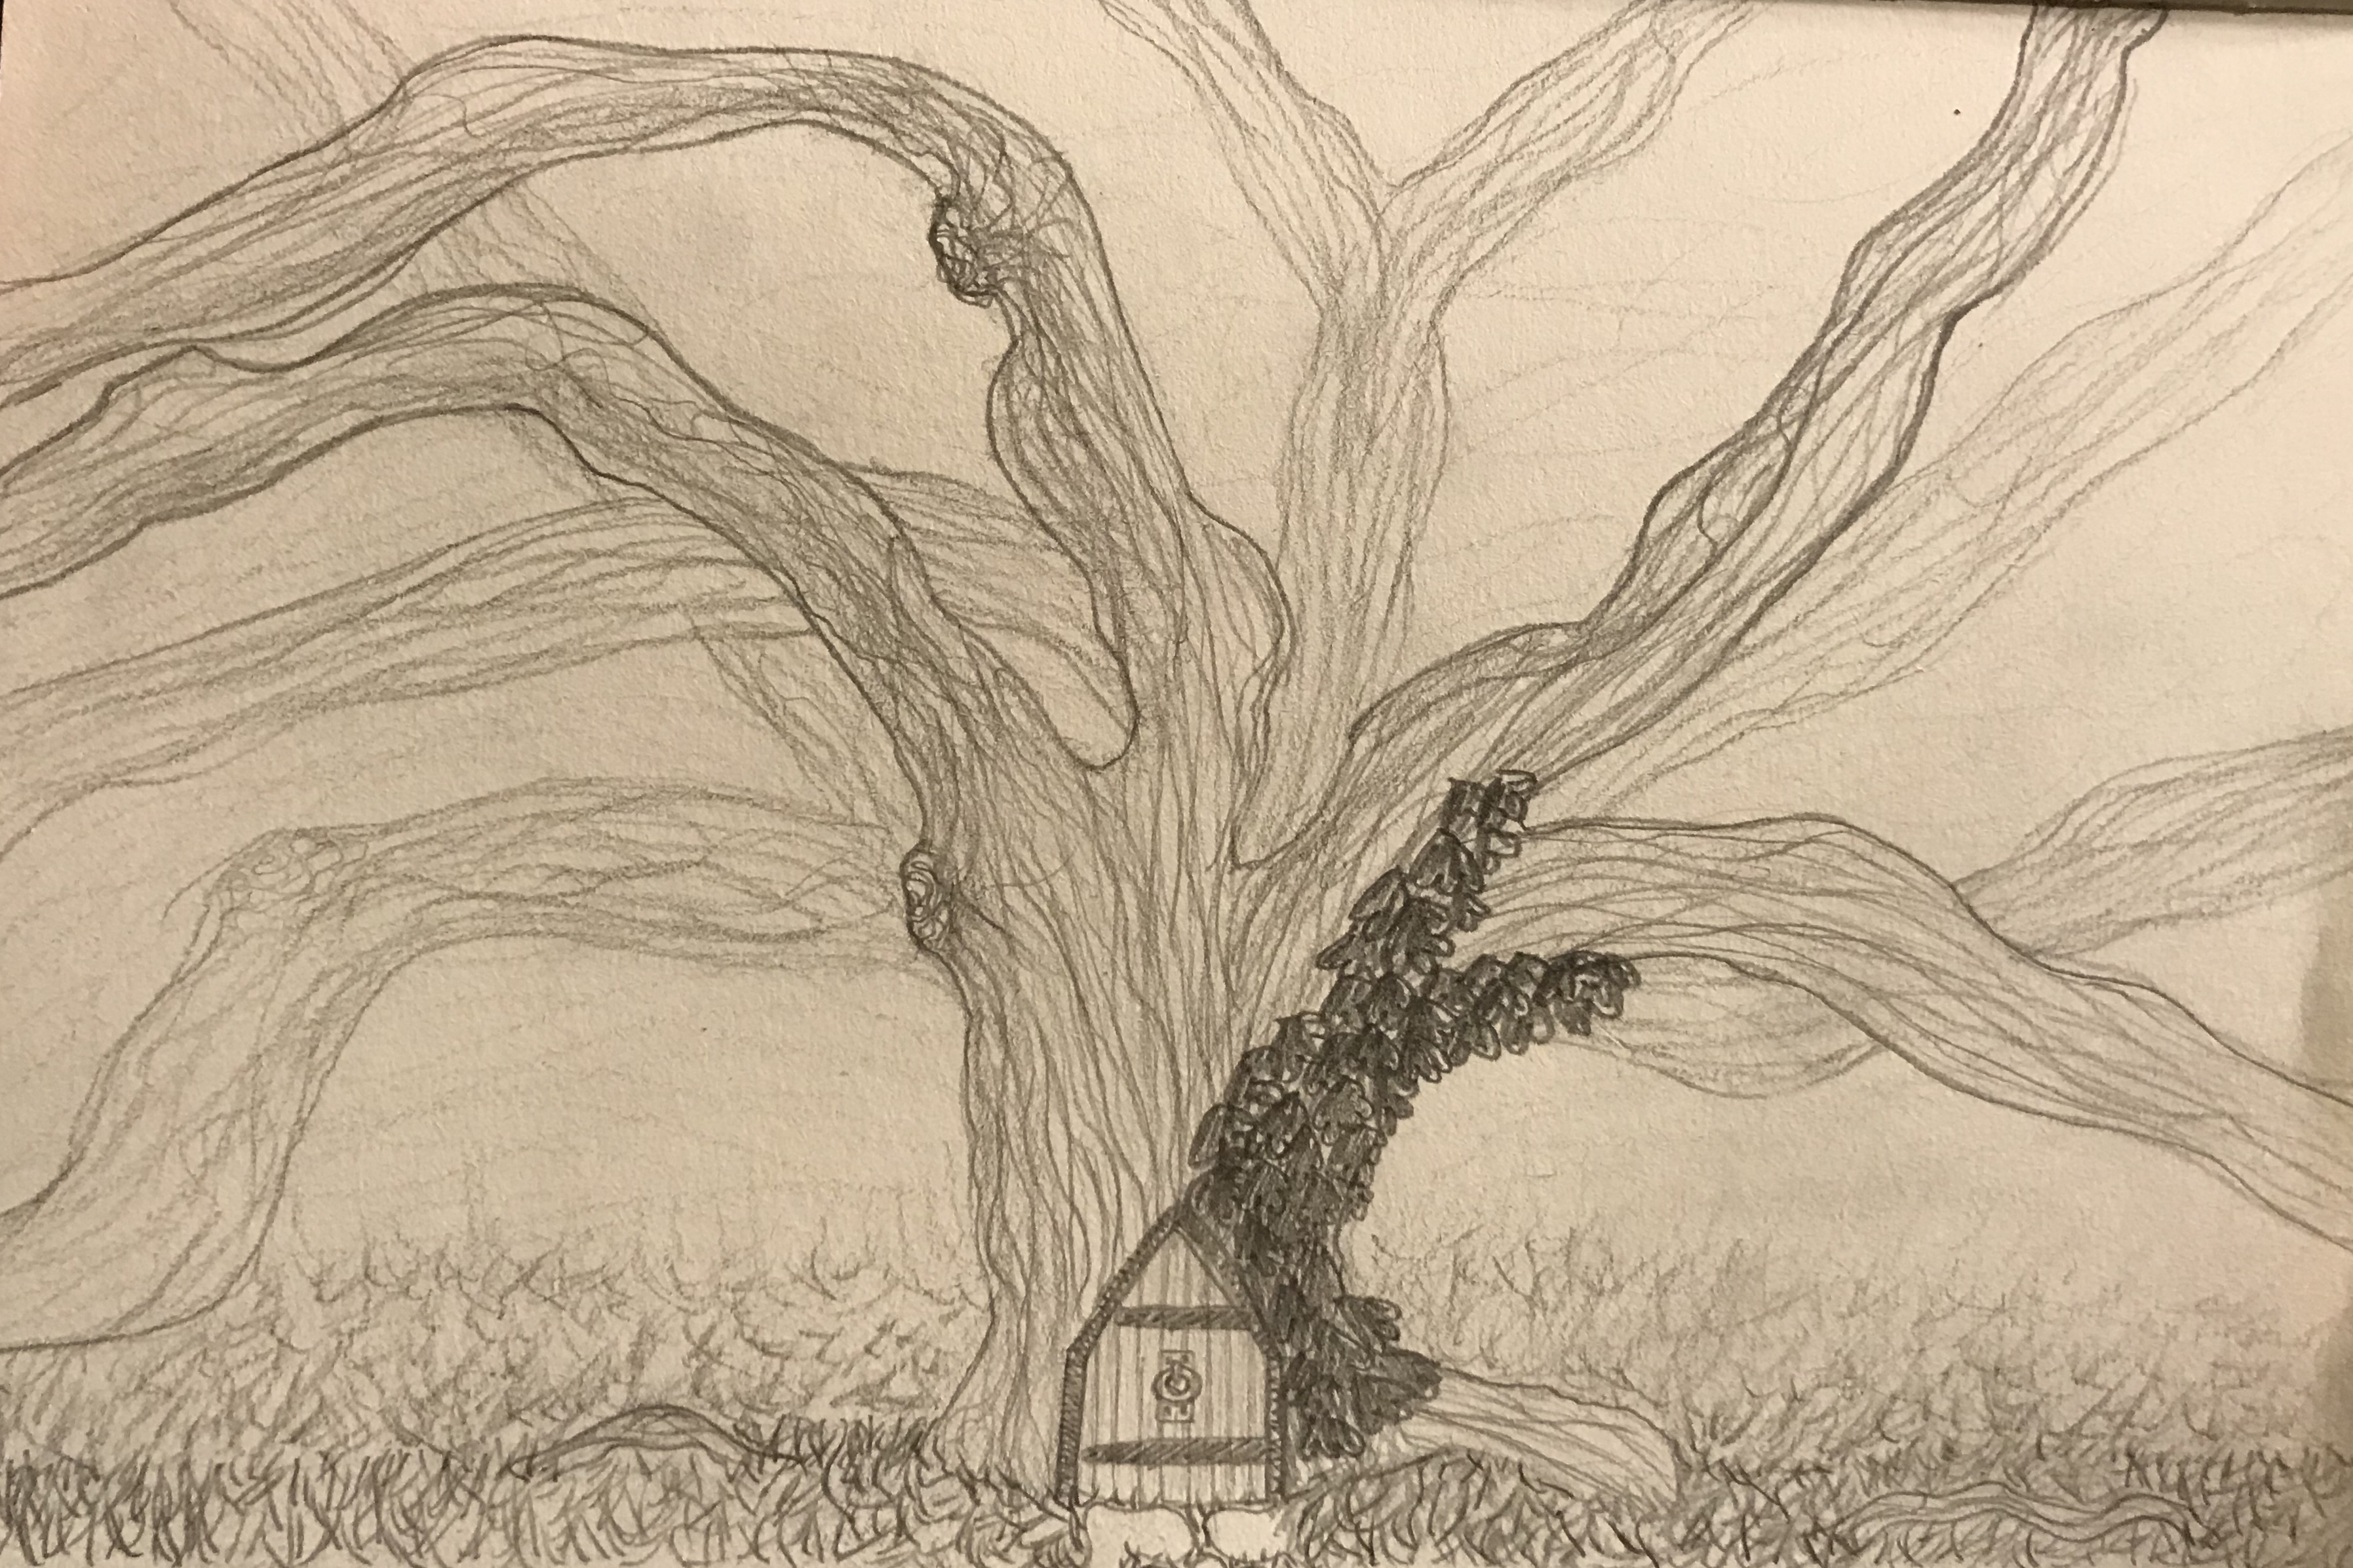
Draw a magical tree using pencils, colored markers, and simple shapes. Add imaginative branches, leaves, and decorations while practicing shading and composition.
About this tutorial
Draw a magical tree using pencils, colored markers, and simple shapes. Add imaginative branches, leaves, and decorations while practicing shading and composition.
What you need
Instructions
- 1
Step 1
Gather your materials and get ready to make a magical tree.
- 2
Step 2
Place your paper on a flat workspace so it won't slide around.
- 3
Step 3
Lightly sketch the tree trunk using a simple tall rectangle or an oval base.
- 4
Step 4
Draw three to five main branches extending from the top of the trunk with smooth curved lines.
- 5
Step 5
Add smaller branches and curl or swirl shapes to make the tree look magical.
- 6
Step 6
Draw clusters of leaves along the branches using ovals or teardrop shapes.
- 7
Step 7
Add imaginative decorations like a tiny door a window hanging lanterns or little stars in the branches.
- 8
Step 8
Step back and look at the whole page to check if the tree is balanced on the paper.
- 9
Step 9
Erase any stray sketch lines you do not want to keep.
- 10
Step 10
Darken the final outlines of the trunk branches and decorations with your pencil.
- 11
Step 11
Shade the trunk and branches with short light pencil strokes to create depth.
- 12
Step 12
Color the leaves and decorations with colored markers using bright magical colors.
- 13
Step 13
Add small patterns or dots with a marker to make sparkles highlights or textures.
- 14
Step 14
Share your finished magical tree on DIY.org
Fun facts
How do I draw a magical tree with my child?
Start by sketching a trunk and main branches with a pencil, using simple shapes like circles and ovals for foliage. Add imaginative branches, fairy doors, hanging lanterns or patterned leaves. Darken lines you like, erase guidelines, then use colored markers to fill areas and add details. Practice gentle shading with a softer pencil along branch curves to suggest volume. Encourage composition by balancing shapes and leaving some white space for highlights.
What materials do I need to draw a magical tree?
You'll need drawing paper, a range of pencils (HB and a softer 2B or 4B), eraser, pencil sharpener, and a set of colored markers. Optional supplies: colored pencils for blending, fine-tip pens for outlines, stickers, glitter glue for decorations, and stencils of simple shapes. Choose washable, non-toxic markers for younger children. Keep a tray for small supplies and a protective mat to prevent marker bleed-through.
What ages is drawing a magical tree suitable for?
This activity suits many ages: preschoolers (3–5) with adult help for cutting and holding supplies, early elementary (6–8) who can manage simple shapes and basic shading independently, and older children (9–12+) ready to explore composition, complex decorations, and layered shading. Adjust expectations: offer larger shapes and chunky markers for younger kids, and introduce perspective or pattern challenges for older kids to keep the project engaging and developmentally appropriate.
What are the benefits of drawing a magical tree for kids?
Drawing a magical tree builds creativity, fine motor control, observation, and composition skills while encouraging storytelling and emotional expression. Shading practice strengthens hand control and introduces basic art concepts like light and form. The project promotes patience and confidence as children plan and finish a piece. It’s also a low-cost, screen-free activity that supports cooperative play when siblings add decorations or create a shared enchanted forest together.
Watch & Learn
Need help?
I don't have colored markers or a big sheet of paper—what can I use instead?
Use crayons or colored pencils in place of colored markers, draw on printer paper or a sketchbook page (or glue plain paper to cardboard) for a sturdier base, and swap tiny stars or lanterns for stickers if you don't have small decorations.
My branches look messy and the tree isn't balanced—how can I fix it?
Lighten your initial pencil sketch for the trunk and three to five main branches, erase stray sketch lines as instructed, rotate the paper while drawing curved branches and smaller curls for smoother shapes, then step back to check balance before darkening the final outlines.
How can I adapt this magical tree activity for different ages?
For toddlers or preschoolers pre-sketch a simple trunk and let them add large leaf stickers and color with crayons, while older kids can add curl and swirl shapes, shade the trunk and branches with short pencil strokes, and draw tiny doors, windows, or detailed patterns with markers.
What are some fun ways to extend or personalize the magical tree?
Turn it into mixed media by gluing tissue-paper leaves, adding glitter or marker dots for sparkles, cutting a small hinged paper door for the trunk, or placing a safe battery tea-light behind a drawn window before sharing on DIY.org.