Draw a fashion illustration
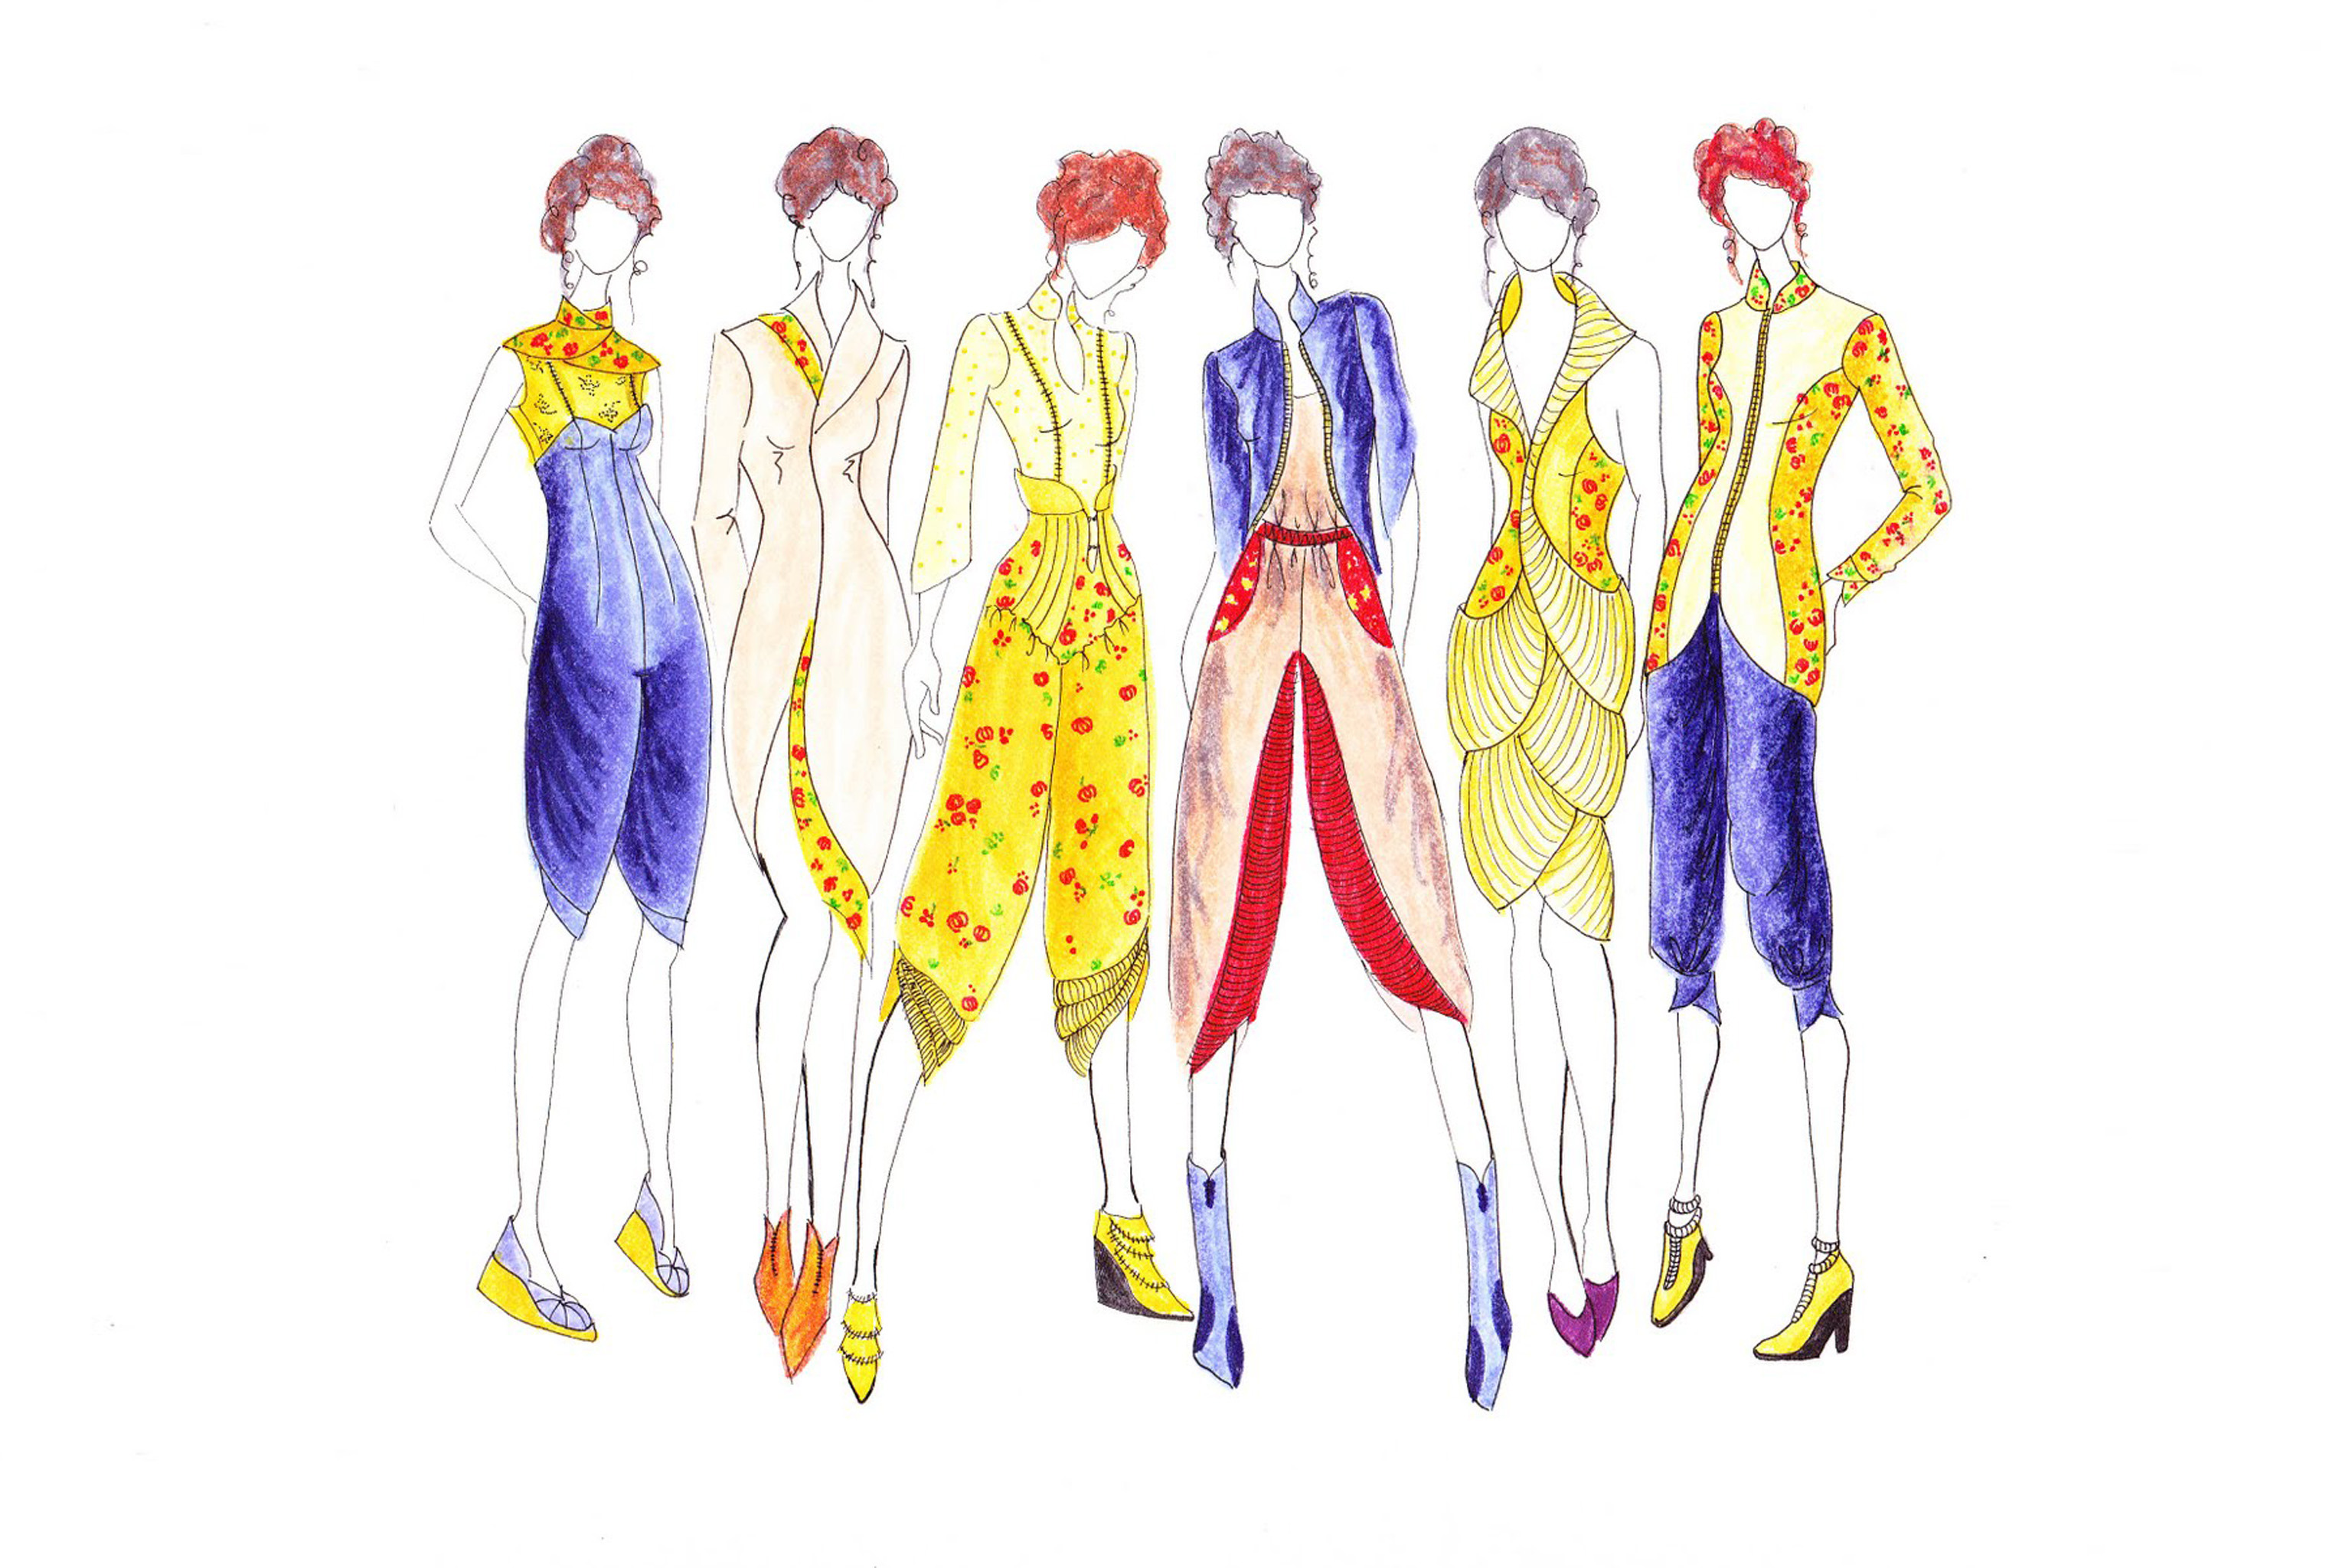
Draw a fashion illustration using pencil, markers, and basic shapes to practice body proportions, clothing details, textures, and color choices for a unique outfit.
About this activity
Draw a fashion illustration using pencil, markers, and basic shapes to practice body proportions, clothing details, textures, and color choices for a unique outfit.
What you need
Step by step
- 1
Step 1
Find a clean flat surface and place one sheet of paper so you have lots of room to draw.
- 2
Step 2
Lightly draw a straight vertical center line down the middle of the paper with your pencil to guide your figure.
- 3
Step 3
Draw an oval near the top of the center line for the head using a light pencil touch.
- 4
Step 4
Use the height of that head oval to make seven evenly spaced marks down the center line so the figure will be eight heads tall.
- 5
Step 5
Sketch a simple mannequin over your marks by drawing a long torso column a short neck and basic limb lines with small circles for joints.
- 6
Step 6
Draw sloping shoulder lines and a short horizontal hip line to set the body’s width and pose.
- 7
Step 7
Sketch the clothing shapes on top of your mannequin using basic shapes like rectangles for jackets triangles for skirts or flowing lines for dresses.
- 8
Step 8
Add clothing details such as seams buttons pockets collars and folds to show how the fabric sits on the body.
- 9
Step 9
Trace the final outline of your figure and outfit with a darker pencil or a fine marker so your design pops.
- 10
Step 10
Gently erase the light guide marks and construction lines so only your clean design remains.
- 11
Step 11
Color the main areas of the outfit with markers to choose bold colors and graphic shapes.
- 12
Step 12
Add textures and shading with colored pencils using short strokes to show fabric types and depth.
- 13
Step 13
Share your finished fashion illustration on DIY.org
Fun facts
How do I draw a fashion illustration to practice proportions and clothing details?
Start by lightly sketching basic shapes: ovals for the head, an elongated torso and simple lines for limbs to set fashion proportions (about 8 head heights). Block in clothing silhouettes over the figure, focusing on flow and balance. Add garment details—seams, collars, pockets—then suggest textures with quick hatch marks. Refine outlines with a darker pencil or fine liner, layer markers or colored pencils for color choices and shading, and finish with highlights.
What materials do I need to draw a fashion illustration at home?
You’ll need a range of pencils (HB, 2B), a clean eraser, fine liners or a dark pencil, alcohol or water-based markers, colored pencils, and good-quality drawing paper or a sketchbook. Optional tools: ruler or French curve for straight lines, blending stump for soft shading, reference photos, masking tape to secure paper, and a white gel pen for highlights. Choose non-toxic, washable markers if children will use them.
What ages is drawing fashion illustration suitable for?
This activity suits ages 6 and up with simple adaptations. Ages 6–8 enjoy basic croquis and bold color blocks, focusing on shapes and fun clothing. Ages 9–12 can work on proportions, textures, and more detailed garments. Teens can refine realistic proportions, advanced shading, and fashion ideas. Supervise marker use for younger kids and adjust complexity and materials to match each child’s skill level.
What are the benefits of having kids draw fashion illustrations?
Drawing fashion illustrations builds observation, fine motor skills, and understanding of proportion, color harmony, and texture. It encourages creativity, planning, and decision-making as children design outfits and select palettes. Regular practice boosts drawing confidence and visual storytelling, and it’s a calm, screen-free activity. For added learning, discuss fabric types or try themed challenges like seasonal wardrobes or upcycling to expand thinking.
Watch & Learn
Need help?
What can we use if we don't have a fine marker, markers, or colored pencils?
Trace the final outline with a dark HB pencil or black gel pen instead of a fine marker, use washable felt-tip pens or crayons to color the main areas, and use regular colored crayons to add textures and shading in place of colored pencils.
My figure looks out of proportion—what step often goes wrong and how do we fix it?
If proportions are off, redo step 4 by measuring the head-oval and making seven evenly spaced marks down the center line before sketching the mannequin, and check limb placement with the small joint circles from step 5.
How can I adapt this drawing for different ages or skill levels?
For younger kids skip the eight-head proportion step and give them a pre-drawn mannequin to sketch clothing on, while older kids should follow the head-measurement rule in step 4 and add detailed seams, buttons, and pockets from step 8.
How can we extend or personalize the fashion illustration activity after finishing the basic design?
Enhance the project by tracing the final outline with a fine marker, adding fabric textures and shading with colored pencils, gluing on small pieces of patterned paper or fabric for real textures, and then photograph the finished illustration to share on DIY.org.