Do nails
Decorate and paint safe, non-toxic nail art using polish, stickers, and simple tools, practicing fine motor skills and creative pattern design.
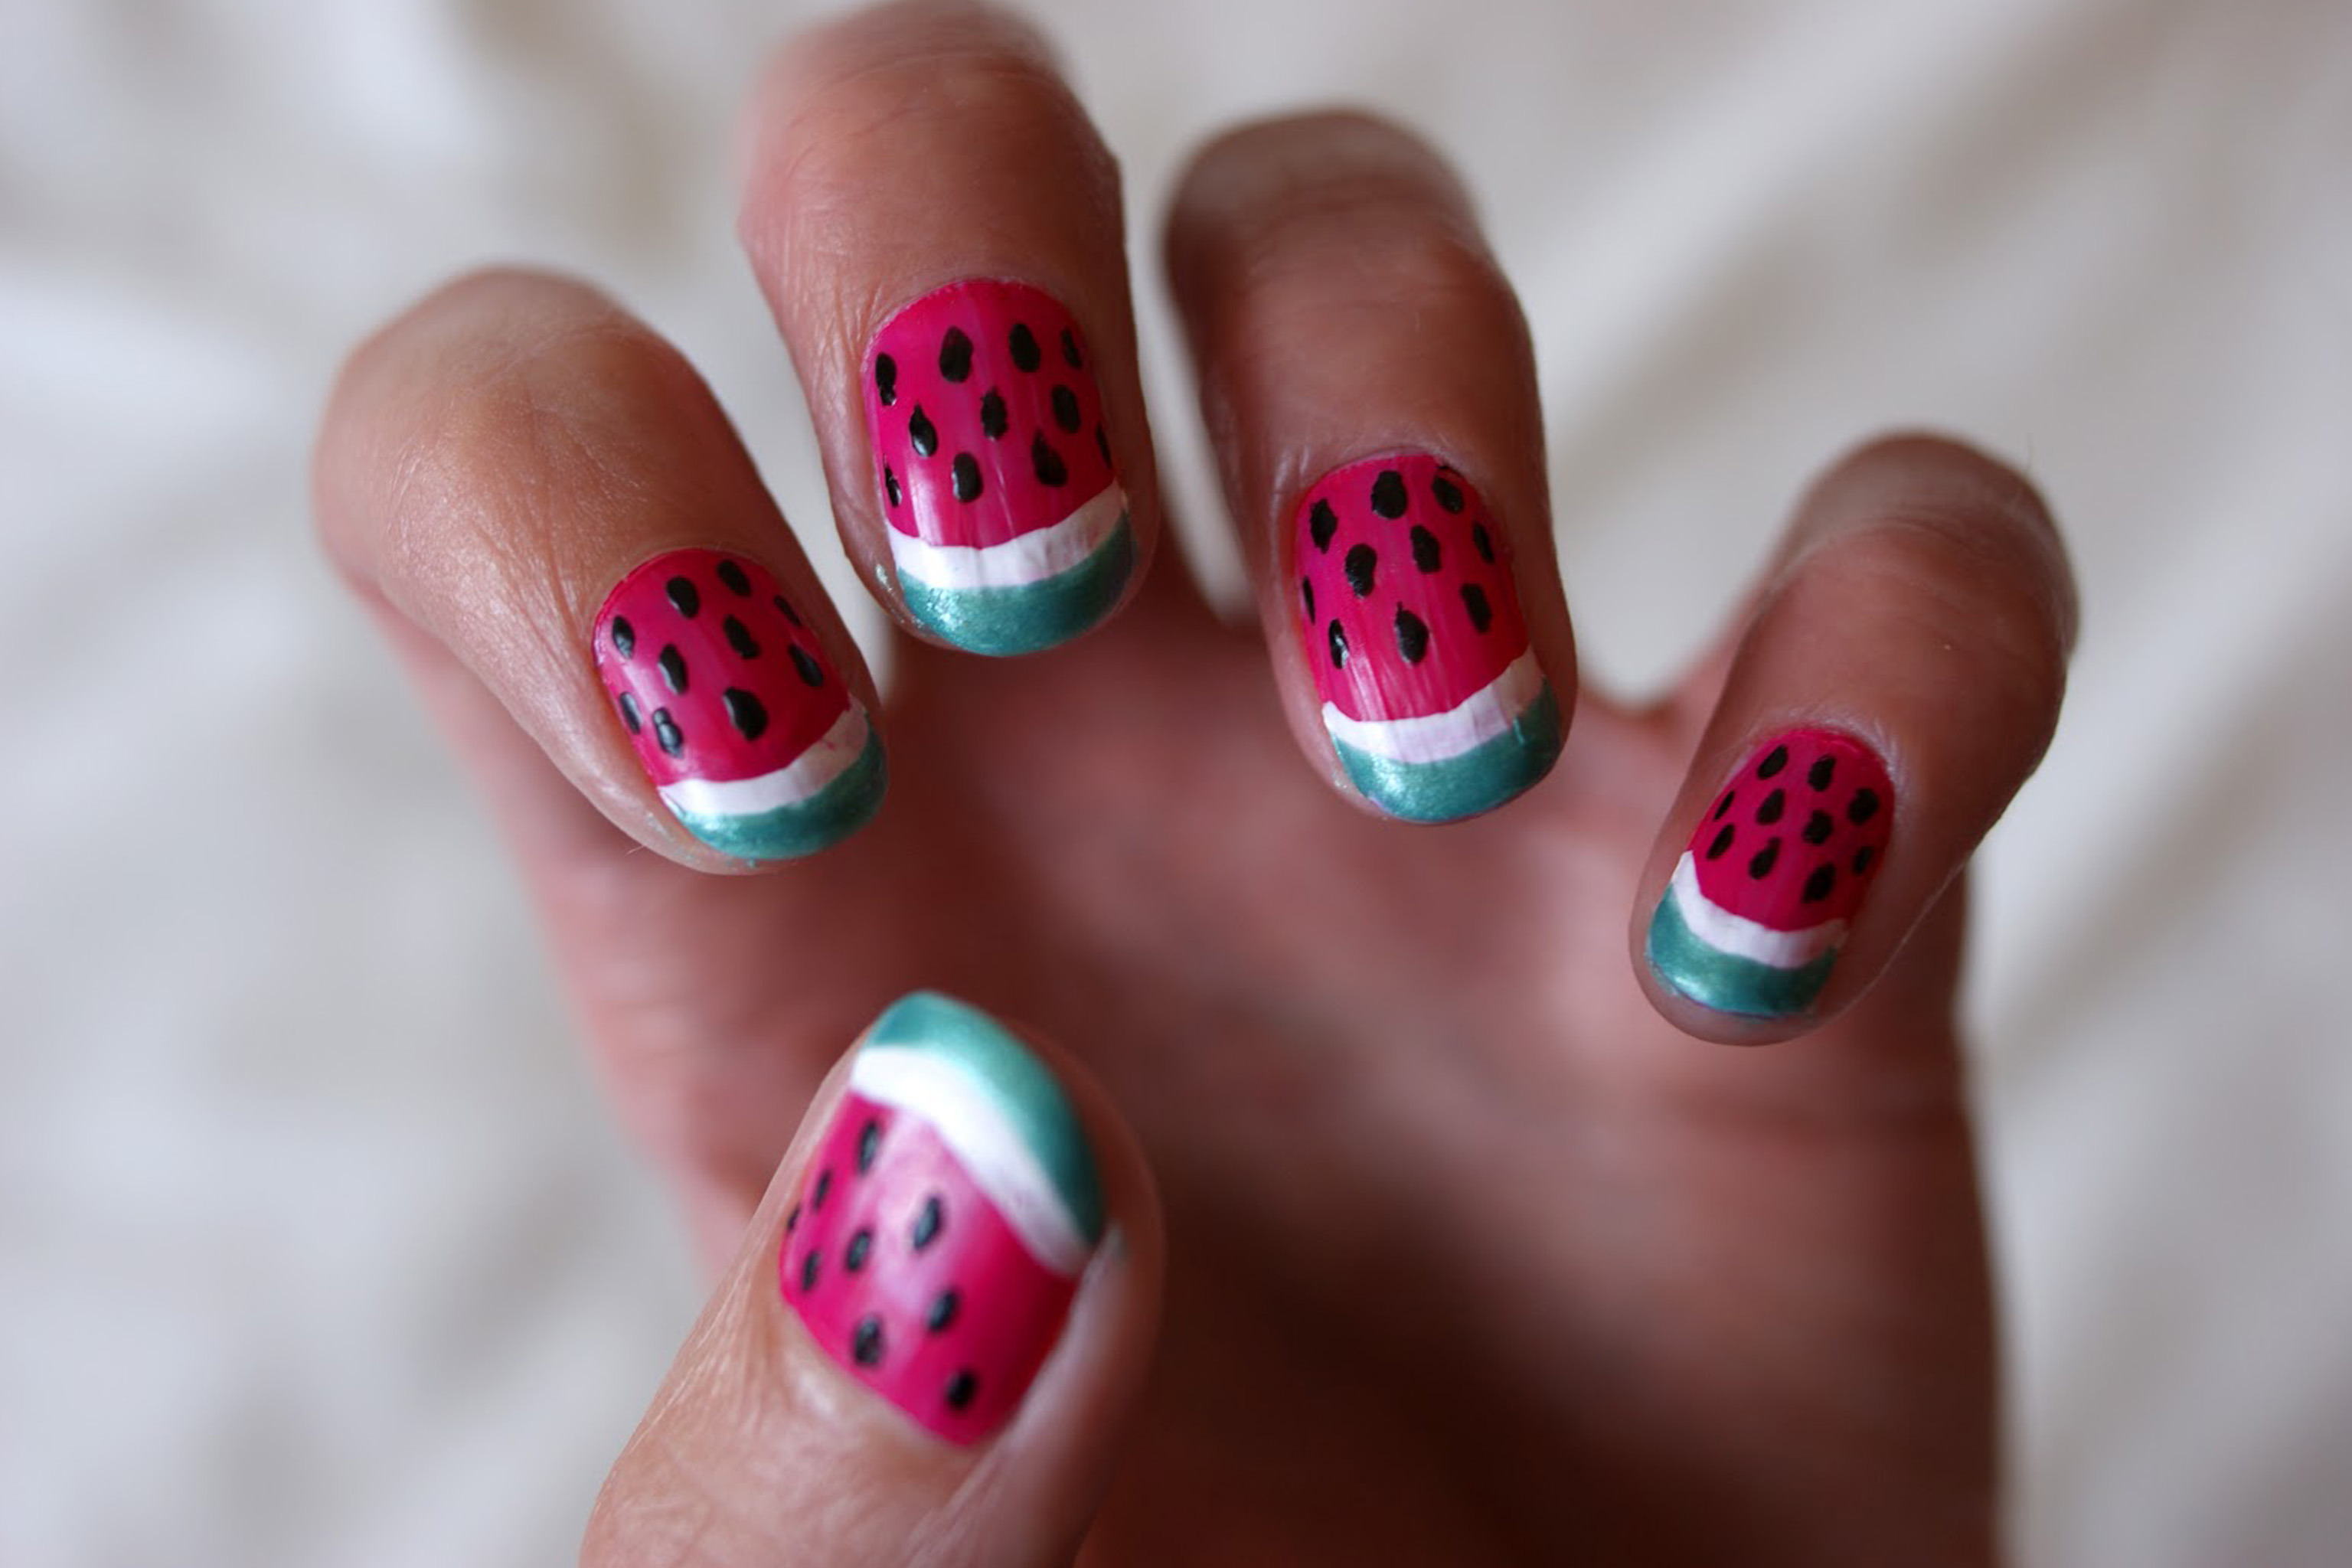
About this activity
Decorate and paint safe, non-toxic nail art using polish, stickers, and simple tools, practicing fine motor skills and creative pattern design.
What you need
Step by step
- 1
Step 1
Wash your hands with soap and water and dry them completely.
- 2
Step 2
Lay a paper towel on the table and place all your materials within easy reach.
- 3
Step 3
Gently file each nail into the shape you like.
- 4
Step 4
Apply a thin layer of base coat to each nail.
- 5
Step 5
Wait 2 minutes for the base coat to dry.
- 6
Step 6
Paint one thin coat of your chosen polish color on each nail.
- 7
Step 7
Wait 3 minutes for that coat to dry until it feels slightly tacky.
- 8
Step 8
Practice dots and lines on the paper towel with the dotting tool or toothpick.
- 9
Step 9
Carefully press nail stickers onto the nails where you want them.
- 10
Step 10
Use the dotting tool or toothpick to add dots lines or small shapes with a second polish color.
- 11
Step 11
Apply a thin layer of top coat to each nail to seal your design.
- 12
Step 12
Wait 10 minutes for your nails to dry completely and avoid touching them.
- 13
Step 13
Take a photo and share your finished nail art creation on DIY.org.
Fun facts
How do you do a safe, kid-friendly nail art activity?
Set up a clean, well‑ventilated workspace with a towel. Wash and dry hands, trim and file nails. Apply a clear base coat or a thin neutral polish to protect nails. Let each layer dry, then use kid‑safe polish, stickers, or a dotting tool/toothpick to add designs. Finish with a quick‑dry top coat. Encourage simple patterns and supervise throughout. Allow nails to fully dry before playing to avoid smudges.
What materials are needed for kid-friendly nail art?
Gather non‑toxic, water‑based or kids’ nail polishes, a clear base coat and top coat, nail stickers or decals, a dotting tool or toothpick, cotton pads, acetone‑free remover, a nail file and buffer, and a small towel. Optional extras: glitter (cosmetic grade), tiny gems, and nail stencils. Keep polish caps closed between uses and have wet wipes or soap and water handy for quick cleanups.
What ages is this nail art activity suitable for?
This activity suits children about 4 years and older with adult supervision; younger toddlers can enjoy sticker application only. Around ages 6–12 kids can practice fine motor skills and simple painting with guidance. Always supervise due to small parts and liquid polish. Adapt complexity to a child’s patience and skill: younger kids can do stickers and stamps, while older children can try patterns, layering, and mixing colors.
What safety tips should parents follow for kids' nail art?
Use only non‑toxic, child‑friendly polishes in a ventilated area and keep polish, remover, and small decorations out of reach when not in use. Supervise to prevent ingestion and avoid painting cuticles or broken skin. Test a small patch for allergies first. Use acetone‑free remover and remove polish gently. Limit time with polish on young nails and ensure bottles are tightly closed and stored upright after the activity.
Watch & Learn
Need help?
What can we use if we can't find a dotting tool, base coat, or nail stickers?
Use a toothpick or the rounded end of a bobby pin for dotting (Step 8 and Step 10), substitute a clear regular polish as the base coat in Step 4 and as a top coat in Step 11, and replace nail stickers in Step 9 with small pieces of tape or hand-painted shapes.
My polish keeps smudging or peeling—what should I check or change?
Apply thinner coats as instructed in Step 4 and Step 6, wait the recommended times in Step 5, Step 7, and Step 12 before touching or adding layers, press stickers firmly along the edges in Step 9, and seal with the thin top coat in Step 11 or a quick-dry top coat to reduce smudging and peeling.
How can I adapt this activity for younger or older kids?
For toddlers skip filing (Step 3) and let them stick stickers (Step 9) with close supervision, for school-age kids practice dots on the paper towel (Step 8) and try simple patterns in Step 10, and for teens attempt more intricate designs in Step 10 and share their photos on DIY.org (Step 13).
How can we make the nail art more creative or longer-lasting?
Practice designs on the paper towel in Step 8, add glitter or a second color for dots and shapes in Step 10 or create an ombré with a sponge before Step 10, press sticker edges and apply two thin layers of top coat in Step 11, then photograph different angles to share on DIY.org in Step 13.