DIY Jewelry: Make Beaded Jewelry
Make colorful beaded bracelets and necklaces using elastic cord and beads, practicing patterns, fine motor skills, and safe bead-handling while designing jewelry.


Step-by-step guide to make beaded jewelry
Toddler DIY Bead Bracelet Making | Fun Craft for Kids at Home #toddlers #toddlerlife #DIY #cute
Step 1
Gather all your materials and put them on a clean table so everything is easy to reach.
Step 2
Decide if you want to make a bracelet or a necklace so you can measure the right length.
Step 3
Measure your wrist or neck with the ruler or tape and add 6 cm (about 2 inches) for tying a knot.
Step 4
Cut the elastic cord to the length you measured using the scissors.
Step 5
Secure one end of the cord to the table with a small piece of tape so beads won’t slide off.
Step 6
Pick the bead colors and sizes you like and lay them out on the tray in the pattern you want.
Step 7
Slide the beads onto the cord in the exact order of the pattern you laid out.
Step 8
Wrap the beaded cord gently around your wrist or neck to check the fit without tying the ends.
Step 9
Add or remove beads until the beaded cord fits comfortably with a little room to move.
Step 10
Tie a strong double knot connecting the two ends of the elastic to secure the beads.
Step 11
Trim the extra cord close to the knot leaving about 3 to 5 millimeters of tail.
Step 12
Push the knot into a nearby bead hole if the hole is big enough to hide the knot.
Step 13
Gently tug the bracelet or necklace to test the knot and make sure it is secure.
Step 14
Take a photo of your finished jewelry and share your creation on DIY.org.
Help!?
What can we use if we can't find elastic cord for this beaded jewelry project?
If elastic cord is unavailable, use clear stretch cord or thin nylon thread and plan to secure the ends with extra knots and a tiny drop of clear craft glue where you tie the double knot in step 11.
My beads keep sliding off while I'm stringing—what should I do?
Follow step 5 and tape one end of the cord to the table firmly and, if needed, add a small bead stopper or clothespin to hold beads in place while you lay out the pattern on the tray and slide them on in step 6.
How can I adapt this activity for younger or older kids?
For preschoolers, use large wooden or pony beads, pre-cut the elastic to the measured length and tape one end for them to string safely, while older kids can design intricate patterns on the tray and try smaller seed beads or multiple-strand necklaces.
How can we make the finished jewelry more special or long-lasting?
Add alphabet or charm beads into your pattern before sliding beads on in step 6, hide the knot in a nearby bead hole as in step 13, and take a photo to share your custom set on DIY.org as described in the final step.
Watch videos on how to make beaded jewelry
Pony Bead Daisy Bracelet or Keychain Craft | Easy Spring DIY for Kids
4 Videos
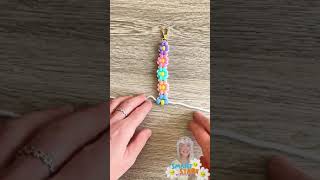
Pony Bead Daisy Bracelet or Keychain Craft | Easy Spring DIY for Kids

Beaded Flower Bracelet 🌸 Easy Jewelry Making
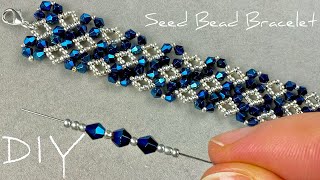
EASY Beaded Bracelet Tutorial: How to Make a Crystal Bracelet | Bracelet Making with Beads
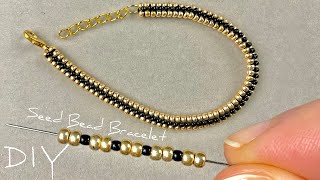
Master the Art of Beads Bracelet Making: How to Make Bracelet with Beads
Facts about jewelry making for kids
🐚 Archaeologists have found beads worn by humans tens of thousands of years ago — some of the oldest jewelry ever discovered!
🎨 Stringing beads and creating repeating patterns helps build early math skills like sequencing and pattern recognition.
🧵 Elastic (stretch) cord lets kids make slip-on bracelets without needing clasps or metal fasteners.
💎 Beads can be made from glass, wood, metal, gemstones, clay, or plastic — each material gives a different color and texture.
✋ Beading is excellent practice for fine motor skills and hand-eye coordination as children pick up and thread small pieces.
How do you make colorful beaded bracelets and necklaces?
What materials do I need for DIY beaded jewelry?
What ages is beaded jewelry making suitable for?
What safety tips should I follow for beading with kids?
