Display pressed plants
Press leaves and flowers between paper, arrange and mount them into a labeled display or simple framed collage to learn plant shapes and preservation.
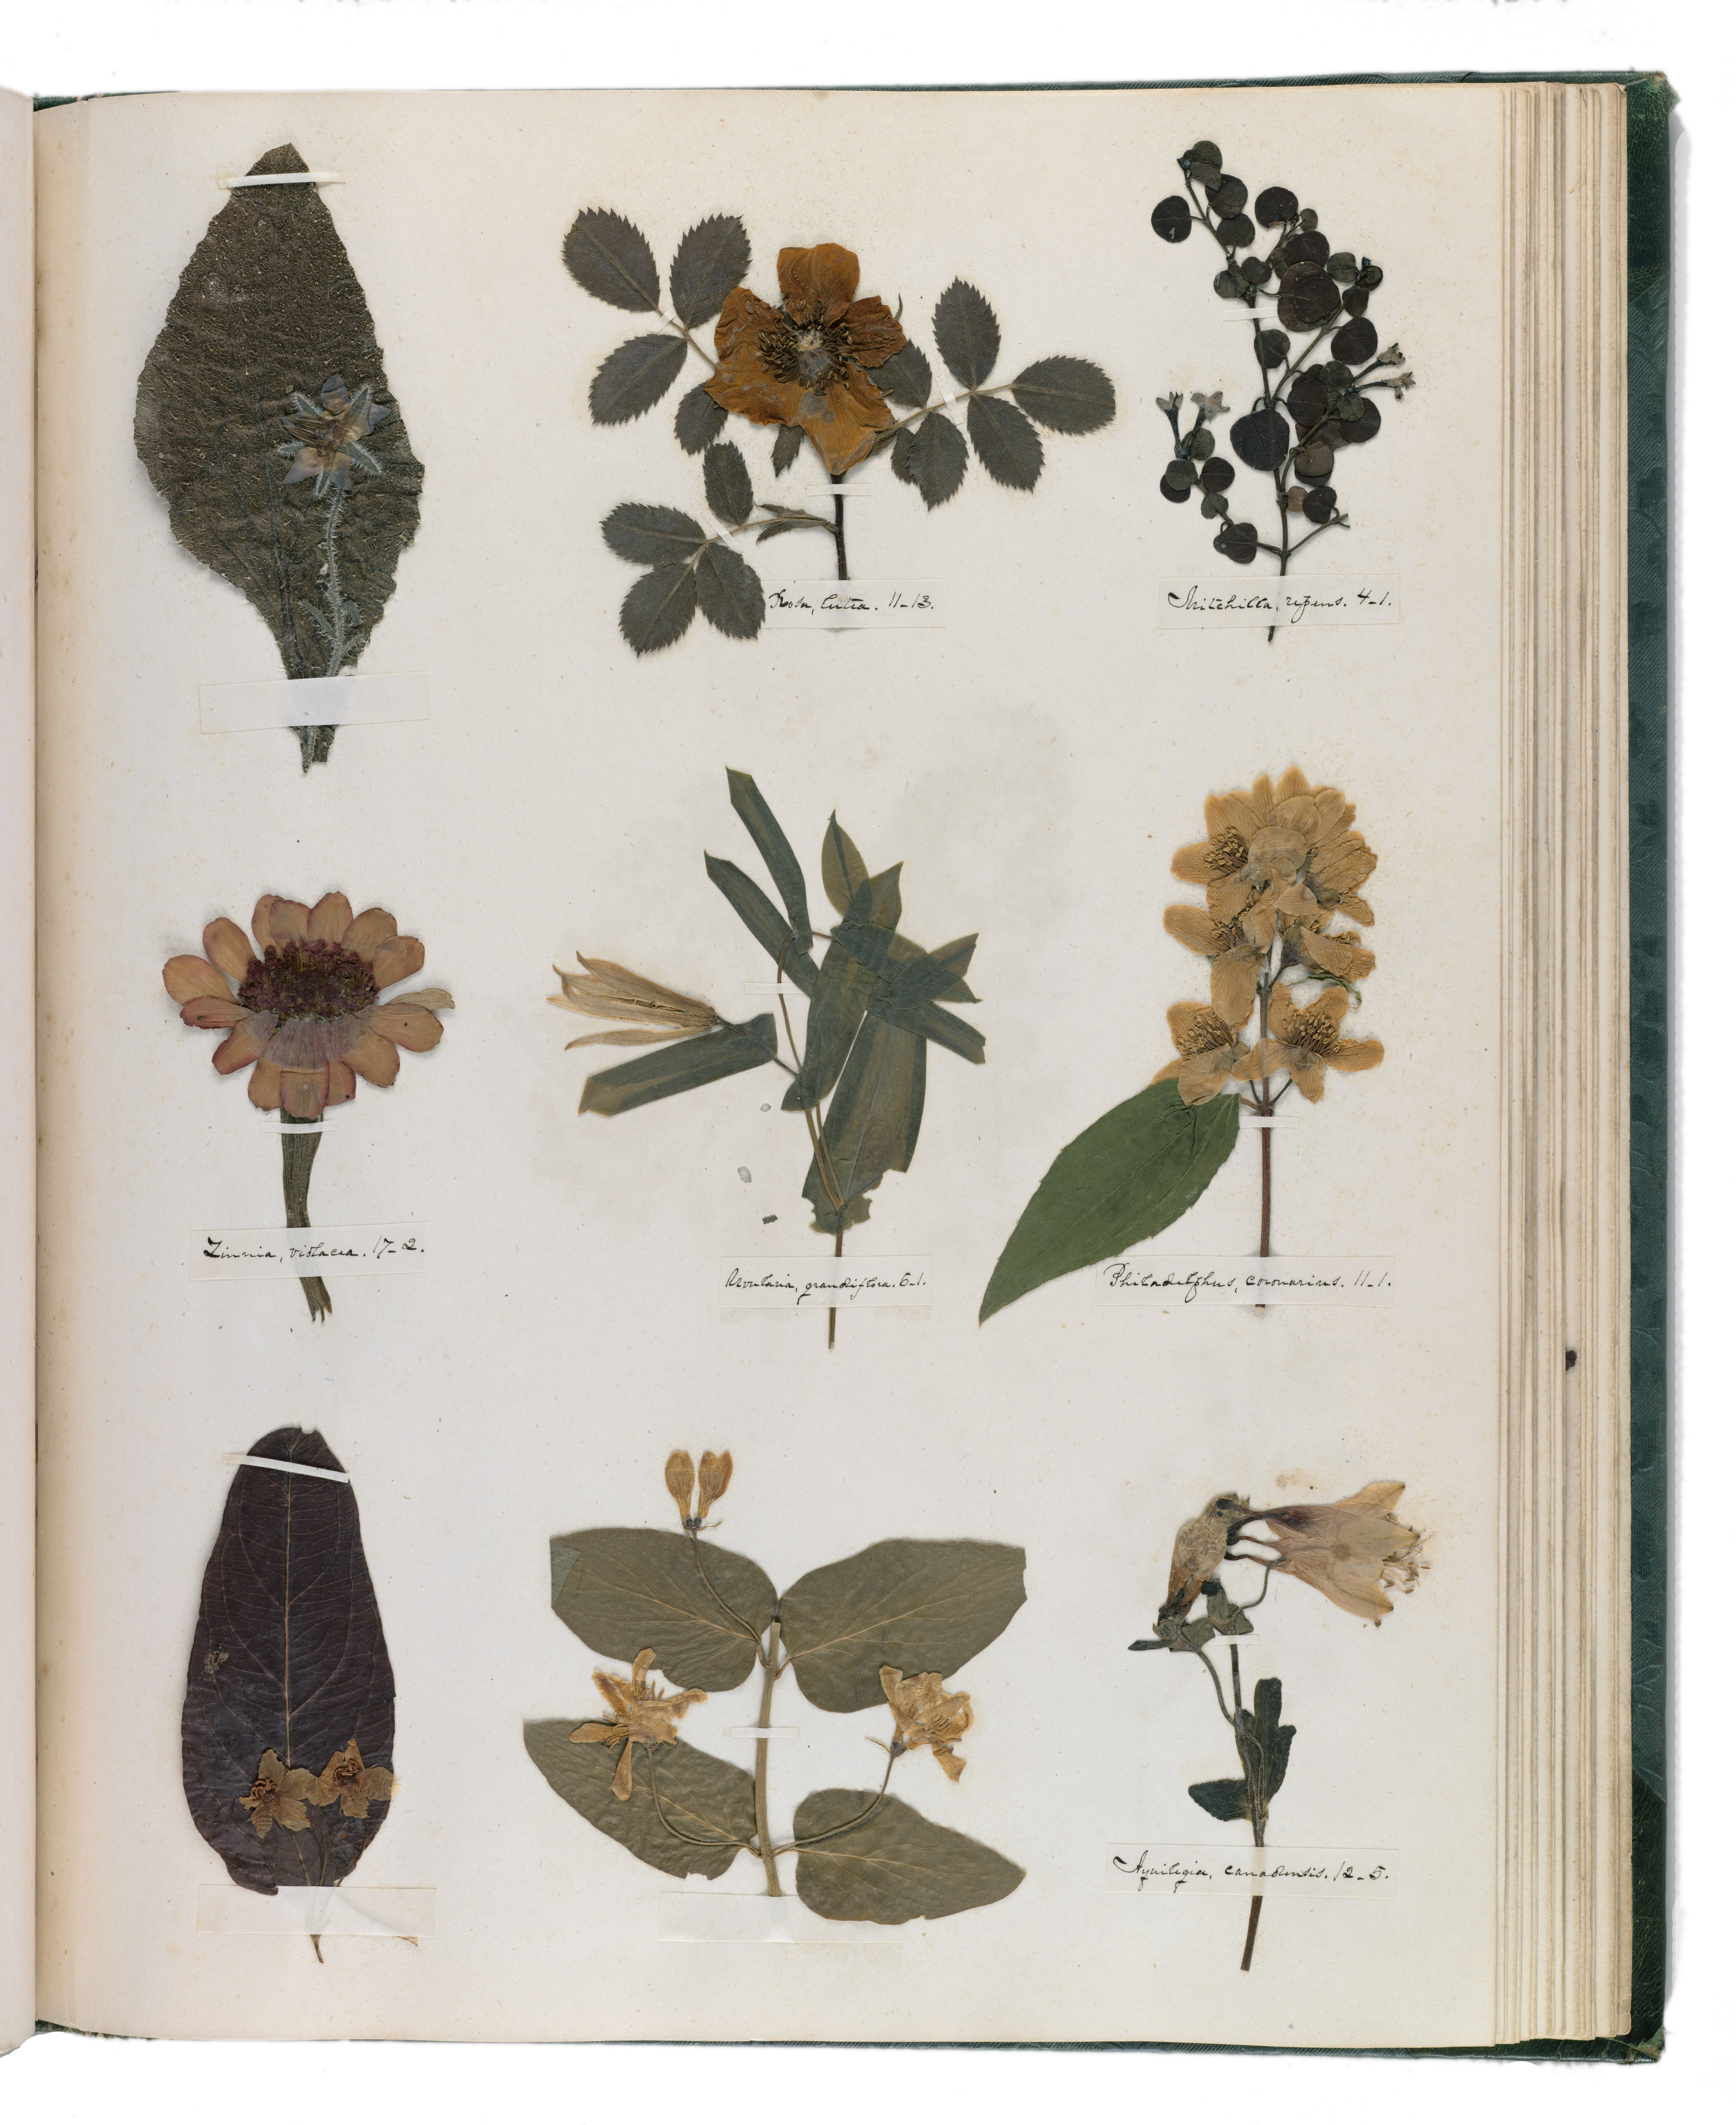
About this activity
Press leaves and flowers between paper, arrange and mount them into a labeled display or simple framed collage to learn plant shapes and preservation.
What you need
Step by step
- 1
Step 1
Gather all the Materials Needed and set up a flat clean workspace with an adult nearby.
- 2
Step 2
Go outside or look around your home and choose several leaves and flowers you want to press.
- 3
Step 3
Gently shake each leaf and flower to remove dirt and extra water.
- 4
Step 4
Open a heavy book to a middle page so it lies flat.
- 5
Step 5
Place one sheet of plain paper on the open page of the book.
- 6
Step 6
Lay one leaf or flower flat on the paper without overlapping it with other pieces.
- 7
Step 7
Place another sheet of plain paper over the leaf or flower to cover it.
- 8
Step 8
Close the book carefully so the plant stays flat between the papers.
- 9
Step 9
Put other heavy books on top of the closed book to add weight.
- 10
Step 10
Leave the stack undisturbed for 1 to 3 weeks so the plants can dry and press fully.
- 11
Step 11
Carefully open the book and lift each pressed plant by sliding a fingertip under an edge.
- 12
Step 12
Arrange the pressed plants on your cardboard to make a display layout you like without gluing them yet.
- 13
Step 13
Glue each pressed plant to the cardboard using small dots of glue to hold it in place.
- 14
Step 14
Write each plant’s name and the date on an index card and attach the cards below the matching plant.
- 15
Step 15
Share your finished creation on DIY.org
Fun facts
How do you make a pressed plant display with your child?
Collect fresh leaves and flowers (not wet), arrange them flat between absorbent paper or coffee filters, then press using a flower press or heavy books for 1–3 weeks, changing paper if it gets damp. Once dry, carefully lift pieces with tweezers and arrange on acid-free cardstock. Attach with a glue stick or archival tape, add labels with names and dates, then frame under glass or place in a simple scrapbook for display.
What materials do I need to press leaves and flowers and make a framed collage?
You’ll need fresh plant specimens, absorbent paper or coffee filters, a flower press or heavy books and cardboard, tweezers, glue stick or pH-neutral archival glue, acid-free cardstock, scissors, labels and a pen, plus a frame or clear sleeve. Optional items: silica gel for thick blooms, archival tape, and a magnifying glass. Avoid using plants you can’t identify as safe and use gloves if needed.
What ages is pressing plants and making a labeled display suitable for?
This activity suits a wide range: preschoolers (3–5) can help collect and learn shapes with close supervision; ages 6–8 can arrange and glue with guidance; ages 9+ can research species, write labels and learn preservation techniques independently. Adapt tasks for fine motor skill levels and always supervise cutting, pressing, and handling unknown plants to ensure safety and learning at each stage.
What are the benefits of pressing plants for kids and what safety tips should parents follow?
Pressing plants builds observation, vocabulary, fine motor skills and basic science—kids learn plant parts, habitats and careful preservation. It encourages patience and seasonal exploration. Safety tips: avoid poisonous or irritant plants, supervise cutting and use of presses, wash hands after handling, label plant sources, and never let children taste specimens. Use gloves if uncertain and teach kids to respect living plants and habitats.
Watch & Learn
Need help?
If I don't have a heavy book or plain paper, what can I use instead?
Use a flat wooden board or baking sheet with canned goods or bricks on top instead of a heavy book, and use parchment paper, coffee filters, or plain printer paper in place of the plain paper sheets (avoid newspaper ink) when following the step to place sheets on the open page.
My leaves turned moldy or stuck to the paper after a week—what should I do?
If plants get moldy or stick, carefully lift them off, replace any damp plain paper with dry parchment or coffee filters, increase the weight on the book, and move the stack to a warmer, drier spot to dry for another 1–2 weeks while checking weekly.
How can I adapt this activity for younger children or older kids?
For younger children have an adult pre-press specimens and let the child arrange and glue pressed plants onto cardboard with a large glue stick and stickers, while older kids can press their own plants using tweezers, attach index cards with scientific names and dates, and record habitat notes.
How can we personalize or improve our pressed plant display?
Enhance your display by arranging and gluing pressed plants onto colored cardboard, sealing them under clear contact paper or framing them for protection, adding handwritten index cards with names and dates, and photographing the finished piece to share on DIY.org.