Design a vase with flowers
Design and build a simple vase from recycled materials, then arrange real or paper flowers to explore shape, balance, color, and creativity.
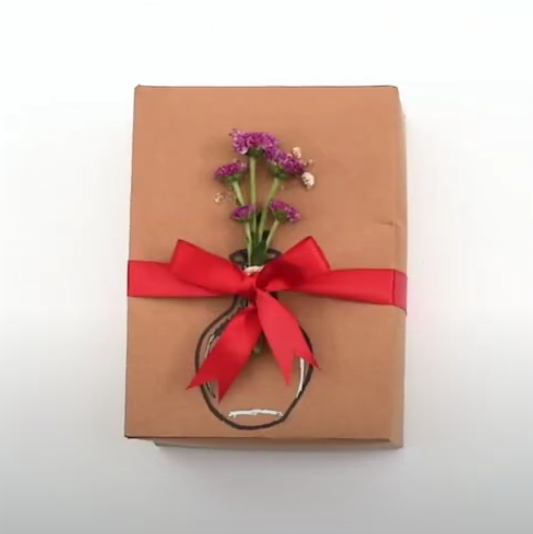
About this activity
Design and build a simple vase from recycled materials, then arrange real or paper flowers to explore shape, balance, color, and creativity.
What you need
Step by step
- 1
Step 1
Gather all the materials from the list and put them on your work table.
- 2
Step 2
Choose a fun vase shape and size and sketch your idea on a scrap piece of paper.
- 3
Step 3
Rinse the recycled container inside and out to remove any dirt or leftover liquid.
- 4
Step 4
Dry the container completely with a towel so it is ready to work on.
- 5
Step 5
Ask an adult to help you cut or trim the container to the height you sketched.
- 6
Step 6
Pour small pebbles rice or sand into the bottom of the container to add weight for stability.
- 7
Step 7
Cover any sharp edges with tape or folded cardboard so the vase is safe to handle.
- 8
Step 8
Paint or color the outside of the vase using paints markers or coloring materials.
- 9
Step 9
Let the paint or any glue dry completely before touching the vase again.
- 10
Step 10
Glue stickers ribbons or buttons onto the vase to add extra decoration and texture.
- 11
Step 11
Cut petal shapes from scrap paper to create paper flowers if you are not using real flowers.
- 12
Step 12
Attach the petals to stems using tape or glue to build complete paper flowers.
- 13
Step 13
Arrange real or paper flowers in the vase and try different heights and colors to explore balance and shape.
- 14
Step 14
Share a photo and story of your finished vase and flowers on DIY.org
Fun facts
How do I guide a child to design and build a simple vase from recycled materials and arrange flowers?
Start by choosing a sturdy recycled container (jar, bottle, carton) and plan the shape together. Cut or reshape with adult help, reinforce seams with tape or glue, then decorate with paint, paper, or fabric. Add a waterproof liner (plastic bag, jar inside) and filler (pebbles, sand, floral foam) to stabilize. Finally, arrange real or paper flowers, trimming stems for balance. Encourage experimentation and talk about color and shape choices.
What materials do I need to make a recycled vase and arrange real or paper flowers?
Gather recycled containers (glass jar, plastic bottle, milk carton), scissors and craft knife (adult use), strong tape or glue, waterproof liner (plastic bag or small jar), filler (pebbles, sand, floral foam), paints, markers, stickers, scrap fabric or paper for decoration, scissors for cutting flower stems, and real or paper flowers. Optional: hot glue (adult only), sealant, and newspaper or apron to protect surfaces.
What ages is this vase-and-flowers activity suitable for?
This activity suits toddlers through teens with differing roles: ages 3–5 can decorate pre-made containers and place faux flowers with supervision; ages 6–8 can help cut and assemble simple vases with adult guidance; ages 9–12 can design independently, use stronger adhesives, and experiment with balance; teens can refine techniques, use glass jars, and try more advanced arrangements. Always supervise cutting, glue, and glass handling.
What are the benefits and safety tips for designing a recycled vase and arranging flowers?
Benefits include creativity, fine motor skill development, learning balance and color, and eco-friendly thinking by reusing materials. Safety tips: supervise scissors, craft knives, and hot glue; avoid small parts for under-3s; use a waterproof liner for real flowers to prevent leaks; ensure vases are stable and heavy enough to hold stems; choose non-toxic paints and wash hands after handling soil or plant material.
Watch & Learn
Need help?
What can we use instead of small pebbles, rice, or sand if we don't have them?
Use dried beans, clean bottle caps, pennies, or tightly balled aluminum foil to add weight in step 5 so the vase stays stable.
My cut edge is sharp or the vase keeps tipping—what should I do?
If cutting in step 5 creates sharp edges or the vase tips, have an adult smooth or re-trim the rim, then follow step 6 to cover edges with tape or folded cardboard and add more pebbles, rice, or sand for stability.
How can I adapt this activity for different age groups?
For 3–5-year-olds skip step 5 and use a pre-cut recycled cup while focusing on painting and stickers from steps 7 and 9, for 6–8-year-olds include supervised trimming and simple paper flowers from steps 10–11, and for 9+ let them do the full sketch in step 2, cutting, and more detailed decorations in step 9.
How can we make the vase fancier or longer-lasting after finishing it?
After decorating in steps 7–9, seal the outside with a coat of clear glue or mod podge, line the inside with a small plastic bag or waterproof tape if you plan to use real flowers with water from step 12, and add LED fairy lights or extra layered paper flowers for personalization.